· retrotech · 8 min read
Reviving the Atari 800: A DIY Guide to Restoring Your Classic Console
Step-by-step, practical guide to finding, restoring, and preserving an Atari 800. Covers safety, diagnosis, cleaning, electronics repair, sourcing parts, and preserving historical value.
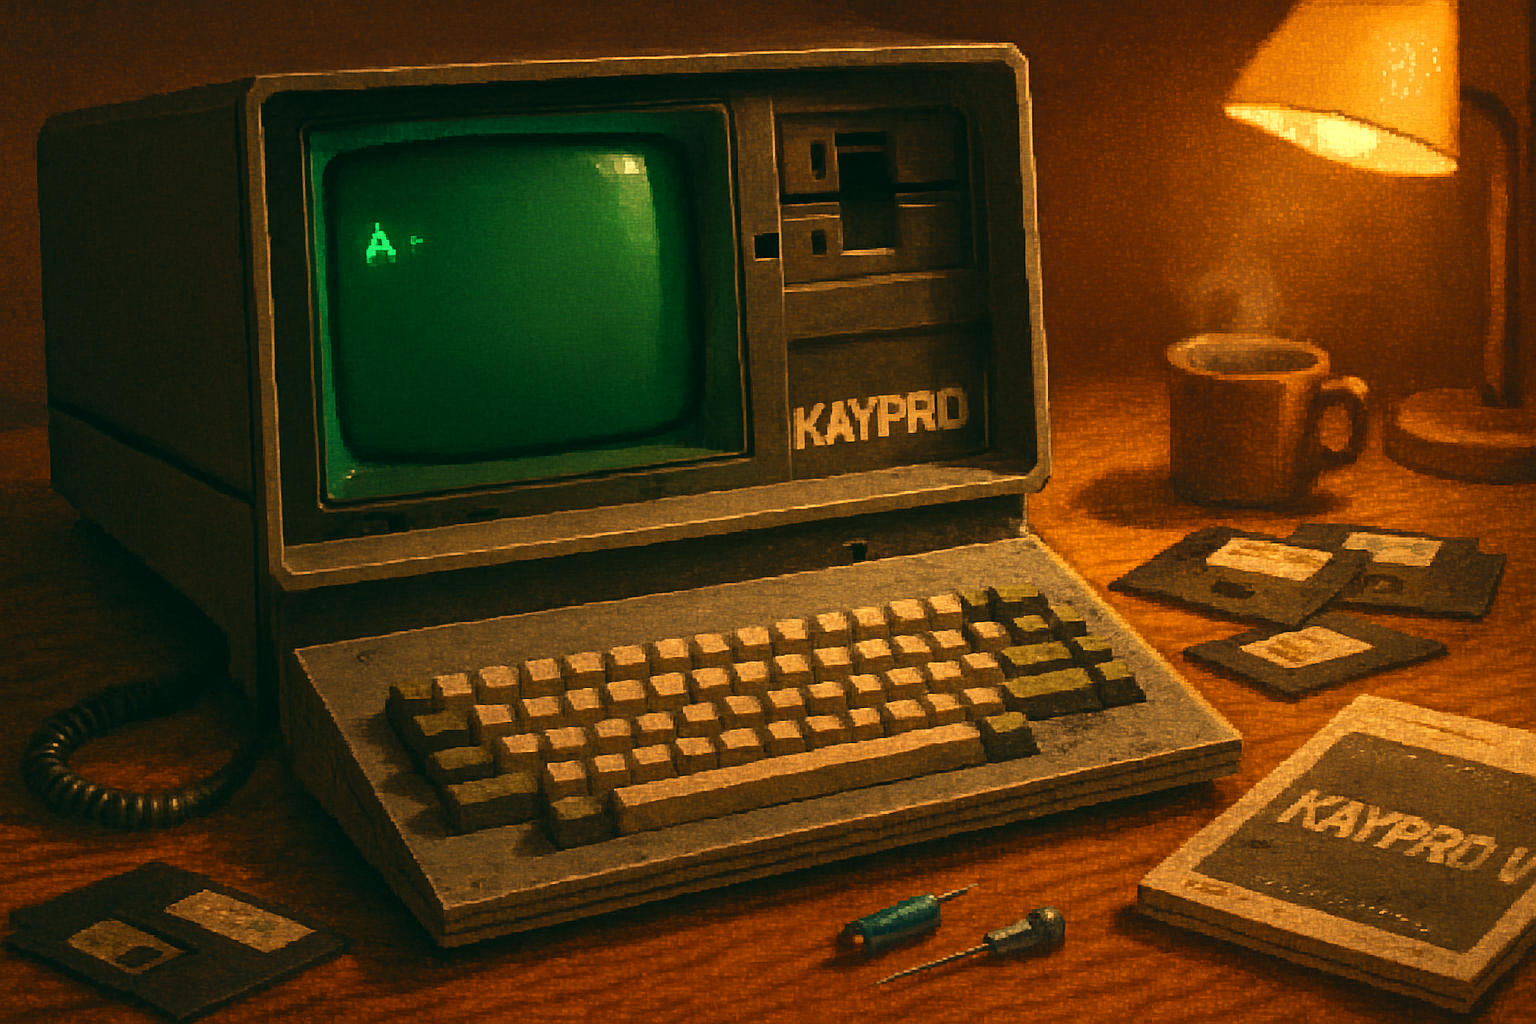
The day I found a 40-year-old ghost
I pulled an Atari 800 out of a cardboard coffin at a yard sale. It was filthy, yellowed like a nicotine-stained smile, and had a cartridge slot full of mystery lint. People walked past it as if they’d glimpsed a fossil. I felt like a paleontologist who’d just been handed a working jawbone.
Restoring an Atari 800 isn’t just about getting pixels on a screen. It’s archaeology and mechanics and a little domestic surgery. If you treat it right, you end up with a living piece of computing history. Treat it like a museum specimen and it will stay valuable. Treat it like a parts source and you’ll have a working machine but lose provenance - which collectors care about.
This guide takes you from that yard-sale moment to a reliable, preservable Atari 800. I’ll sketch the tools, the tests, the common failure modes, where to buy parts, and the preservation ethics that keep your machine historically meaningful.
Why the Atari 800 matters (and why it’s worth your time)
A short history: the Atari 800 is one of the earliest home computers that brought sprites, smooth scrolling, and advanced sound into living rooms. It’s not just a nostalgic toy; it’s a milestone in personal-computing design. For collectors and builders it’s like restoring a wooden airplane: delicate, rewarding, historically valuable.
If you’re restoring an Atari 800 to use, to show, or to sell, the same rules apply: diagnose before you replace, document everything, and prefer reversible fixes.
Resources to bookmark:
- Atari 8-bit family overview: https://en.wikipedia.org/wiki/Atari_8-bit_family
- Community & marketplace: https://www.atariage.com/
- Retrobright (de-yellowing) overview: https://en.wikipedia.org/wiki/Retrobright
Before you open the case: safety and documentation
Safety first. If the machine has an internal mains transformer or capacitors connected to mains, lethal voltages may be present. If you’re not comfortable with mains-level electronics, find a local tech.
Checklist before you begin:
- Take photos from every angle (top, bottom, ports, stickers, internal wiring). Photographs are proof of provenance and help reverse reassembly.
- Obtain a service manual or schematic. Don’t attempt repairs blind. A service manual gives expected voltages and test points.
- Work on a grounded, static-free surface. Use an ESD wrist strap for sensitive chips.
- Unplug before opening. If the unit will be powered for testing, use an isolation transformer when dealing with mains circuits and never work alone.
Helpful manuals and communities: https://www.atariage.com/ and many service manuals are archived at the Internet Archive.
What to inspect first (initial diagnosis)
The goal here is to separate the cosmetic from the fatal.
Visual checks:
- Case cracks, broken mounts, warped plastic.
- Signs of battery leakage (Atari 800 doesn’t usually have user batteries, but check attached accessories). Corrosion is often the worst enemy.
- Burn marks or blown components on PCBs.
- Loose or missing chips, broken sockets, or lifted traces.
Power and basic testing:
- If you have a multimeter, measure the main rails (consult the manual for expected voltages). If the +5V rail is missing or grossly off, don’t probe with the machine powered long - that kills TTL chips fast.
- Smell test - burnt electronics smell means you should remove power and inspect visually for charred components.
- If the machine powers but shows garbage on screen, that points to video chips (ANTIC/GTIA), RAM, or ROM issues.
Common failure modes in Atari 8-bit machines:
- Failed electrolytic capacitors (age + heat = leakage). Recapping is common and often restorative.
- Dirty edge connectors (cartridges and expansion ports) and oxidized contacts.
- Yellowed ABS plastic (cosmetic but fixable).
- Sticking or worn keyboard contacts.
- Bad power supplies or faulty voltage regulators.
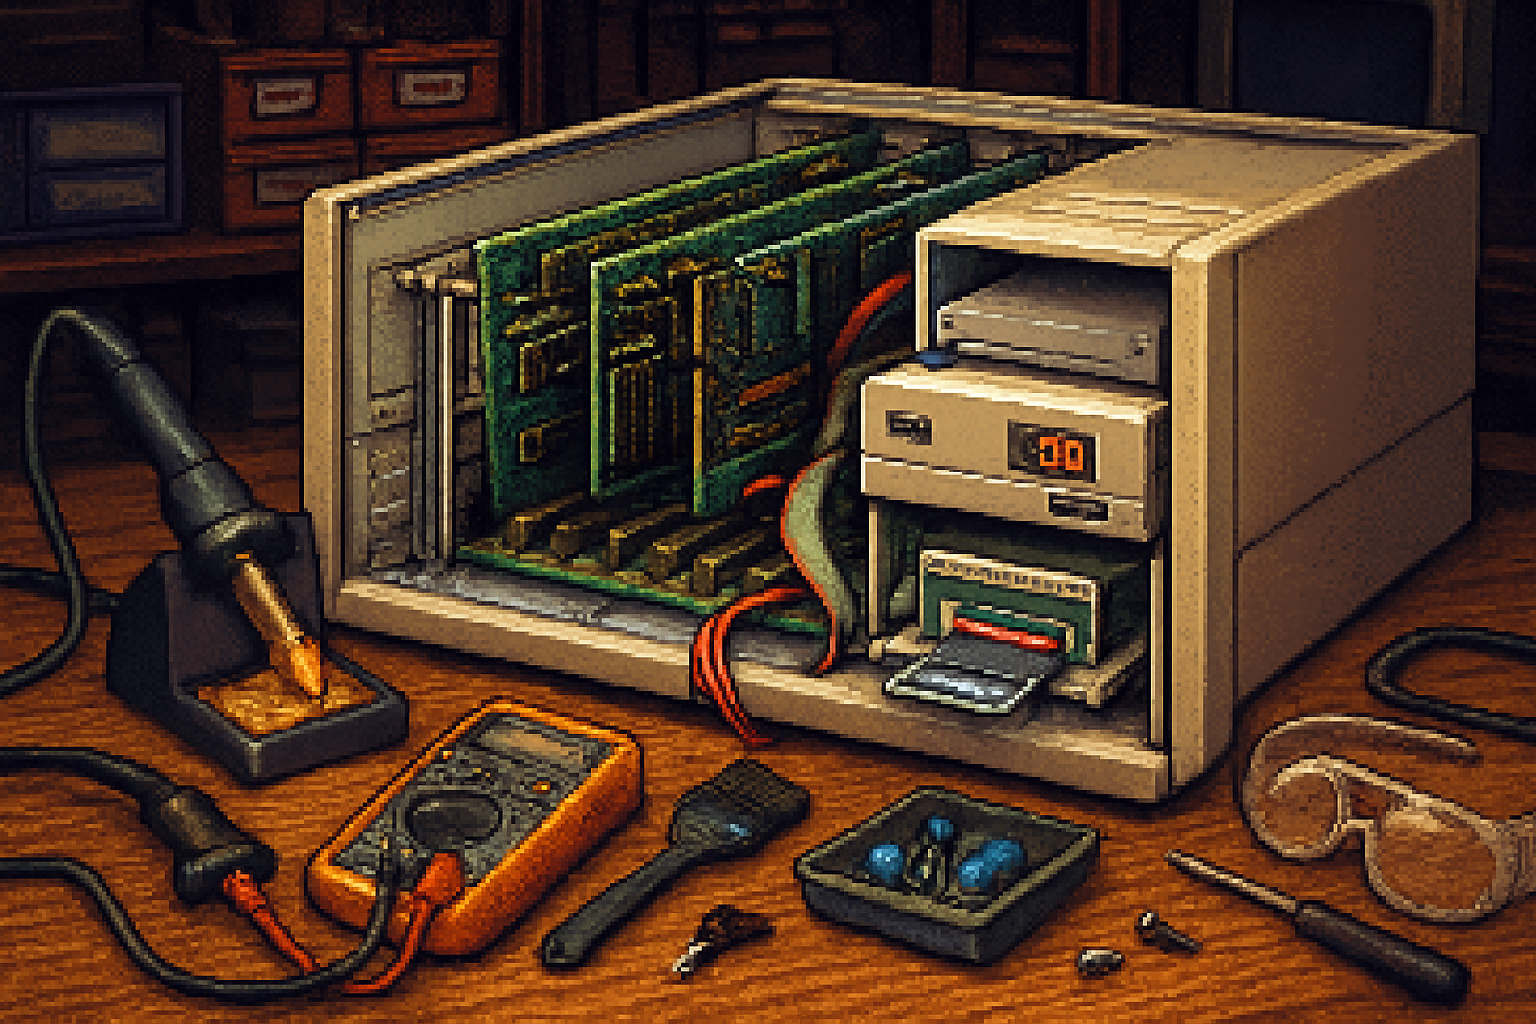
Tools and supplies you’ll want
You can do a lot with a modest toolkit. Recommended:
- Phillips and flat screwdrivers (assorted sizes) and nut drivers
- Multimeter (DC voltage, continuity)
- Soldering iron (temperature-controlled) and desoldering pump/braid
- Replacement electrolytic capacitors (values from the board’s cap list)
- IC extraction tool, ESD wrist strap, fine tweezers
- Contact cleaner (DeoxIT D5 is a favorite) for edge connectors and switches: https://www.caig.com/deoxit
- 90%+ isopropyl alcohol, cotton swabs
- Melamine sponge (Mr. Clean magic eraser) and mild detergent for cases
- Retrobrite supplies for de-yellowing (hydrogen peroxide cream, UV light) - read safety guidance: https://en.wikipedia.org/wiki/Retrobright
- Replacement screws, nylon washers, and optional new rubber feet
Optional but useful:
- Logic probe or oscilloscope for deeper diagnosis
- Isolation transformer for safe mains testing
- Cartridge cleaning kit and tools for cleaning ROM contacts
Step-by-step restoration
Below I break the work into manageable phases. Move slowly; mistakes are usually mechanical or due to missing documentation.
1) Cosmetic cleaning and photography
- Photograph everything. Label screws and small parts in bags.
- Vacuum loose dust (low suction) and use compressed air with short blasts.
- Clean case and keys with mild detergent and a soft brush. For stubborn grime, a melamine sponge works wonders.
- Avoid acetone or harsh solvents on labels. If a badge or sticker is historically important, leave it untouched or preserve it under clear acrylic.
2) Address yellowing (Retrobrite)
- Retrobright (hydrogen peroxide + UV) is effective on ABS plastic but can weaken surface finish if overdone.
- Work on a small test piece first. Use gloves and eye protection. Keep treatment times reasonable and monitor.
- Document original colors and photos for provenance.
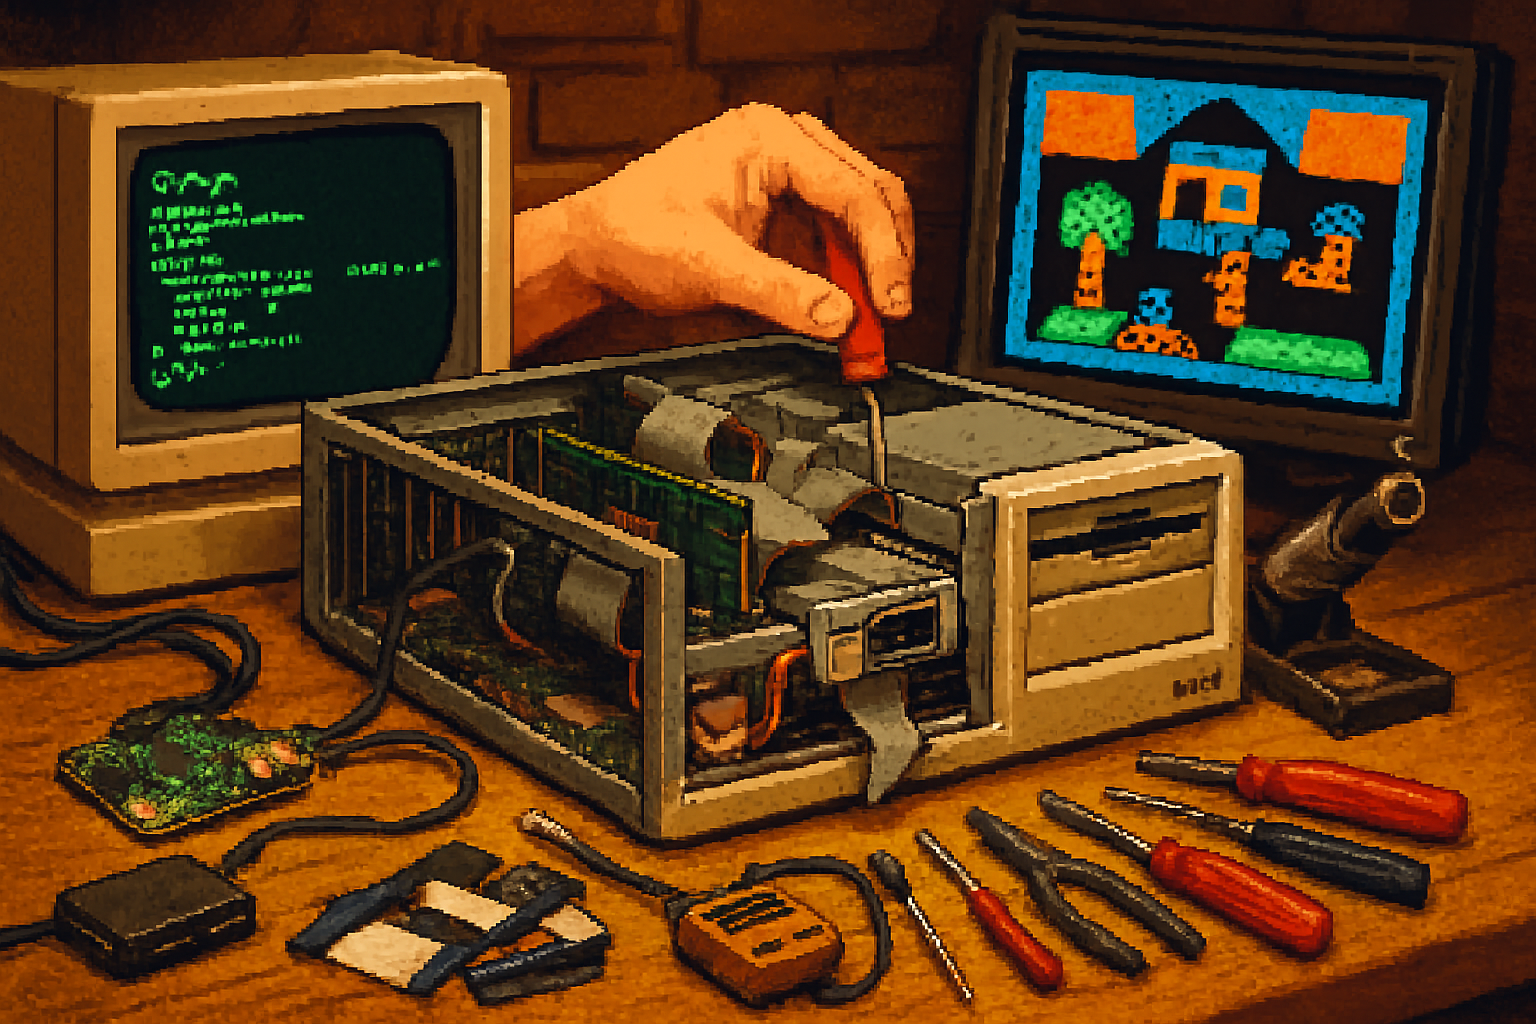
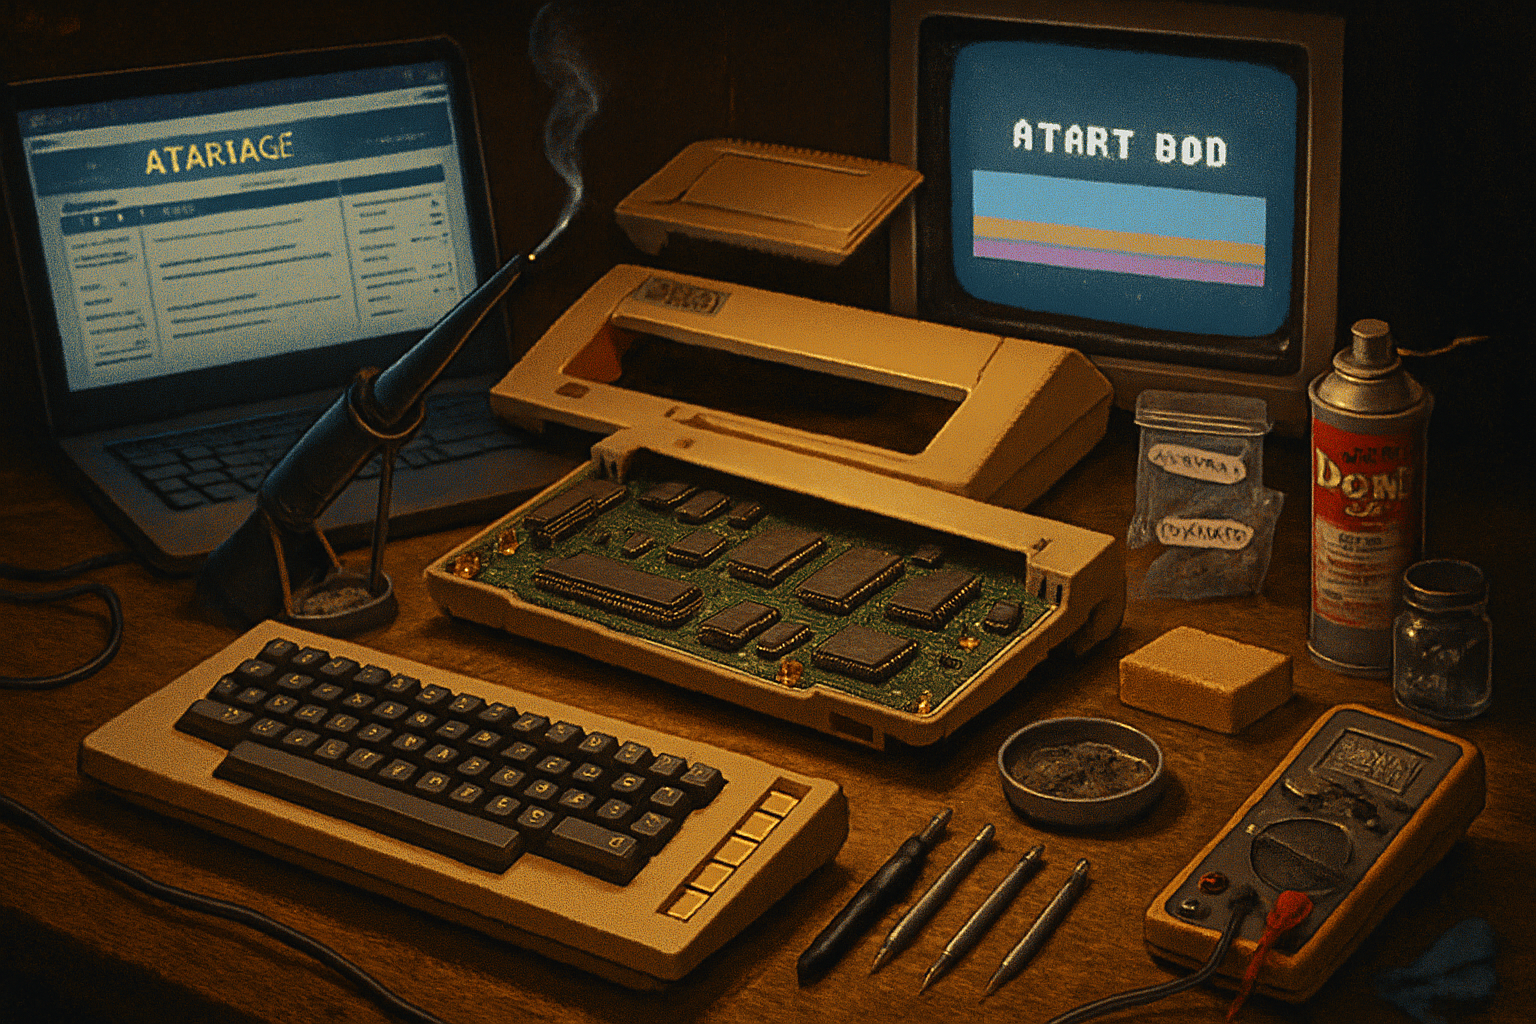
3) Open up and visually inspect the PCB
- Look for bulging or leaking electrolytic capacitors. Check for corroded pins and lifted traces.
- Note if key chips are in sockets or soldered. Sockets ease future repairs - replace brittle sockets if necessary.
4) Recap and power delivery
- Replace old electrolytic capacitors with low-ESR equivalents. Match capacitance and voltage (or choose a higher voltage rating when safe).
- Inspect power regulators and diodes for obvious damage. Replace if burnt.
- Before powering the whole board, do a smoke test - use a current-limited bench supply or a series incandescent lamp to limit damage if there’s a short.
Important: if the unit contains mains voltages internally, and you are not confident, hand this step to someone experienced. A wrong move can be lethal.
5) Clean connectors - DeoxIT and mechanical care
- Use DeoxIT on cartridge edge connectors, expansion ports, and switches. Work cartridges back and forth to scrub contacts.
- Clean the keyboard contacts. On machines with contact sheets, a gentle isopropyl clean and re-lubrication can help.
6) Chips, sockets, and flaky RAM
- Reseat socketed chips. Use an IC puller to remove and inspect legs and sockets for corrosion.
- If RAM or ROM chips fail tests, source replacements. Many chips are 6502-family or standard TTL and are still available through surplus suppliers.
- For persistent faults, trace signals with a logic probe or compare suspect lines to known-good patterns in schematics.
7) Video and audio
- The Atari 800 outputs NTSC/PAL via RF or composite (depending on configuration). Clean video connectors.
- If the image has garbage, focus on ANTIC/GTIA and ROM. Substituting a known-good chip can confirm diagnosis (keep originals safe).
8) Reassembly and final testing
- Reassemble carefully. Hand-tighten screws; avoid stripping plastics.
- Run a suite of tests - boot a known-good cartridge, test keyboard input, and try a tape or disk load if you have the drives/emulators.
Where to source parts and replacements
Buy original parts if you care about provenance. If you care about long-term reliability, some modern replacements are superior.
Places to look:
- AtariAge marketplace and forums: https://www.atariage.com/
- eBay and Etsy for donor boards and cosmetic parts
- Specialist retro shops and small sellers that rebuild PSUs and sell new capacitors
- Surplus electronics suppliers for TTL chips and connectors
- Community projects for modern add-ons (SIO2SD and similar) - SIO2SD projects allow SD card storage via SIO
A note on modern upgrades: SIO2SD and SD-based solutions exist for many Atari 8-bit machines. These are reversible and useful, but if your goal is museum authenticity, keep a log of modifications and preserve the original parts.
Preserving historical value - be an ethical restorer
Museums and collectors value originality, documentation, and reversible interventions. If resale or collection value matters, follow these rules:
- Document every change. Take “before” photos and keep removed parts in labeled bags.
- Keep original chips and boards even if you replace them - store them safely.
- Avoid permanent cosmetic alterations to badges, serial tags, or provenance stickers.
- Use reversible fixes - mechanical stabilizers and socketed replacements are preferable to cutting traces.
- If you must modify (e.g., add an SD interface), make it removable and keep the original parts available.
If you plan to sell: provide a full history of work done, with photos and receipts for parts. Honesty pays; mendacious listings get flagged and buyers remember.
Common troubleshooting scenarios (quick fixes)
- No power at all - check the external power brick (if external) or mains fuse. Measure rails with the board disconnected.
- +5V present but no boot - check ROM integrity and the CPU (6502). Try reseating or swapping socketed chips.
- Distorted video - check RF modulator and composite wiring; test with a modern composite input if possible.
- Sticky keyboard - clean the keycaps and contact surfaces. Replace worn elastomer parts or switch membranes.
If you hit a wall, post detailed symptoms and photos on a retro forum - someone has likely seen the exact failure.
Final checklist before you call it done
- Photographs of the restored machine and a log of all repairs
- Original parts bagged and labeled
- Power-on tested with known-good cartridge/software
- Cosmetic treatment documented (Retrobrite times, parts replaced)
- Storage advice noted (cool, dry, away from direct sunlight)
Where to learn more and join the community
- AtariAge community and forums - trading, help, and marketplace: https://www.atariage.com/
- Atari 8-bit family historical overview and references: https://en.wikipedia.org/wiki/Atari_8-bit_family
- Retrobright community tips and warnings: https://en.wikipedia.org/wiki/Retrobright
Restoring an Atari 800 is rewarding because the machine rewards curiosity. It’s forgiving enough to teach you electronics and delicate enough to teach you restraint. You’ll get stable pixels, a satisfying clack of keys, and the smug knowledge that you saved a piece of computing history from landfill.
Now stop staring at the lint in the cartridge slot and boot something that makes that POKEY chip sing.