· retrotech · 7 min read
Repurposing the IBM 5150: Vintage Computing for Modern Solutions
Turn an IBM 5150 from attic-curio into a useful, charming tool: from a floppy-emulated game machine to a serial-networked lab controller. Practical restoration steps, project recipes, and modern adapters you can actually buy.
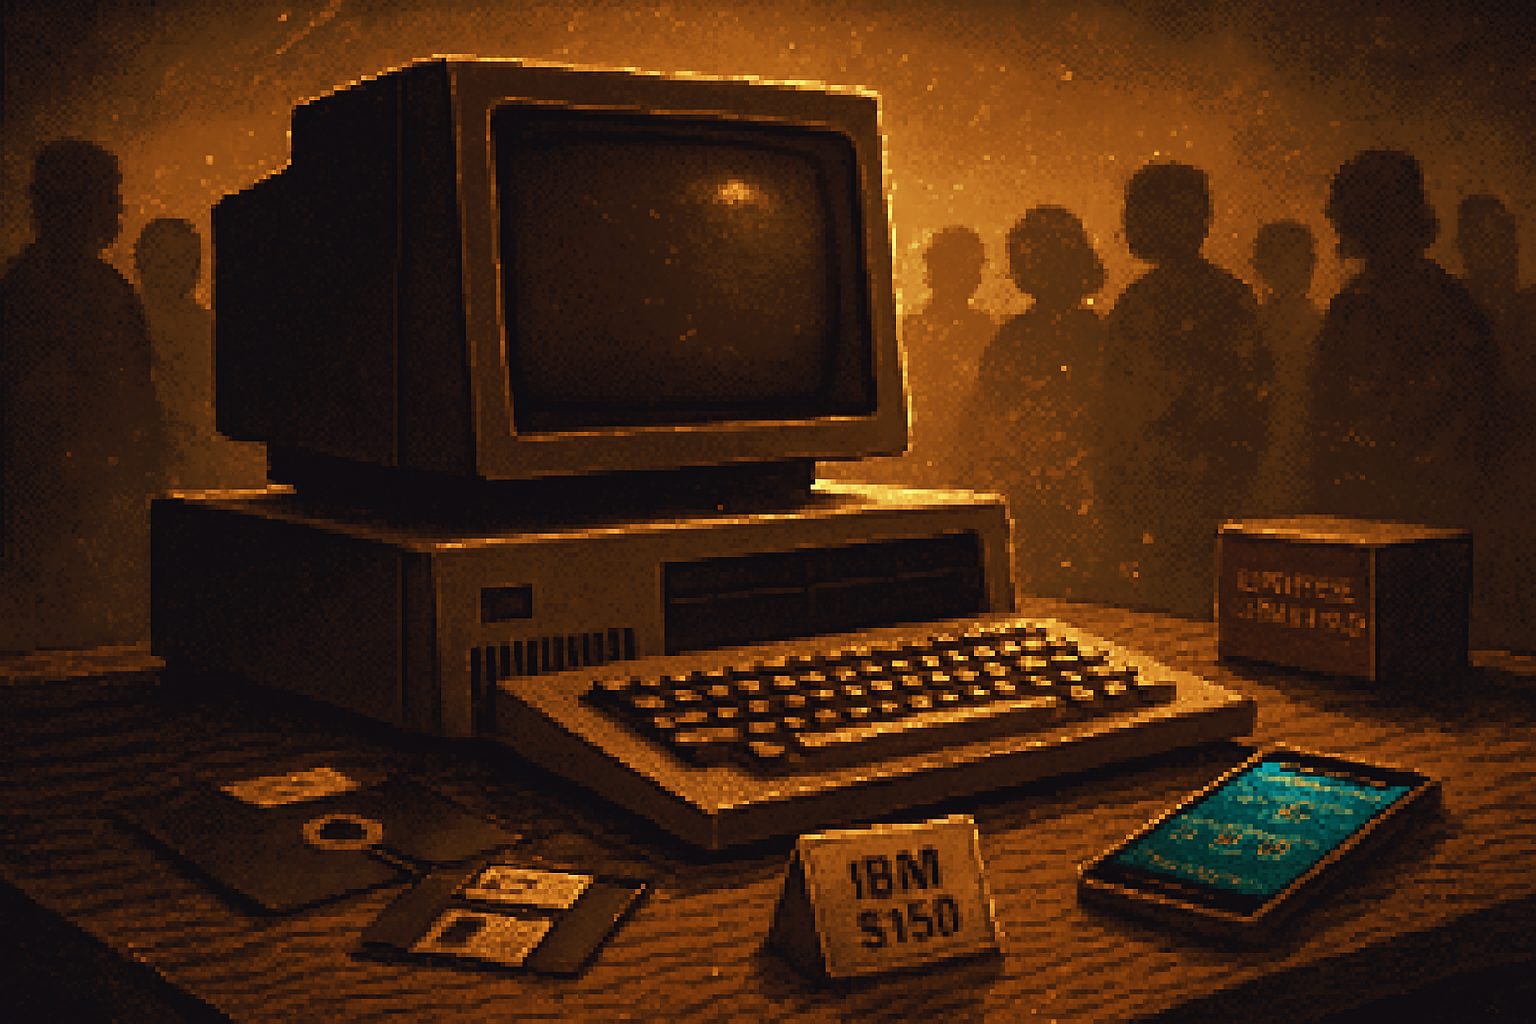
I found an IBM 5150 in a damp garage crate once. It smelled like warm plastic and denial. The case was yellowed, two keys were missing, and a cassette of mysterious provenance clung to the floppy drive like a fossil. And yet, when I pressed the reset switch and the simple white-on-black BIOS text scrolled into life, I felt something less like nostalgia and more like opportunity.
The IBM 5150 - the original “IBM PC” from 1981 - is not a museum prop. It’s a stubborn little generalist: floppy drives, an 8‑bit ISA bus, a humble keyboard, and a willingness to be repurposed. This article shows practical ways to bring the 5150 into the modern world, without turning it into a sacrilegious Frankenbox or a static display.
Why bother?
- Because doing things with the real hardware feels different - the wait, the whir, the tangibility. It’s slow, deliberate computing. It teaches patience.
- Because the 5150 can still do useful tasks - dedicated retro-gaming rigs, hardware controllers for vintage instruments, serial terminals, or low-power embedded loggers.
- Because restoring and upgrading one gives access to a fascinating stack of adapters, community firmware and surprising modern conveniences.
Quick technical snapshot (so you know what you’re dealing with)
- CPU - Intel 8088 @ 4.77 MHz (stock).
- Memory - originally 16–64 KB to 256 KB; expandable to 640 KB with the right boards.
- Bus - 5 ISA slots (mostly 8‑bit devices).
- Storage - 160/360 KB 5.25” floppies (hard disks later via MFM controllers).
- Video - MDA (monochrome) or CGA (4‑color) as original options.
If you want a deep dive into its origin story and specs, read the historical background on Wikipedia: https://en.wikipedia.org/wiki/IBM_Personal_Computer
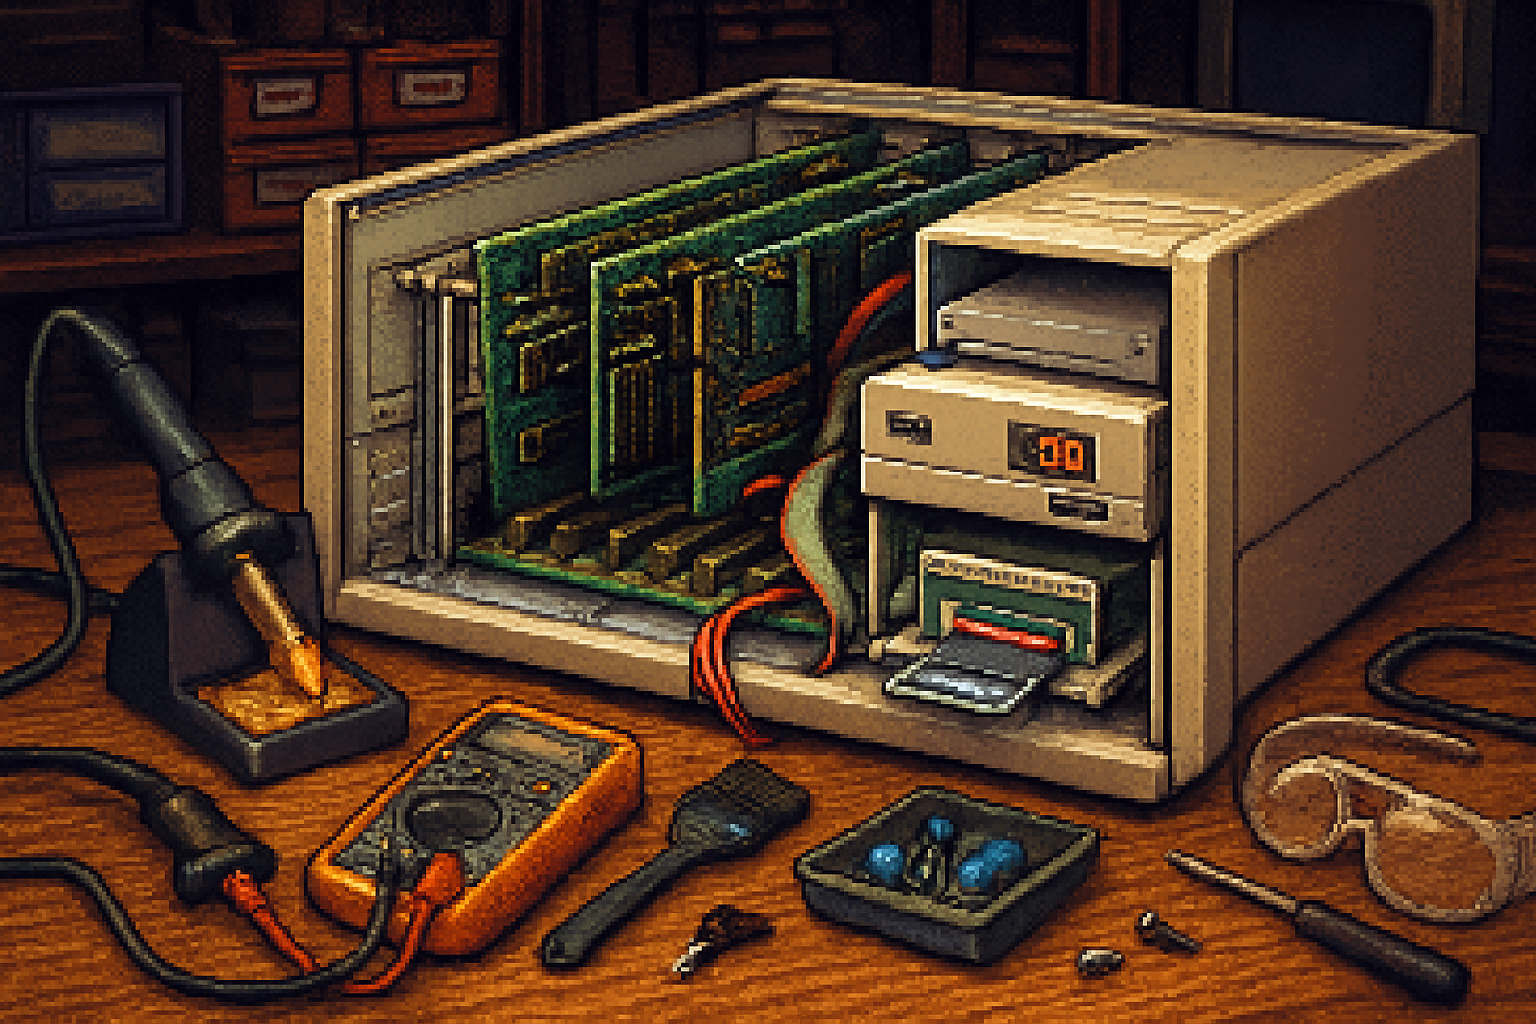
Safety & preservation: the first, boring (but essential) step
Think of restoration like conservation, not surgery. If you plan to use the machine, start here:
- Unplug and open with care. Old power supplies contain dried electrolytic capacitors that can fail spectacularly. If you don’t know how to work on PSUs, hand it to a shop or a trustworthy hobbyist.
- Recap the PSU and any electrolytics on mainboards. These capacitors are the leading cause of failure in vintage PCs.
- Clean switches, connectors and the keyboard. Use isopropyl alcohol and contact cleaner - no caustic solvents.
- Service floppy drives - replace belts, clean the heads, and realign if necessary.
- Photograph everything before you touch it. You’ll thank yourself when reassembly time comes.
Tools & parts you’ll likely need
- Multimeter, soldering iron, desoldering braid, capacitor kit.
- Replacement capacitors (electrolytic), belt kits for drives.
- Gotek floppy emulator (more on this), CF/IDE adapters, and an 8‑bit ISA NIC if you want networking.
- A modern power strip with surge protection; these old PSUs were not built for modern brownouts.
Project recipes - practical, proven, and not magical
- Make floppies irrelevant - Gotek + FlashFloppy (or HxC)
Why: Real 5.25” floppies are fragile, slow, and dying. A Gotek drive lets you mount disk images on USB and behave like a real floppy.
What you need:
- Gotek floppy emulator (cheap and ubiquitous).
- FlashFloppy firmware: https://github.com/keirf/FlashFloppy
- FAT32 USB stick with .IMG files.
Steps:
- Swap the original 5.25” drive with the Gotek (or sonically modify the Gotek to fit the 5.25” bay).
- Flash FlashFloppy (prebuilt images exist) and configure the drive to use 5.25” images.
- Copy your PC DOS or game images onto the USB stick. Boot.
Result: instant, reliable disk images. No more head skateboarding.
Estimated cost/time: $30–$60, 1–3 hours.
- Give the 5150 modern storage - XT‑IDE CompactFlash
Why: MFM hard drives and controllers are temperamental. XT‑IDE (and similar projects) provide CompactFlash/IDE to XT BIOS support so you can use a CF card as a hard drive.
Where to read about the project: the XT-IDE page on the Vintage Computer Federation wiki (good community guide): https://www.vcfed.org/wiki/index.php?title=XT-IDE_Project
What you need:
- XT-IDE-compatible CF adapter or perform a BIOS flash with an adapter board.
- CompactFlash card (or IDE-to-SD adapters designed for XT use).
Steps:
- Fit the adapter into the 8-bit ISA slot or install an XT‑IDE board that plugs into the bus.
- Configure the BIOS utility (if present) to recognize the CF as a drive.
- Partition and install DOS from a floppy image via Gotek.
Result: a quiet, fast, and reliable DOS hard drive that dramatically improves usability.
Estimated cost/time: $40–$100, 2–4 hours.
- Networking the old way - serial PPP with a Raspberry Pi (no ISA NIC required)
Why: Old NICs are fun, but often hard to source or configure. Using a Raspberry Pi as a PPP endpoint over serial gives you internet and file transfer with minimal hardware.
What you need:
- Level-shifting serial adapter (RS-232 to TTL or a USB-to-RS232 dongle and a Pi).
- Raspberry Pi (running a modern Linux distro).
- Kermit, or configure PPP on both ends.
Notes & links:
- Kermit project: https://kermitproject.org/ - a friendly file-transfer option.
Steps (summary):
- Connect the 5150 COM port to a serial port on the Pi using proper level conversion.
- Configure getty/pppd on the Pi and ppp on the 5150 (or use Kermit for transfers).
- Use terminal programs on the 5150 (Kermit, Telix, ProComm) for remote shell/file transfer.
Result: your 5150 can pull files, upload logs, and even ping other machines. It’s slow. It’s satisfying.
Estimated cost/time: $20–$60, 2–6 hours depending on comfort with PPP.
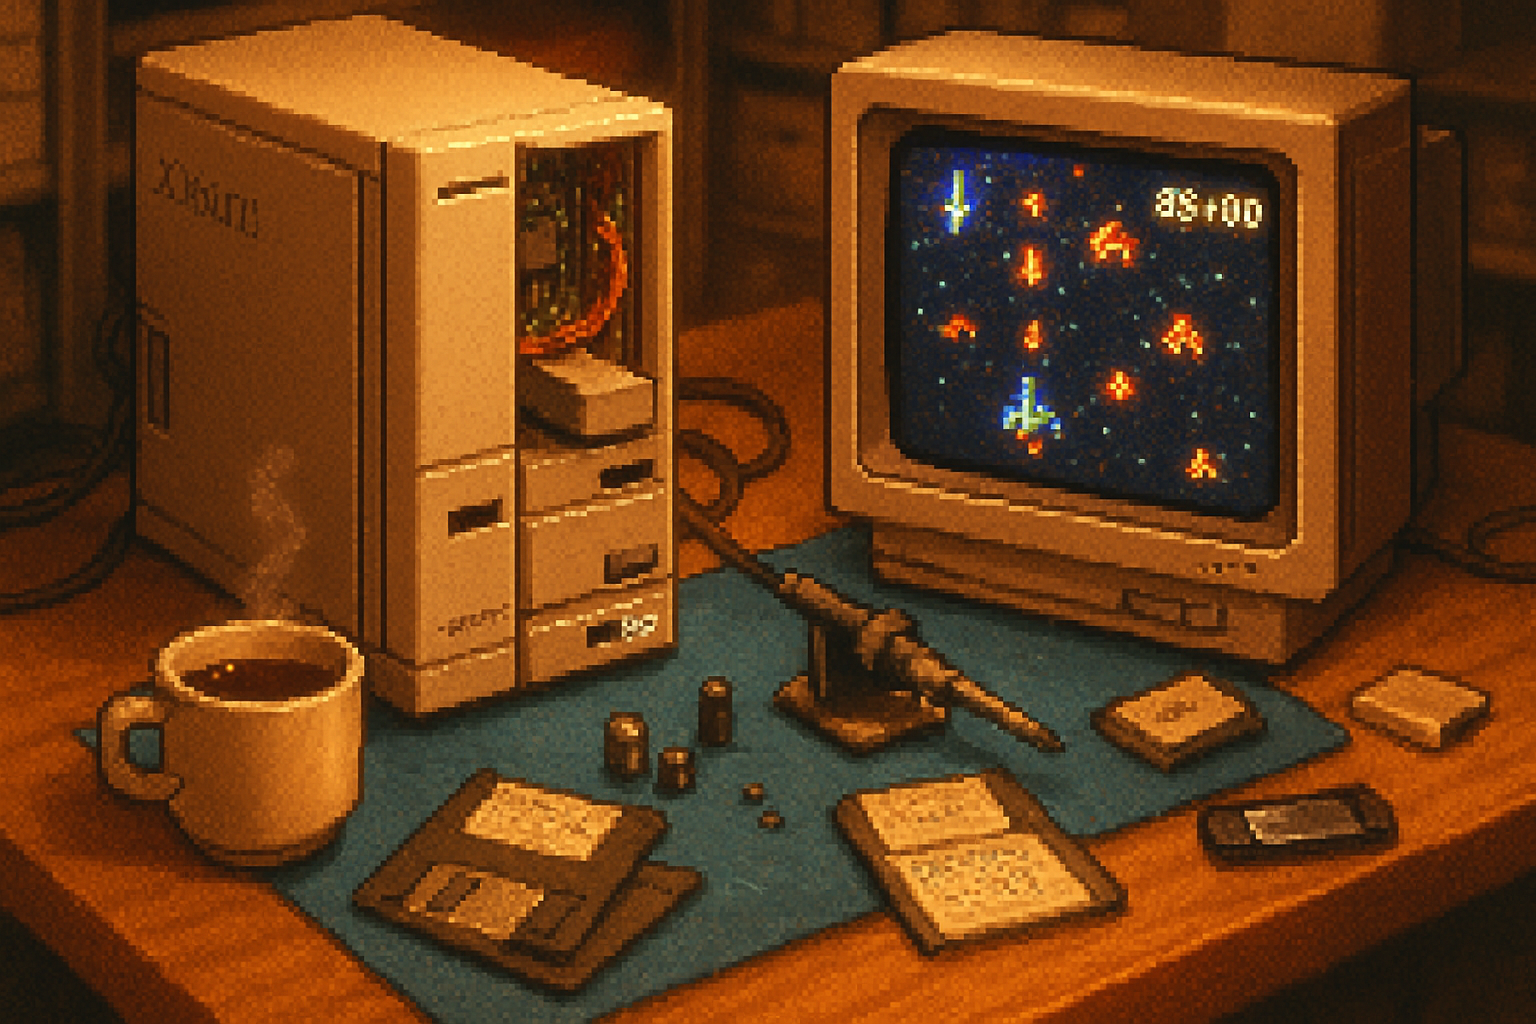
- CGA to modern displays - keep the look or upscale cleanly
Why: CGA output looks terrible on modern LCDs without a scaler - or wonderful, if you want the crisp artifacting.
Options:
- Use a CRT if you have access and space.
- Use an RGB/TTL to HDMI scaler (commercial boards or DIY FPGA scalers). There are projects and commercial converters targeted at retro consoles.
- For authentic artifact-color effects (for certain CGA games), keep the original CRT or use an emulator for visuals.
Result: crisp display on modern TVs or authentic vintage color on CRTs. Choose your aesthetic cruelty.
Estimated cost/time: $40–$200.
- Audio - bring back Sound Blaster and AdLib era music
Why: PC speaker is fine for utilities. But for games and music, an original AdLib (OPL2) or Sound Blaster card restores the sonic character of the era.
What you need:
- An 8‑bit Sound Blaster-compatible card (SB 1.0/1.5/2.0) or an AdLib card.
- Proper drivers (most DOS game installers request them).
Result: MIDI music, FM synthesis, and the classic sound palette of early PC games.
Estimated cost/time: $20–$80.
- Use the 5150 as a dedicated instrument controller or data logger
Why: The 5150’s ISA bus and simple DOS environment make it a great deterministic controller for hardware that doesn’t need modern multitasking.
Examples:
- Attach an ADC ISA card or a relay board and log sensor data to disk (or a CF card with XT‑IDE).
- Use the parallel port or serial port to talk to MIDI gear, synthesizers, or lab equipment.
Result: a slow, reliable piece of hardware automation that survives firmware updates and SaaS outages. It won’t tweet, but it will log.
Estimated cost/time: $50–$150, depending on sensor boards and interfacing.
- Retro gaming shrine - authenticity plus modern creature comforts
Why: Emulation is convenient. But playing King�27s Quest or Prince of Persia on a real 5150, with an authentic keyboard and original sound card, is a different animal.
To build the shrine:
- Install a CF hard drive with DOS and a library of games.
- Add a Sound Blaster or AdLib for authentic audio.
- Use a Gotek for floppy images and a CGA scaler for HDMI output, or run to a CRT.
- Add a joystick adapter if needed.
Result: a curated, reliable retro-machine for friends, demonstrations, or personal shameful immersion.
Estimated cost/time: $100–$300.
Hardware and community notes
- If you want to buy parts, search vintage-computing marketplaces and community forums. Patience is a currency as valuable as dollars.
- Joining a local vintage-computer meetup or online forum (e.g., Vintage Computer Federation) connects you to documentation, ROM dumps, and hard-to-find parts.
- Document your changes. Future you - or a museum curator - will appreciate a clear change-log.
When to leave things stock
- If your 5150 is rare, historically significant, or you intend to donate to a museum, avoid irreversible modifications.
- Mechanical servicing (caps, belts, cleaning) is safe and reversible. Firmware flashing and hardware modding is not.
Troubleshooting common headaches
- No power - check the PSU caps and fuses. Replace electrolytics before applying full power for long periods.
- Floppy errors - clean the heads, replace belts, or use Gotek.
- Video problems - check the card seating and monitor selection (MDA vs CGA).
- Sound - wrong IRQ/DMA settings are the usual culprit. Verify jumpers and drivers.
A final, slightly idealistic thought
The 5150 is a paradox: painfully slow and gloriously immediate. It forces you to think in sequences, not streams. Repurposing one is not about efficiency, it’s about recalibrating expectations. Turn a machine that once symbolized corporate power into a maker’s bench, a musician’s controller, a historian’s exhibit, or simply an exceptionally dignified game console.
If you want the machine to do one thing and do it without distraction, repurposing the 5150 is a tiny act of rebellion. Slow computing, done well, is an aesthetic.
References and further reading
- IBM Personal Computer (Wikipedia): https://en.wikipedia.org/wiki/IBM_Personal_Computer
- FlashFloppy (Gotek firmware): https://github.com/keirf/FlashFloppy
- XT‑IDE Project (community guide): https://www.vcfed.org/wiki/index.php?title=XT-IDE_Project
- Raspberry Pi Foundation (for serial/PPP projects): https://www.raspberrypi.org/
- Kermit Project (file transfer & terminal software): https://kermitproject.org/