· retrotech · 9 min read
Reviving the IBM PC AT: A Retro Tech Restoration Guide
A complete, step-by-step restoration guide for the IBM PC AT (5170-era and compatibles). Covers inspection, cleaning, power supply and capacitor work, floppy/HDD modernization, keyboard/video adapters, networking, software transfer and sourcing vintage parts.
Why restore an IBM PC AT?
The IBM PC AT (and its many compatibles) is a cornerstone of PC history: 16-bit bus, 286-class CPUs, and the beginning of the modern PC architecture. Restoring an AT is rewarding - it’s a hands-on lesson in hardware, gives you a machine that runs classic DOS/Windows software natively, and produces a great conversation piece. This guide walks you from dusty barn-find to a usable retro system with modern conveniences (floppy and hard-disk emulation, network access, USB keyboard, and more).
Quick overview (what you’ll achieve)
- Safe assessment and cleaning of the machine
- Power supply and electrolytic capacitor remediation
- Restoring or replacing floppy and hard drives, including modern emulation (Gotek, CF-to-IDE, SCSI2SD)
- Modernizing input/output - AT keyboard to USB, video options, network via ISA NICs
- Software workflows - transferring disk images, running FreeDOS, imaging drives
Tools and parts checklist
- Tools - Phillips and flat screwdrivers, needle-nose pliers, small wire cutters, soldering iron with fine tip, desoldering braid or pump, flux, multimeter, ESR meter (optional), digital camera (for documentation), soft brushes, isopropyl alcohol (>=90%), cotton swabs
- Safety - ESD strap, insulating mat, mains-rated isolation transformer or residual-current device (RCD) when working on mains, safety glasses
- Common spare parts - 5–20 electrolytic capacitors (matching µF and voltage), replacement power supply capacitors, replacement belts for disk drives (if you plan to service them), Gotek USB floppy emulator (FlashFloppy-compatible), CompactFlash (CF) card + CF-to-IDE adapter or SCSI2SD for SCSI systems, NE2000-compatible ISA network card (for Ethernet), AT-to-USB keyboard adapter
- Optional - oscilloscope, bench power supply with current limiting
Helpful reference resources
- IBM Personal Computer/AT (Wikipedia): https://en.wikipedia.org/wiki/IBM_Personal_Computer/AT
- ISA bus (Wikipedia): https://en.wikipedia.org/wiki/Industry_Standard_Architecture
- Gotek & FlashFloppy (community firmware for Gotek): https://github.com/keirf/FlashFloppy
- HxC Floppy Emulator: http://hxc2001.com/
- CompactFlash (useful for IDE-to-CF adapter background): https://en.wikipedia.org/wiki/CompactFlash
- Bad Caps (capacitor failure reference): https://www.badcaps.net/
- Retro hardware community (forums and advice): https://www.vogons.org
- Through-hole soldering guide (SparkFun): https://learn.sparkfun.com/tutorials/how-to-solder---through-hole-soldering
Safety first - before you touch anything
- Unplug and discharge - Always unplug the machine and wait several minutes before opening. Some large electrolytic capacitors can hold charge; use proper discharge procedures or leave the machine unplugged for longer.
- Mains danger - If you plan to probe or power the PSU while connected to mains, use an isolation transformer or RCD and work only if you are comfortable and trained in mains work.
- ESD - Use an ESD strap when handling boards and ICs.
- Document - Photograph every connector and card slot before removal so reassembly is easy.
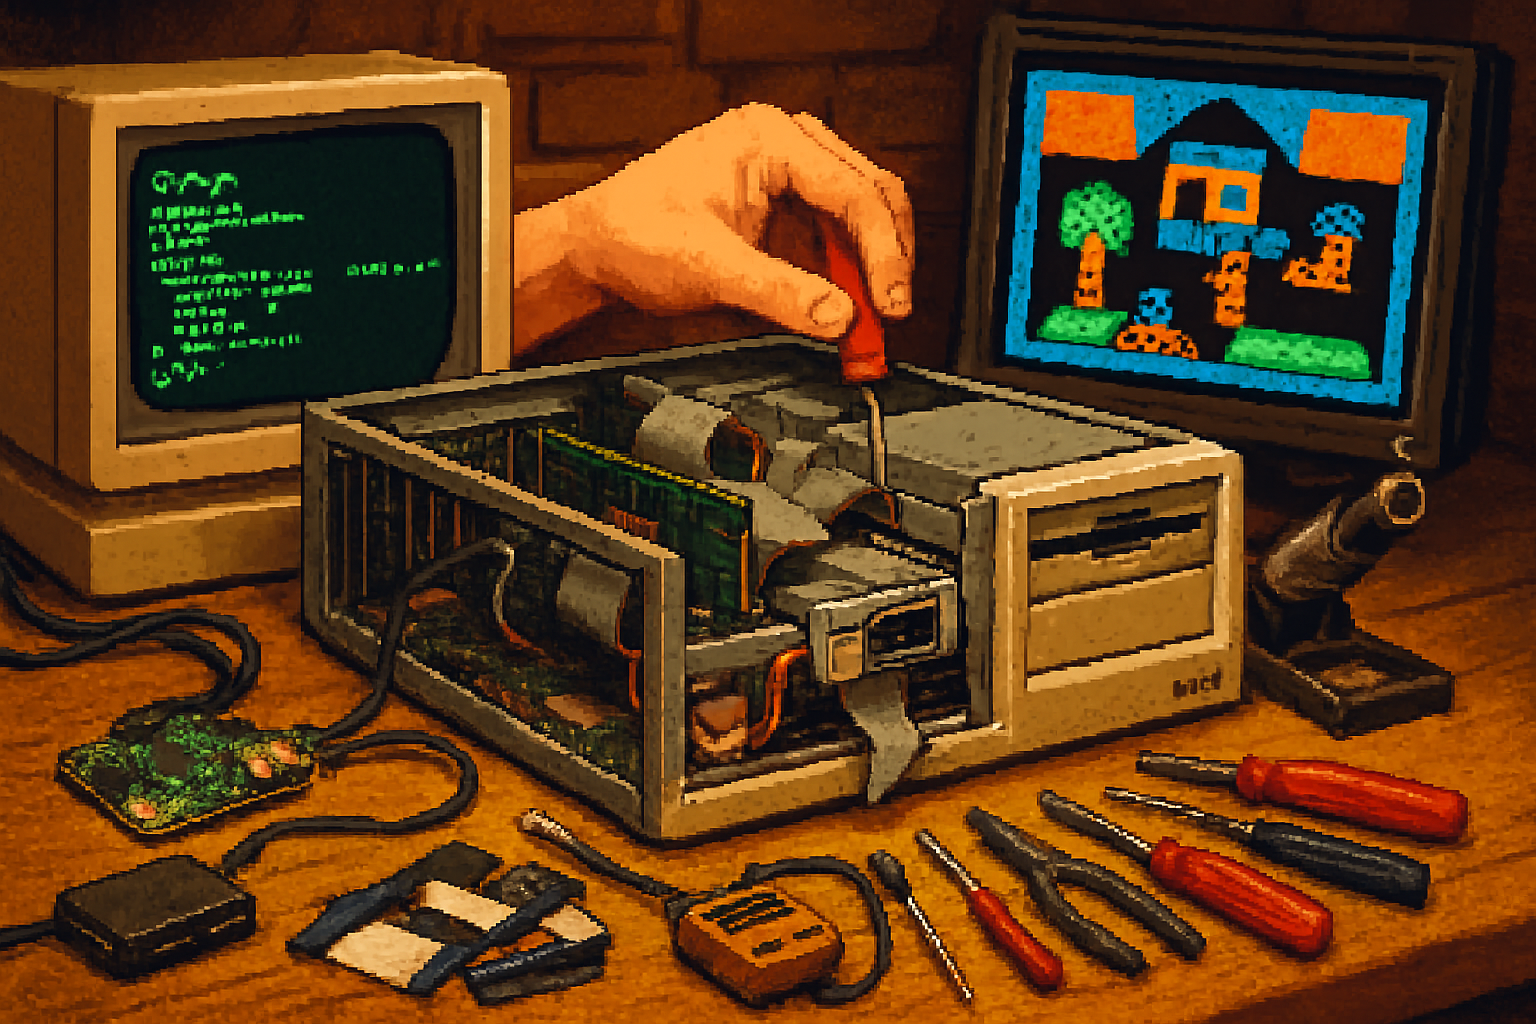
Step 1 - Initial assessment and documentation
- Photograph the exterior and interior as-found. Note labels, serial numbers, additions (cards, drives).
- Look for obvious damage - blown capacitors (bulging/leaking), burn marks, corroded connectors, missing components.
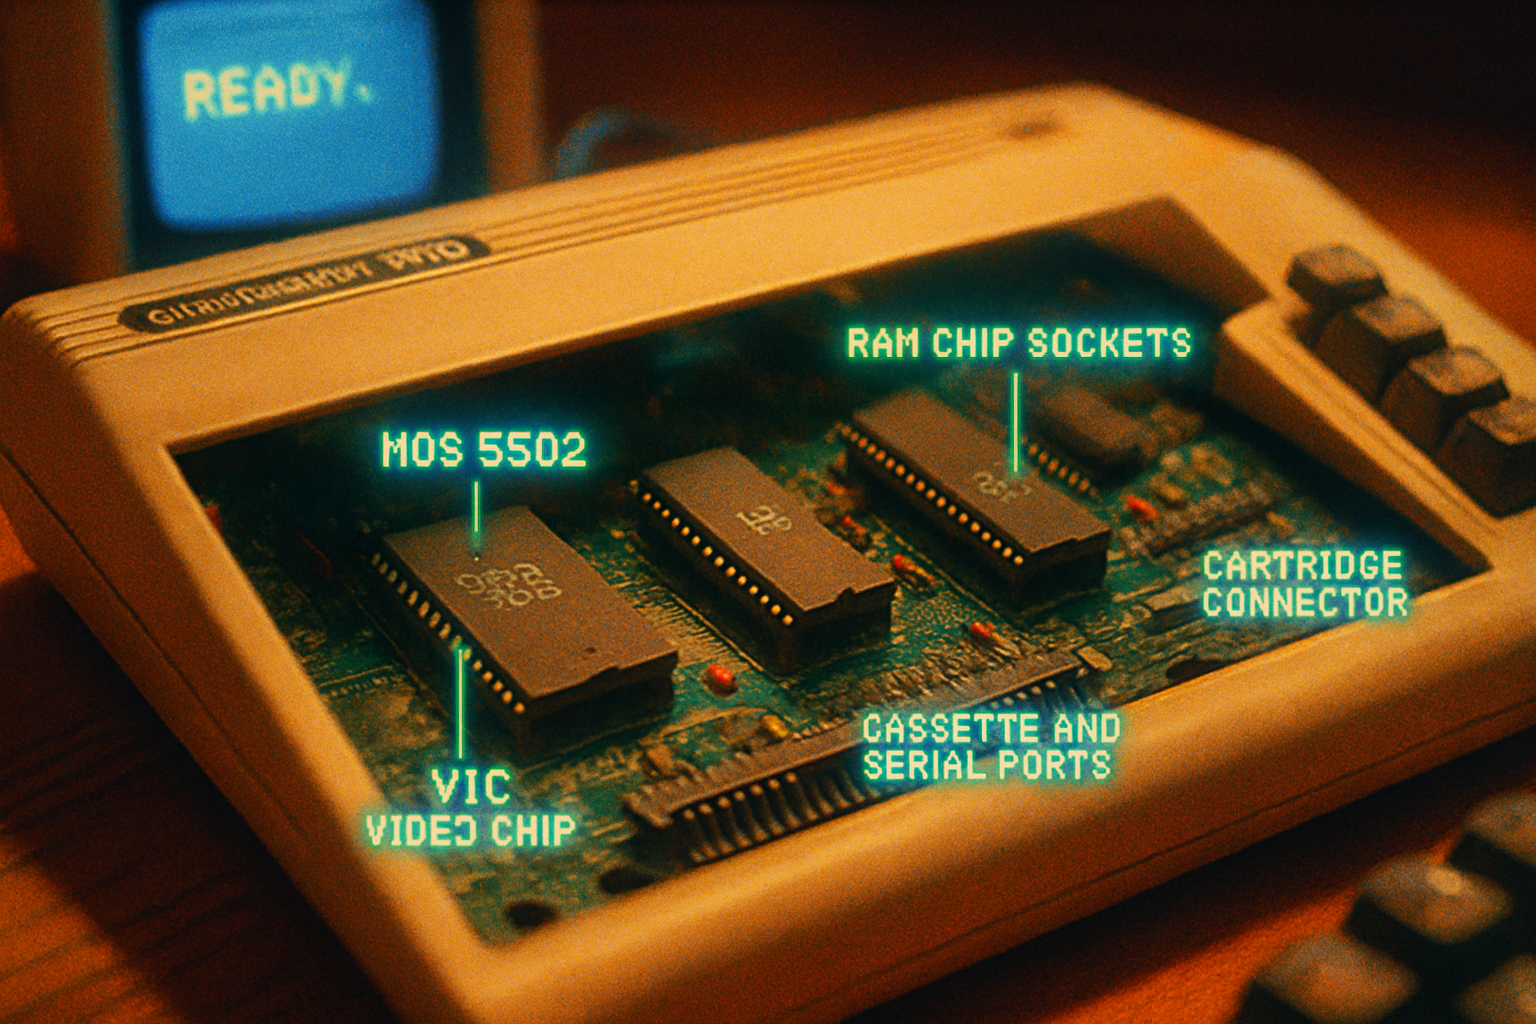
- Identify the configuration - CPU (80286/other), number and type of expansion slots (ISA 16-bit), presence of hard drive (MFM/IDE/SCSI), floppy drives (5.25” vs 3.5”), video card type (MDA/CGA/EGA/VGA), and keyboard connector type.
- Research your exact model; some subsystem details vary. The IBM PC/AT wiki page and community forums like Vogons are very useful.
Step 2 - Cleaning and mechanical care
- Exterior - Use a soft brush and vacuum (low suction) to remove loose dust.
- PCB cleaning - Use compressed air and a soft brush. For sticky grime, use isopropyl alcohol and cotton swabs - dab, do not scrub hard.
- Connectors and edge contacts - Clean with isopropyl alcohol and a fiberglass pen or pencil eraser for oxidation (lightly). Avoid aggressive scraping that could remove plating.
- Floppy drive belts and heads - Replace dried belts and gently clean heads with isopropyl alcohol. If belts are brittle, source replacements (search “5.25 floppy belt” etc.).
Step 3 - Power supply and capacitor remediation (recapping)
Why this matters: Old electrolytic capacitors dry out or leak; PSUs and motherboards are prime candidates. Replacing suspect capacitors is one of the highest-value repair tasks.
- Inspect - Look for bulged tops, vented cans, or brownish leakage on or under capacitors.
- Decide - For PSUs, a full recapping is often safer than trying to reform. For motherboards, replace any suspect caps and any electrolytic caps over ~20 years old.
- Replacement parts - Use capacitors with equal capacitance and equal/higher voltage rating. Prefer low-ESR capacitors rated for 105°C when possible for reliability.
- Tools/technique - Use a temperature-controlled soldering iron, flux, and desoldering braid or pump. Note polarity and orientation carefully.
Resources on how to recap safely: BadCaps FAQ and examples and standard soldering guides like SparkFun’s.
Step 4 - Powering up for the first time (bench testing)
- Pre-power checklist - Ensure no loose screws, no obvious shorts caused by misplaced tools, and that caps are replaced if obviously failed.
- Current-limited bench PSU - If available, use a bench PSU to bring up the system slowly. Otherwise power on after checks but be ready to cut power if smoke/odor/odd noise appears.
- What to watch - Fan operation, PSU voltages (measure with a multimeter), any smoke or burning smell, POST beeps or diagnostic codes.
If the PSU fails or produces wrong voltages, repair or replace it rather than powering the system with a dubious supply.
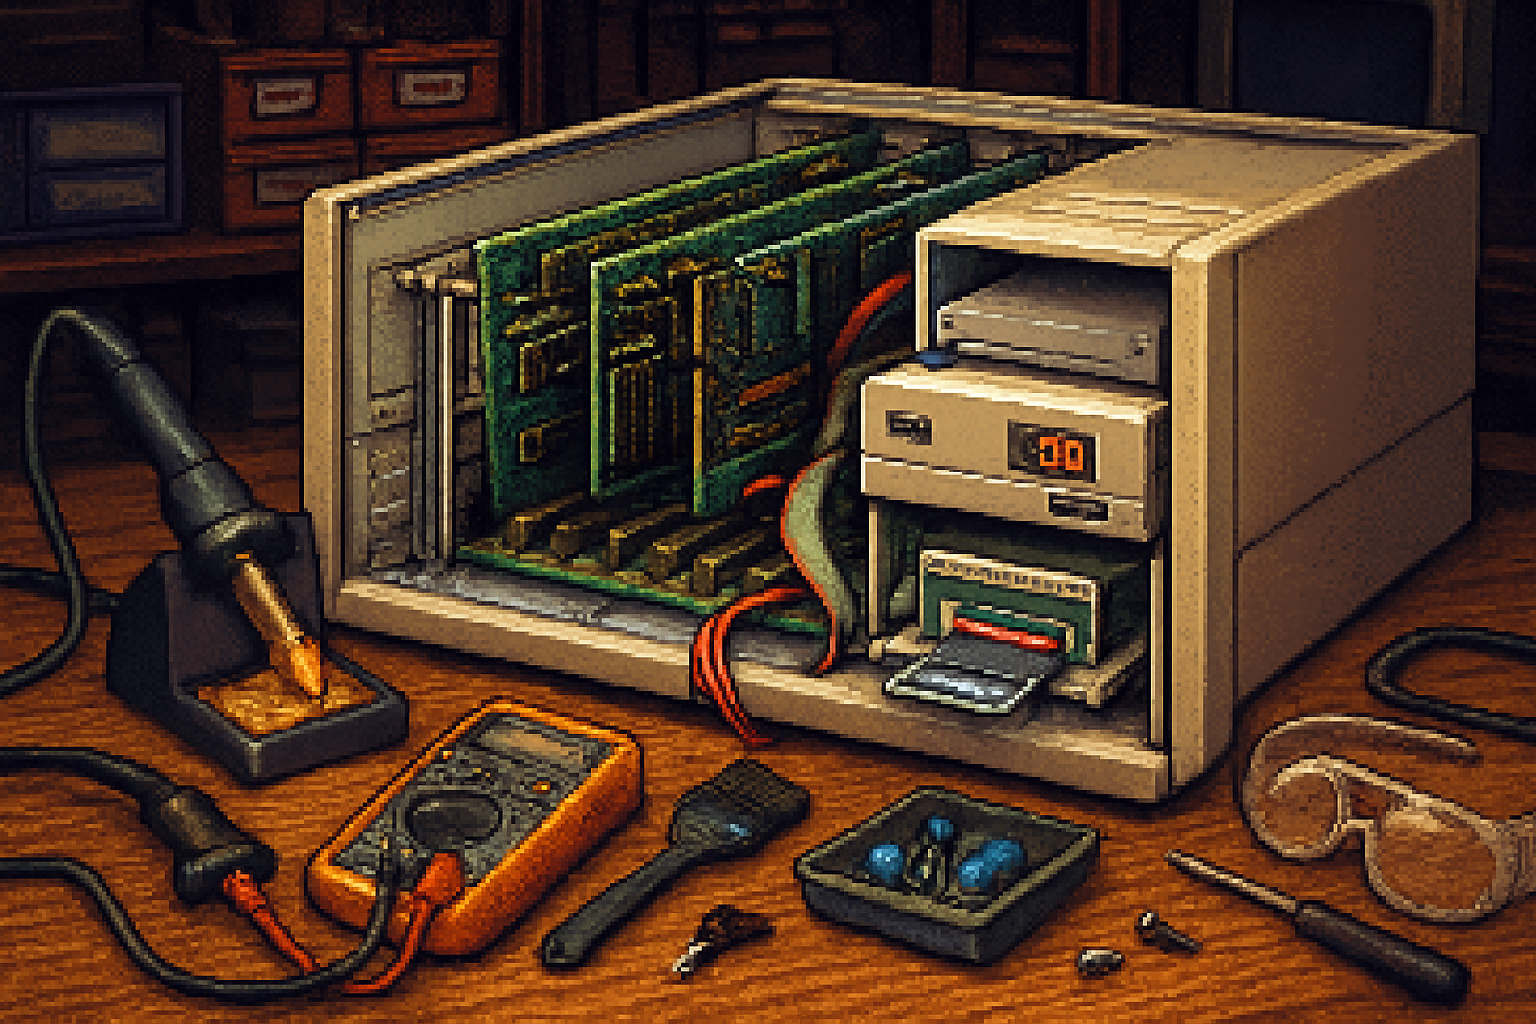
Step 5 - Floppy and hard-disk options (restore vs. emulate)
The classic AT uses 5.25” and sometimes 3.5” floppies; hard drives could be MFM/ST-506, early IDE, or SCSI depending on the machine.
Options:
- Restore original drives - Clean heads, replace belts, and replace worn mechanical parts where possible.
- Emulate with Gotek (floppy emulator) - The Gotek USB floppy emulator, when flashed with community firmware such as FlashFloppy, can present many floppy images (.img/.img.gz/.st). Copy images to a FAT32 USB stick and the Gotek will mount them as virtual disks for the host PC. See
- Replace HDD with CF-to-IDE adapter - If your AT has an IDE/ATA controller, use a CompactFlash card with a CF-to-IDE adapter as a modern solid-state replacement. CF cards present as ATA devices and are very compatible.
- For SCSI systems - SCSI2SD offers an SD-based disk replacement that emulates SCSI devices.
Practical Gotek USB image preparation (Windows or Linux):
- Format a USB stick as FAT32.
- Place your floppy images (.img) on the root or recommended folder structure per the firmware instructions.
- Configure the Gotek using its OLED and rotary selection or via the config file on the stick.
Example: Mounting a .IMG on a USB stick is usually just file-copy; no special tools are required for FlashFloppy/Gotek.
If you need to create or convert images from physical disks, tools like KryoFlux/HxC hardware are used by archivists - or use an intermediate working retro PC with a disk controller to image the disk to files and then transfer them.
Step 6 - Keyboard, mouse and modern input
- Keyboard - The AT keyboard (large 5+ pin DIN/AT connector) is easily adapted to USB with passive or active adapters. Active adapters (with microcontroller) handle protocol translation and are widely available; search for “AT to USB keyboard adapter”.
- Mouse - Old PS/2/serial mice can be adapted to USB via PS/2-to-USB adapters (active adapters preferred). Many AT-era machines use serial mice; using a USB bridge for serial mice is less common - instead consider using a PS/2 mouse if your board supports it via an adapter.
Step 7 - Video: getting a modern display to work
- Identify the video card - CGA/EGA/MDA/VGA. Some early cards produce TTL signals that CRTs or upscalers can interpret.
- Use original CRTs for authenticity where possible. For modern LCDs, options include:
- Find an ISA VGA card with standard VGA output (15-pin D-sub) and feed directly to a VGA monitor or VGA-to-DVI/HDMI converter.
- Use signal converters/scalers or capture devices that accept TTL or composite if you’re using an older card.
- Resources and adapters are available on retro hardware sites and eBay. For upscaling low-res signals to HDMI, look into OSSC/upscalers or dedicated video interface boards designed for retro systems.
Step 8 - Networking and expansion
- ISA network cards - For TCP/IP/network access, NE2000-compatible ISA Ethernet cards are very common and supported by many DOS/Windows drivers. With NE2000 and DOS packet drivers or mTCP, you can get FTP, FTPD, telnet, and more.
- Serial networking - Use the serial port with SLIP/PPP on DOS or a modern serial-to-USB bridge for file transfer.
- Storage expansion - Additional IDE or SCSI controllers on ISA slots may provide more flexible storage options.
Step 9 - Software: OS, drivers and transferring files
- OS - FreeDOS is a modern, compatible DOS distribution; MS-DOS 6.22 remains the classic choice. For early Windows use (1.x/3.x) use appropriate media.
- Drivers - Keep driver disks for your video card, network card, and other ISA cards. NE2000 packet drivers are widely available.
- File transfer:
- Floppy images via Gotek or HxC
- Serial transfer using Kermit, ZMODEM, or simple XMODEM tools
- Network transfer if you install an NE2000-compatible card and use mTCP or other DOS TCP/IP stacks
- CF or SD cards (via adapter) to move files if using an IDE/CF setup
Common troubleshooting tips
- No power or fans - Re-check PSU voltages. Replace or repair PSU.
- POST beeps or no video - Note beep codes and look them up for your BIOS. Try reseating RAM and expansion cards.
- Floppy disk read errors - Clean heads, replace belts, or use a Gotek emulator.
- Corroded edge connectors - Clean gently with isopropyl alcohol and a fiberglass pen.
Sourcing parts and components
- eBay - Great for entire systems, drives, ISA cards, and rare parts. Be careful with sellers and test items where possible.
- Local hamfests and swap meets - Often excellent and lower cost for spare parts and drives.
- Specialized retro shops - Offer tested supplies like Gotek units, CF adapters, and replacement belts.
- Salvage - Donor boards and PSUs from other vintage machines can be a valuable source for parts.
Long-term maintenance
- Keep the machine in a dry, temperate environment.
- Power it up occasionally to keep mechanical parts lubricated and capacitors in use.
- Back up drives (image important floppy/hard disks) - many classic software packages are irreplaceable.
Example restoration timeline (practical plan)
Week 1: Assessment, photograph, clean, document, order parts (belts, capacitors, Gotek, CF adapter). Week 2: Replace obvious caps, clean edge connectors, test PSU on bench with current limiting. Week 3: Replace/restore floppy drive belts and clean heads; install Gotek for floppy emulation. Week 4: Install CF-to-IDE adapter or SCSI2SD for storage; add NE2000 ISA card for networking; adapter for keyboard to USB. Week 5: Install software (FreeDOS/MS-DOS), copy disk images, test networking and peripherals.
Final notes and etiquette
- Respect the machine - original components (badges, unique cards) often carry historical value - if you plan to replace parts, document and (if possible) preserve originals.
- Share your work - Document your restoration with photos and notes for the community.
References
- IBM PC/AT - https://en.wikipedia.org/wiki/IBM_Personal_Computer/AT
- ISA bus - https://en.wikipedia.org/wiki/Industry_Standard_Architecture
- FlashFloppy (Gotek firmware) - https://github.com/keirf/FlashFloppy
- HxC Floppy Emulator - http://hxc2001.com/
- CompactFlash - https://en.wikipedia.org/wiki/CompactFlash
- BadCaps (capacitor problems) - https://www.badcaps.net/
- Vogons retro hardware forum - https://www.vogons.org