· retrotech · 7 min read
Reviving the IBM PC XT: A Modern Twist on a Vintage Classic
A practical, in-depth guide to refurbishing an IBM PC XT: learn how to safely inspect and restore vintage hardware, upgrade storage and CPU, add modern conveniences like USB-floppy emulators and network access, and explore creative uses for a restored XT in today’s digital world.
Why revive an IBM PC XT?
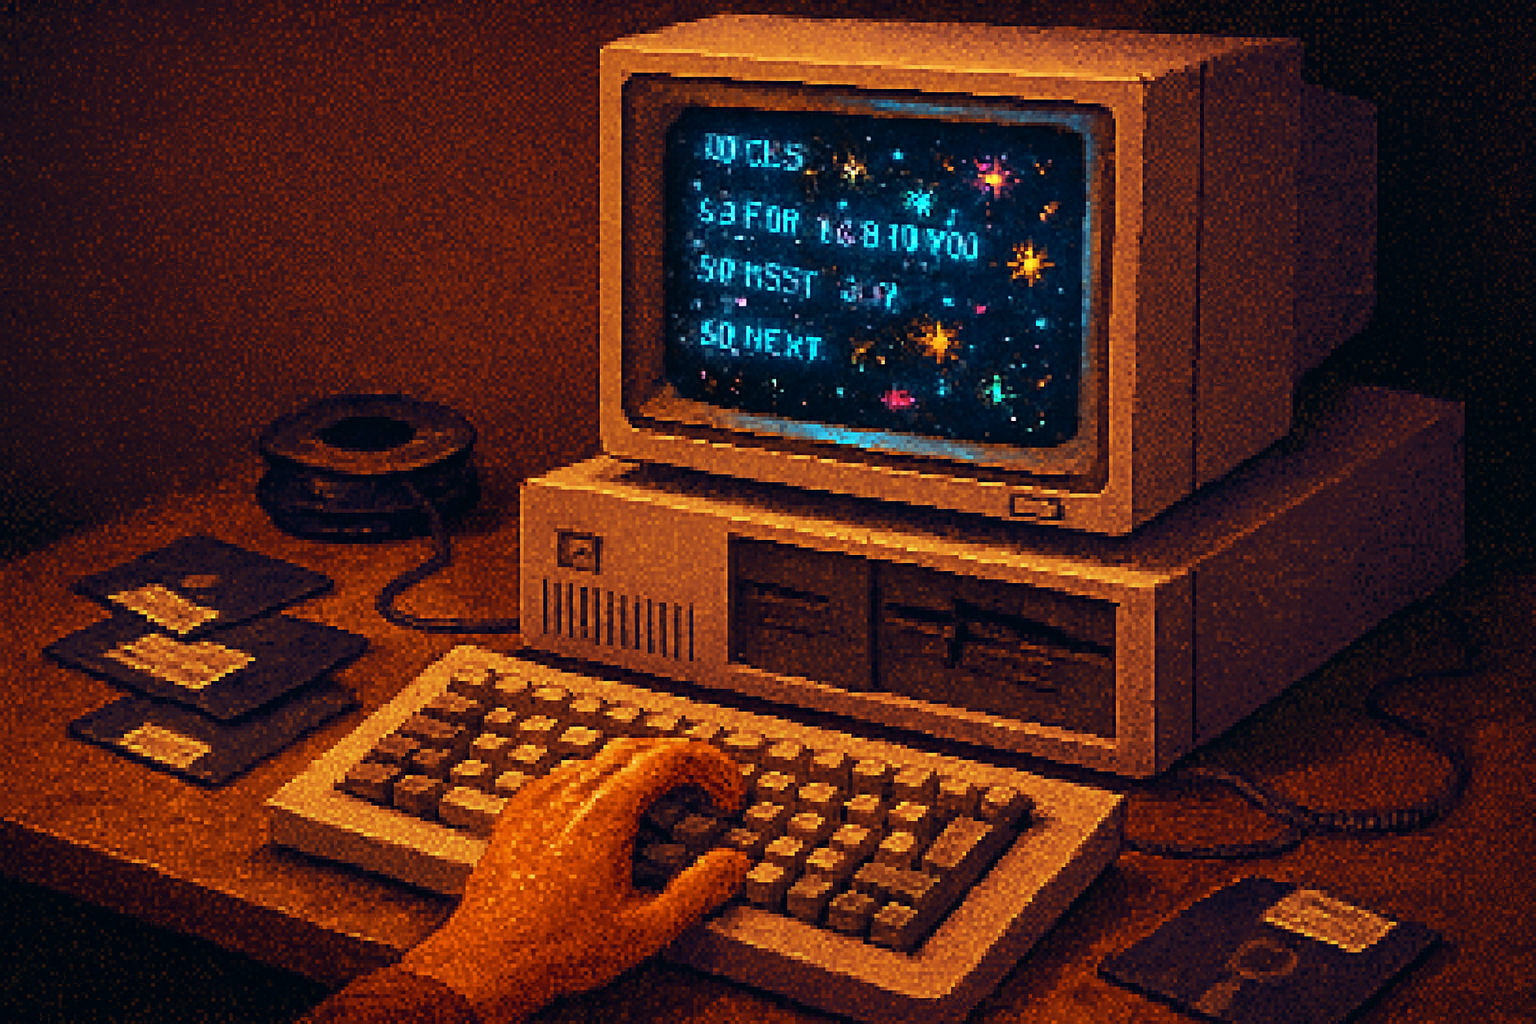
The IBM PC XT (introduced in 1983) is both a milestone in personal computing and a wonderful platform for hands-on hardware restoration. Restoring an XT blends historical preservation, electronics craftsmanship, and modern pragmatism: you get the tactile satisfaction of original hardware with the convenience of contemporary storage, networking, and peripherals.
- It’s an educational project - excellent for learning early PC architecture (ISA/XT bus, floppy/hard controllers, BIOS behavior).
- It preserves computing history and transforms it into a usable machine for classic software, BBSs, demos, and displays.
- It’s fun - running original DOS-era programs on original hardware has a character emulation can’t fully reproduce.
For reference on the model and architecture, see the IBM PC XT overview: https://en.wikipedia.org/wiki/IBM_Personal_Computer_XT and the broader PC/ISA information: https://en.wikipedia.org/wiki/Industry_Standard_Architecture.
Overview of typical upgrade paths
Here are the most common and impactful modernizations people perform on an XT:
- Storage - Replace failing MFM/ST-506 or old HDDs with CompactFlash (CF) or SD via IDE adapter, or use a USB floppy emulator (Gotek).
- CPU - Drop-in replacements like the NEC V20/V30 for improved performance and compatibility.
- Memory - Install ROM/RAM expansion cards to reach practical DOS memory sizes.
- I/O - Add serial-to-USB bridges, NE2000-compatible Ethernet ISA cards, or use serial file-transfer tools.
- Power & safety - Re-cap aging capacitors, test/replace the power supply, consider an AT-to-ATX adapter or modern internal PSU replacement.
- Display/keyboard - Convert CGA/MDA output to VGA or use a modern adapter; preserve original keyboard or use adapters.
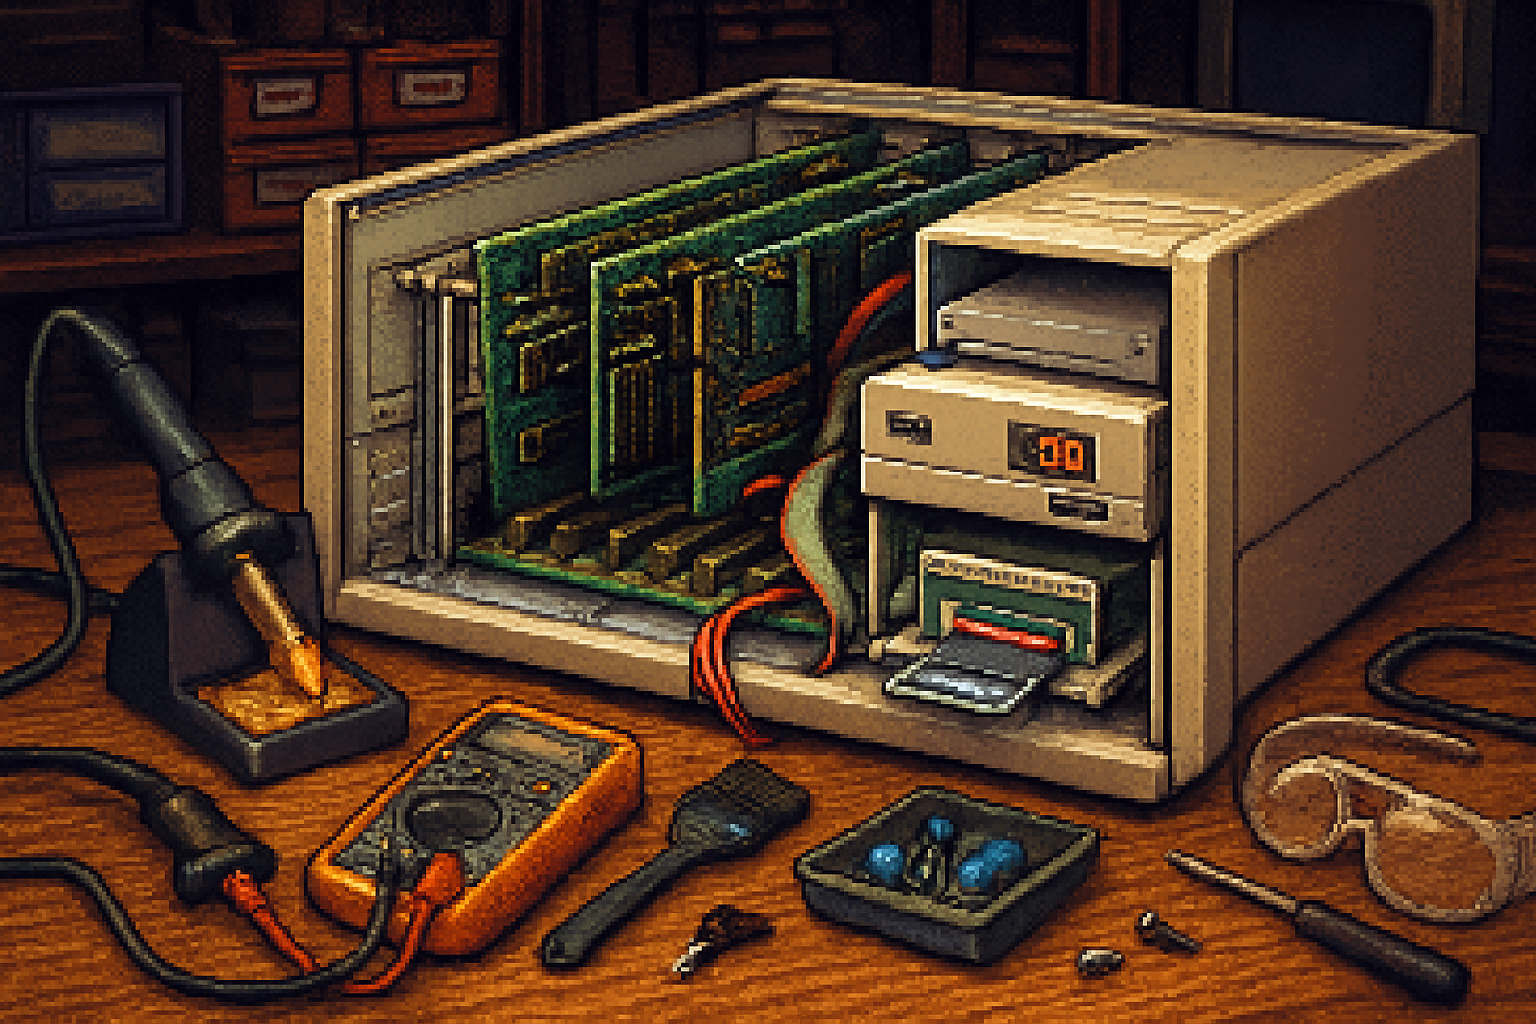
Step-by-step refurbishment workflow
This section walks through a safe, practical process to bring an XT back to life and add modern conveniences.
1) Prepare and document
- Gather documentation and photos of the machine before disassembly.
- Work on a static-free surface; use an anti-static wrist strap if possible.
- Identify model-specific quirks (IBM-branded 5160 XTs differ from later clones in connectors and layout).
2) Visual inspection and cleaning
- Look for bulging/leaking capacitors, burnt components, corroded sockets, or rodent damage.
- Clean dust carefully using a soft brush, compressed air (short bursts), and isopropyl alcohol for contacts.
- Inspect edge connectors (ISA/keyboard) for corrosion; gently clean with contact cleaner.
3) Power supply and capacitor health
- The XT power supply ages poorly. Before powering up, measure with a multimeter if you’re experienced, or have a professional check it.
- Recapping electrolytic capacitors on the PSU and motherboard is a common preventive step. If you’re not comfortable with soldering on vintage boards, seek a specialist.
- Beware of CRT monitor high voltage - service with experience or use a modern adapter/display.
4) First-power precautions
- Power on with minimal configuration (motherboard, CPU, 1 stick RAM, power supply). Use a known-good floppy drive or a diagnostic card if possible.
- Monitor voltages quickly and power down if you see smoke, odd smells, or incorrect voltages.
- If the XT doesn’t POST, consult diagnostic LED codes, BIOS beeps, or expansion card conflicts.
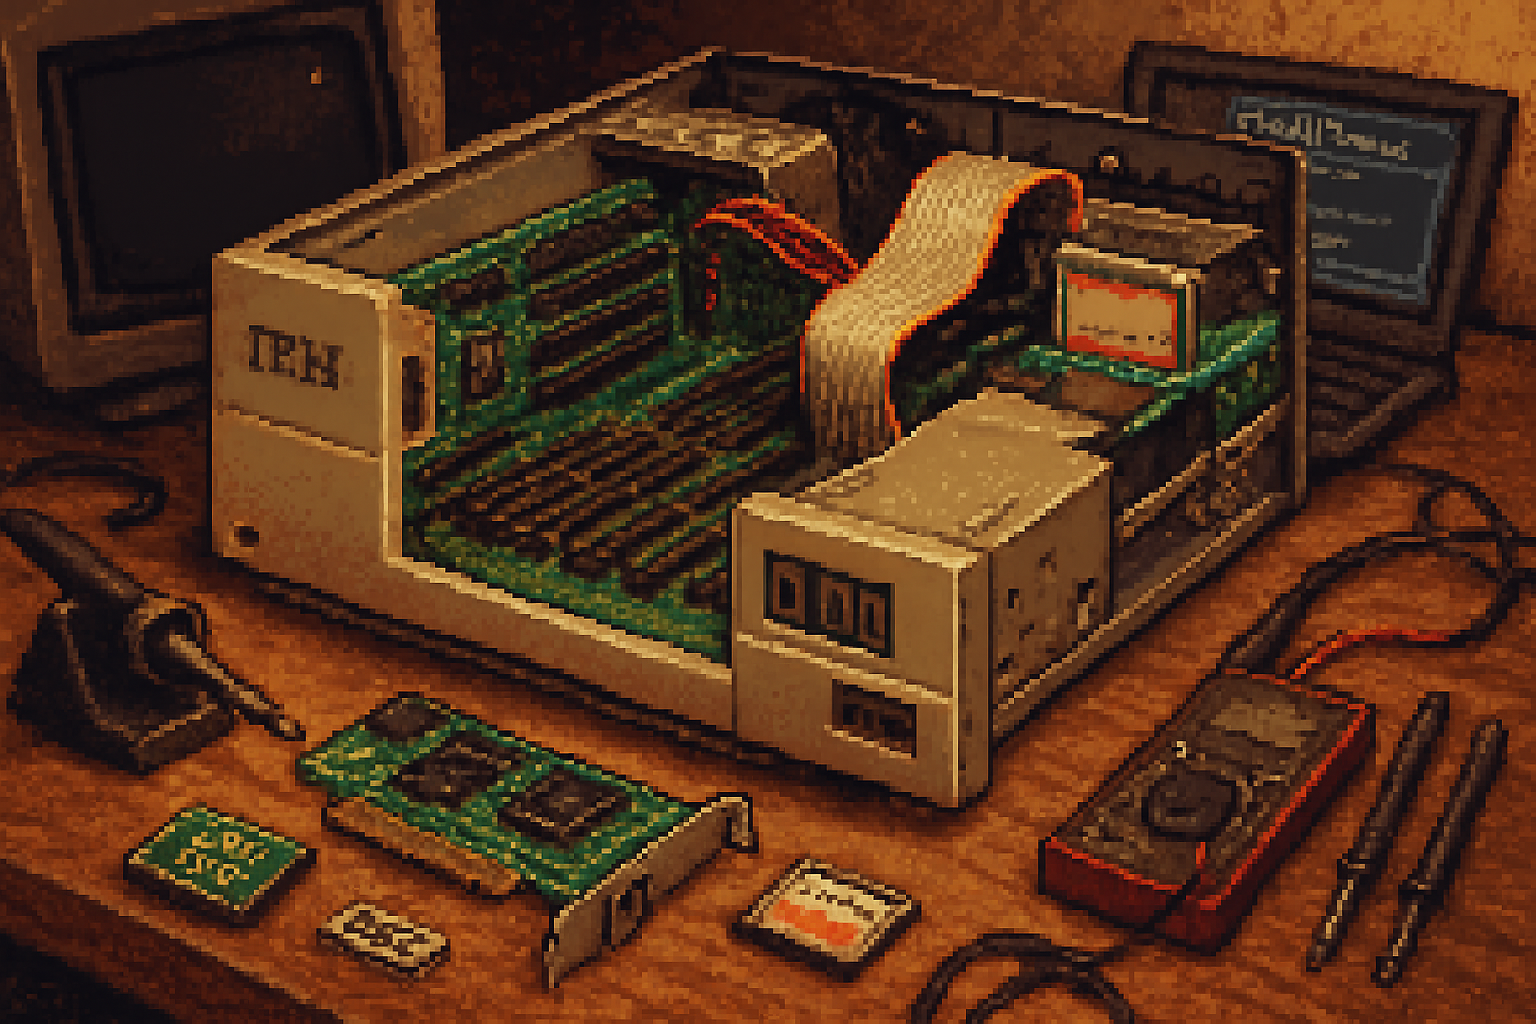
5) Storage modernization: Gotek and CF/IDE
- Gotek USB floppy emulator - Highly recommended replacement for unreliable 5.25” drives. Install it in the floppy bay; use FlashFloppy or HxC firmware for better compatibility (
- XTIDE / CF-to-IDE - Old XTs often use an ST-506 controller for early HDDs. Projects such as XT-IDE or modern CF-to-IDE adapters allow you to emulate an IDE drive with CompactFlash or an SD card - greatly improving reliability and speed. A community project resource is
- For machines with an existing MFM/ST-506 hard controller, you may either keep the controller and adapt an emulator (more complex) or replace the controller with IDE-compatible solutions (if the bus/slot supports it).
6) CPU and performance upgrades
- NEC V20/V30 chips are drop-in replacements for many 8088/8086 CPUs; they give a measurable speed boost and extra instruction support (https://en.wikipedia.org/wiki/NEC_V20). They’re an inexpensive way to modernize performance while keeping original behavior.
- Some enthusiasts add clock-boosting ‘turbo’ modules or bus extenders; note this can destabilize timing-sensitive software (especially games and copy-protection routines).
7) Memory expansion
- XT-era machines commonly shipped with 128–256KB RAM and are often expandable to 640KB with RAM expansion cards in the ISA bus.
- Look for compatible RAM expansion cards (often marketed for IBM PC/XT memory upgrades) or use existing sockets to add modules. Check grounding and slot compatibility.
8) Networking and I/O
- Ethernet - Install an ISA NE2000-compatible card (many 8-bit clones exist) and run DOS networking stacks (mTCP or other DOS TCP/IP drivers). mTCP is a modern lightweight TCP/IP stack for DOS:
- Serial networking - Use the serial port for modem/BBS style connectivity or connect to a modern PC via a serial-to-USB adapter and terminal software for file transfer (Kermit, XMODEM).
- USB - Native USB is not feasible on original DOS without hardware bridges. The more practical approach is using a modern device (Raspberry Pi) inside the case acting as a headless file server or intermediary.
9) Video and monitor options
- Original CGA/MDA adapters drive CRT monitors. For safety and convenience, you can use a CGA-to-VGA or CGA-to-USB capture adapter to feed a modern display. Some artifacts (palette, timing) may differ.
- For authentic experience, refurbish the original monitor (beware of CRT hazards) or source a working vintage monitor.
10) Software and OS choices
- MS-DOS (historical), DR-DOS, or FreeDOS can run on XTs. FreeDOS is an actively maintained open-source DOS-compatible OS: https://www.freedos.org/.
- For software transfer, use floppy images via Gotek, serial transfer, or XMODEM/FTP solutions over DOS network stacks.
Practical applications for a refurbished XT
- Run original software and vintage games on original hardware.
- Host a retro BBS or small file server (with appropriate networking hardware).
- Demonstration piece in museums, classrooms, meetups.
- Platform for reverse engineering, coding for legacy systems, or preserving digital artifacts.
- Art and installations - authentic hardware has a strong aesthetic for creative projects.
Challenges and caveats
- Parts scarcity and OEM uniqueness - Some connectors and controllers are rare and expensive.
- Fragility - PCBs and solder joints degrade; repeated thermal cycling can cause hairline fractures.
- Timing-sensitive software - Some modern upgrades (fast CPUs, different storage timing) break old copy-protection and games.
- Safety - PSUs and CRTs carry dangerous voltages. Recapping and PSU replacement should be done carefully.
Cost expectations (very approximate)
- Cosmetic/cleaning supplies - $10–$30
- Gotek USB floppy emulator (with FlashFloppy) - $25–$60
- CF/IDE adapter + CF card - $15–$50
- NEC V20/V30 CPU - $15–$60 (used/collector prices vary)
- PSU refurbishment / replacement or professional recapping - $50–$200
- ISA network card or other expansion cards - $10–$50 each
- Professional restoration or rare parts - potentially much higher
A modest, functional refurb can often be done for $100–$300 if you can source used parts and do the work yourself. Specialist restoration or rare parts will raise costs.
Parts, tools, and resources checklist
- Tools - anti-static wrist strap, multimeter, soldering iron, flux, desoldering braid, screwdrivers, toothbrush, soft brushes.
- Parts - Gotek or USB floppy emulator, CF-to-IDE adapter (XTIDE-compatible), replacement caps for PSU/motherboard, NEC V20/V30 CPU, spare RAM/expansion card, ISA NIC (NE2000), CGA-to-VGA adapter if needed.
- Resources/communities - Vintage Computer Federation:
Tips from restorers
- Start simple - get the machine powering reliably before swapping CPUs or adding complexity.
- Keep a log of changes and verify after each modification - this makes troubleshooting far easier.
- Preserve original parts where practical; consider non-invasive mods (replace HDD with CF but keep controller) to maintain authenticity.
- Use image backups of any original disks you acquire and store them digitally for preservation.
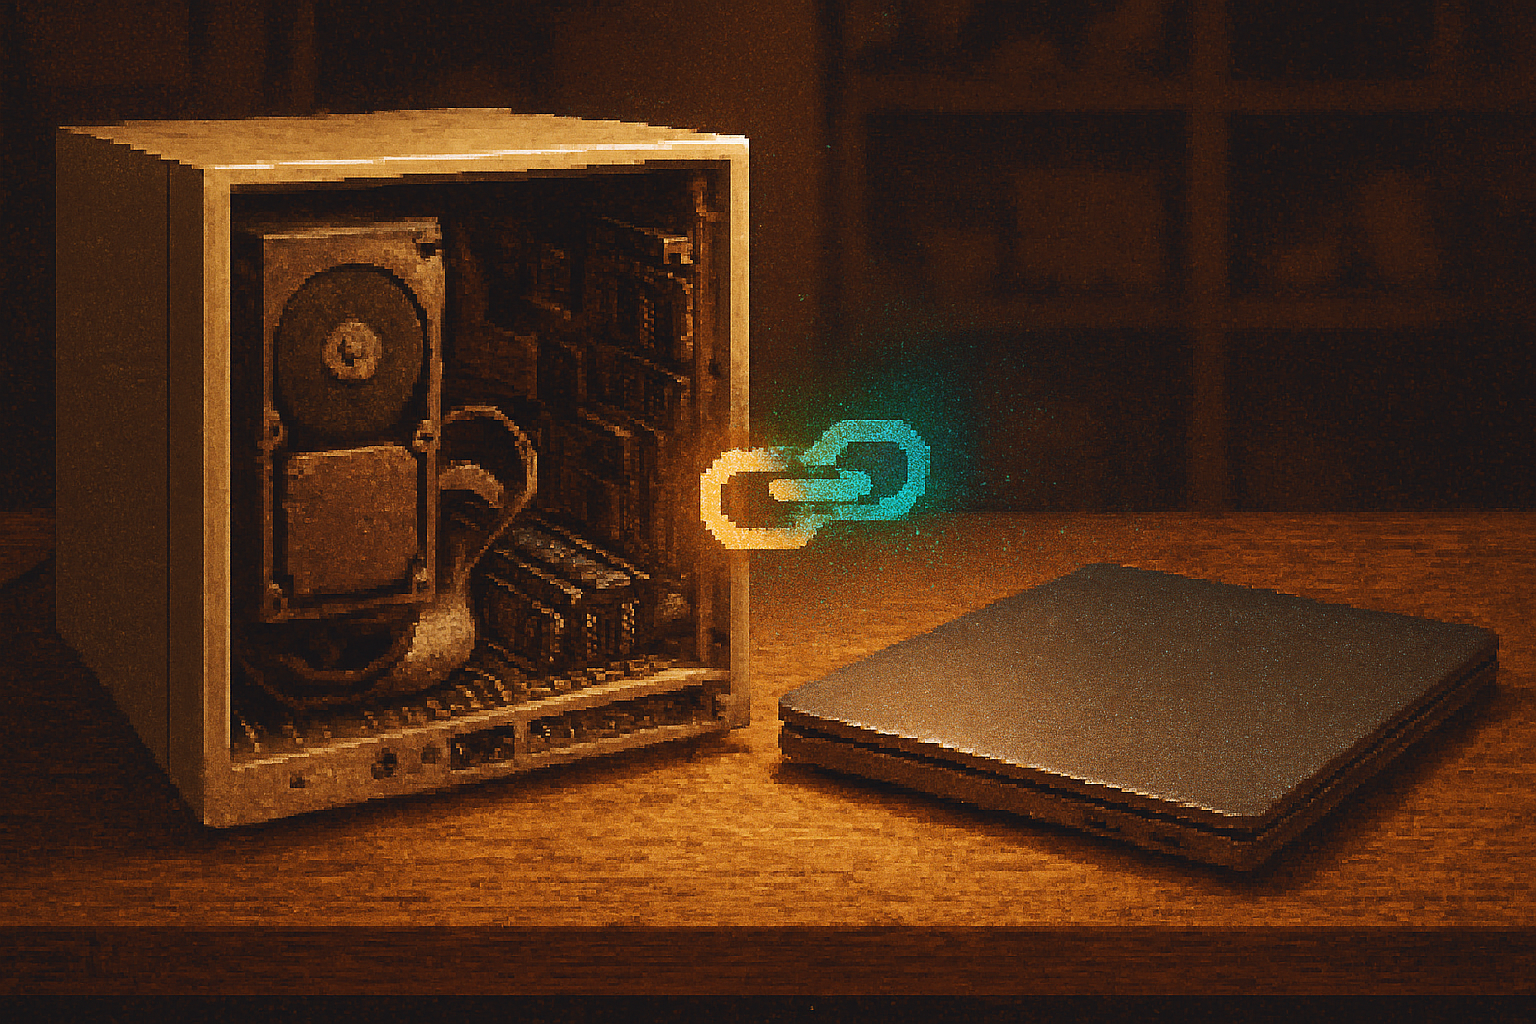
Alternatives: keep the look, modernize the internals
If you want the look and feel of an XT but with modern convenience, consider mounting a Raspberry Pi or small PC inside the case and wiring the original keyboard and display (or emulating them). This approach is reversible and preserves the exterior while delivering USB, Ethernet, and modern multimedia capabilities. Emulation (DOSBox) on modern hardware replicates software behavior well, but lacks the tactile hardware experience.
Final thoughts
Reviving an IBM PC XT is as much about conservation as it is about modernization. With careful work you can keep the aesthetic and mechanical character of the original machine while making it safe, usable, and relevant for modern uses - from retro gaming to museum display or a charming little server for novelty projects. The project requires patience, some soldering and electronics skills, and a willingness to consult community resources when you hit obscure problems.
Further reading and project resources:
- IBM PC XT (Wikipedia): https://en.wikipedia.org/wiki/IBM_Personal_Computer_XT
- Industry Standard Architecture (ISA): https://en.wikipedia.org/wiki/Industry_Standard_Architecture
- NEC V20 CPU: https://en.wikipedia.org/wiki/NEC_V20
- FlashFloppy firmware for Gotek devices: https://github.com/keirf/FlashFloppy
- XTIDE project (community resource for IDE/CF on old PCs): http://www.xtide.org/
- FreeDOS project: https://www.freedos.org/
- Vintage Computer Federation: https://www.vcfed.org/