· retrotech · 8 min read
Reviving the Amstrad CPC: How to Build a Modern-Compatible Homebrew Console
Step-by-step guide for retro enthusiasts who want to build a modern-compatible Amstrad CPC homebrew console - two practical approaches (FPGA for authenticity, Raspberry Pi for convenience), parts lists, wiring tips, software setup, legal notes, and finishing touches to keep the nostalgia intact.
In 1984 I remember watching a friend insert a cassette into his Amstrad CPC and flick the little red switch. The tape hissed, a blocky loading screen crawled across the green CRT, and for half an hour the world outside the living room ceased to exist. That hiss - a tiny analog ritual - is the smell of nostalgia. It is also the problem: modern TVs, HDMI ports, and USB controllers don’t respect those rituals.
If you want the feel of an Amstrad CPC with the convenience of modern hardware (HDMI, SD cards, USB controllers), you have two reasonable choices: emulate or re-create. Emulation is fast, cheap, and forgiving. FPGA re-creation is faithful, slower to assemble, and far more satisfying when it hums like the original. This guide walks you through both paths and gives you practical next steps so you can build a homebrew CPC console that fits in your entertainment center instead of under a stack of VHS tapes.
Two philosophical choices: Emulation vs FPGA
- Emulation (Raspberry Pi + Caprice32/RetroPie) - cheap, easy to update, lots of community support. Expect excellent compatibility for most games; you’ll lose a degree of electrical authenticity (but not the charm).
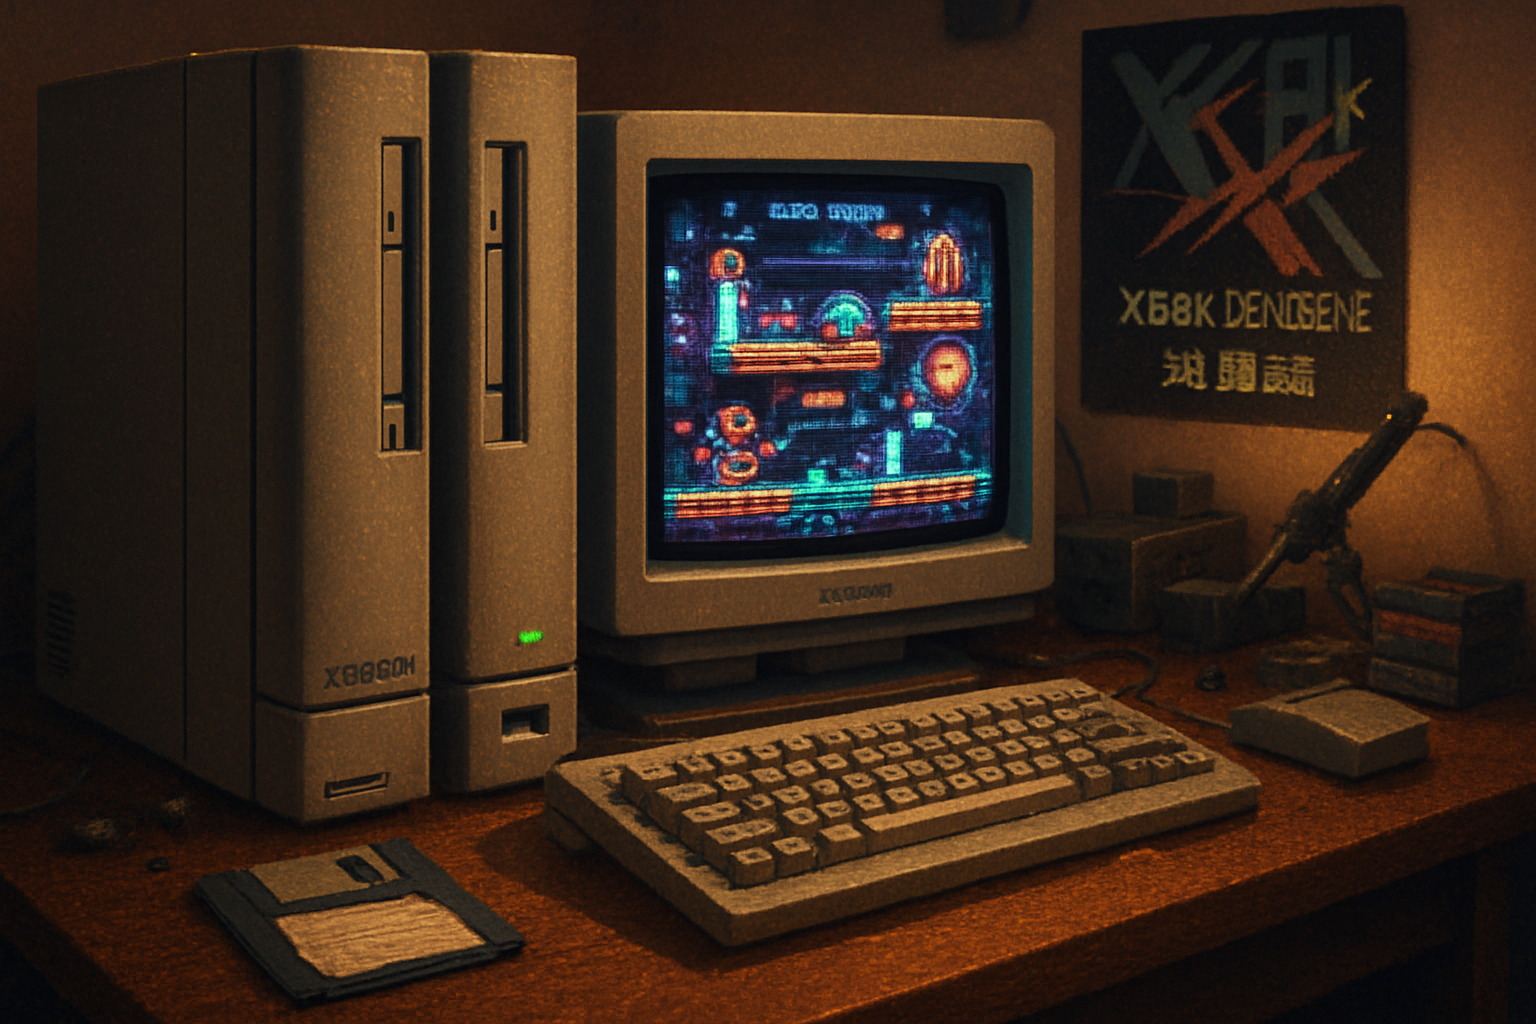
- FPGA (MiSTer or custom DE10-Nano builds) - recreates the original hardware at logic level. Better timing, accurate peripherals, and that satisfying feeling that you’re running CPC logic on silicon - but you’ll spend more, and it takes fiddling.
Which should you pick? If you want plug-and-play and a weekend project, go Raspberry Pi. If you dream of cycle-accurate interrupts and the warm glow of knowing the ULA’s behavior is being reproduced in gates, go FPGA.
What you’ll need - two BOMs (ballpark prices)
A. Emulation route (Raspberry Pi 4) - $100–$200
- Raspberry Pi 4 (4GB or 8GB) - $50–$80
- MicroSD card (32–128GB) - $10–20
- USB gamepad(s) or USB-to-DB9 adapter - $10–30
- HDMI cable - $5–15
- 3D-printed or laser-cut case (optional) - $10–50
- USB keyboard (or original CPC keyboard with encoder) - $10–40
- Power supply (official Pi PSU) - $8–15
B. FPGA route (MiSTer/DE10-Nano) - $250–$500
- Terasic DE10-Nano kit (board + extras) - $120–$200
- 512MB/1GB SDRAM module (for MiSTer) - $15–$40
- USB hub (powered) - $15–$30
- microSD card (for MiSTer OS) - $10–20
- HDMI cable or VGA cable + scaler (depending on your MiSTer output) - $10–20
- Optional - RTC module, IO board for arcade sticks, enclosure - $40–$120
More comprehensive accessory lists and community advice live at the MiSTer project site and CPCWiki (links below).
Step-by-step: Raspberry Pi (fastest, friendliest)
Pick your OS - RetroPie and Recalbox both work, but if you prefer a lightweight, single-emulator approach use a Raspberry Pi OS image with Caprice32. Caprice32 is a mature CPC emulator with GUI and good disk/tape support.
- Caprice32: https://sourceforge.net/projects/caprice32/
- RetroPie: https://retropie.org.uk/
Flash the image to the microSD (use balenaEtcher or Raspberry Pi Imager).
Boot the Pi and update packages. If using RetroPie, follow the setup menu to install additional emulators (Caprice32 often available in the setup scripts).
Copy game images (DSK, CPC, TAP, TZX) to the Pi’s Amstrad folder. Create a neat directory structure:
- /roms/amstradcpc/disks
- /roms/amstradcpc/tapes
Note on legality: CPC ROMs and some games are still copyrighted. Only use images you own or have the right to use (see legal section below).
Configure controllers and keyboard - map gamepad buttons for joystick directions/fire. For a more authentic feel, map the Pi’s keyboard to mimic CPC keys, or connect a real CPC keyboard via a USB encoder.
Tweak video and shaders - RetroPie and many frontends let you apply CRT shaders (scanlines, phosphor bloom) to recapture the feel of an old monitor.
Optional extras - enable TAP/TZX loading emulation that reproduces tape delay and errors, or use save-state features for convenience.
Test with classics - load games like Dizzy, The Lords of Midnight, and Head Over Heels. Check input lag and tweak refresh settings if needed.
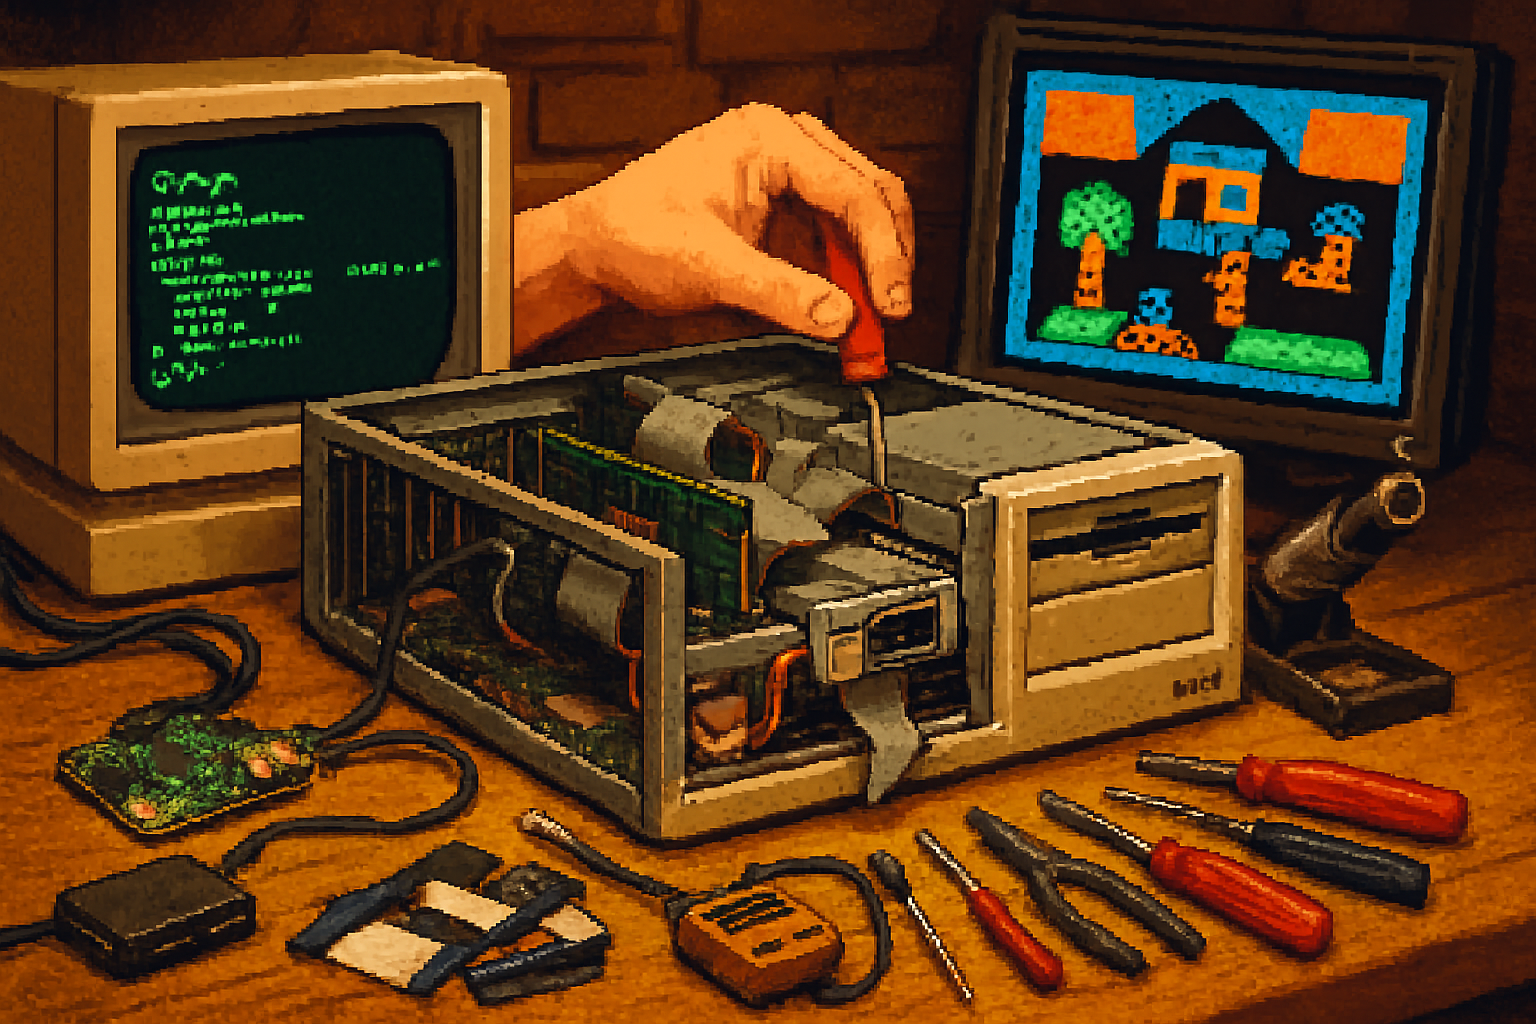
Step-by-step: MiSTer FPGA (for the purist)
Order the DE10-Nano and MiSTer accessories. You’ll want the SDRAM module, an IO board (for joysticks/USB hub), and a reliable microSD card.
- MiSTer project: https://misterfpga.org/
Download the MiSTer main files and copy them to the microSD. The MiSTer downloads page has the latest build and core packages.
Boot MiSTer. The first boot extracts cores and builds a menu. Connect to the MiSTer over the network (Samba) to copy files.
Install the Amstrad CPC core. Copy the CPC core (binary) into the /_Console/ or /_Arcade/ folder as specified by the latest MiSTer instructions.
Obtain CPC BIOS ROMs and place them in the ROMs folder. Some cores need the original CPC ROMs (BASIC, AMSDOS). Without these the core may emulate but with limitations. Again - use legally obtained ROMs.
Configure video/audio - MiSTer outputs VGA by default; many users add the HDMI daughterboard or use a VGA→HDMI scalers. Set the MiSTer’s video mode to suit your display.
Connect controllers - the MiSTer IO board supports USB hubs and keyboard/joystick passthrough. Configure joystick types in the core menu (digital/analog, Kempston, Cursor, etc.).
Fine-tune - MiSTer cores often include configurable settings for tape speed, floppy timing, and ULA variants. Try enabling ‘exact’ timing for games that rely on tight raster timing.
Test thoroughly - Play the same set of classics and watch for audio glitches or timing differences. If you built the system correctly, the MiSTer core will behave exactly like the original hardware.
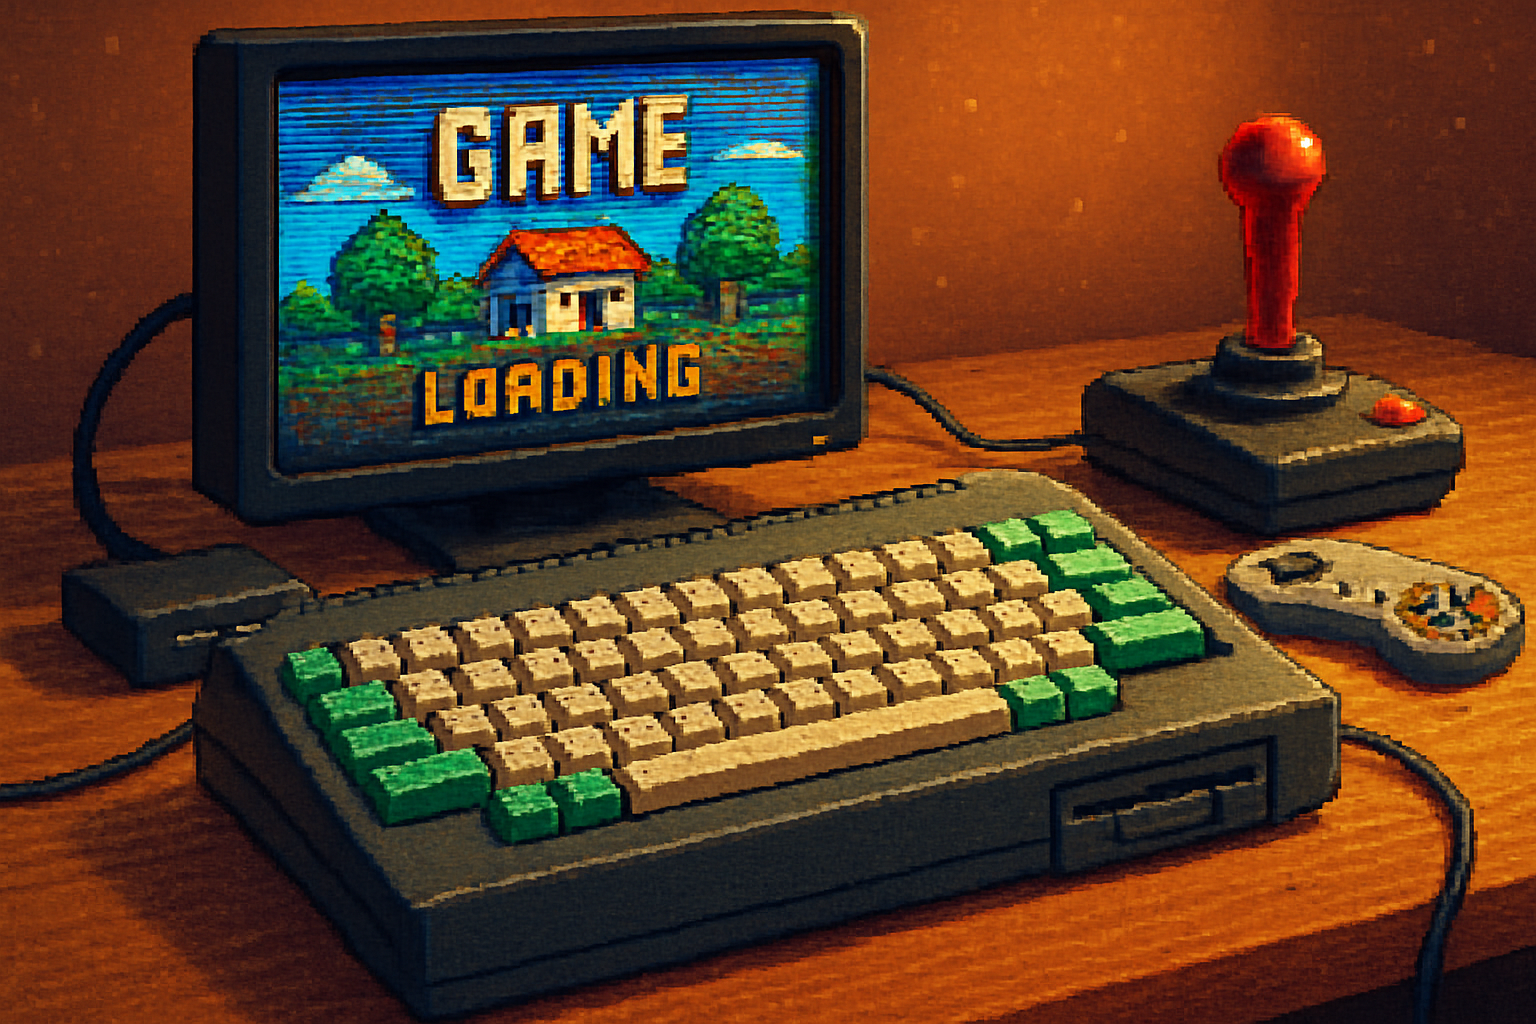
Keyboard and Input: preserving the tactile soul
The CPC keyboard is partly the reason people keep coming back. You have several options:
- Use a modern USB keyboard and remap keys to CPC layout.
- Use a keyboard encoder (Teensy, Pro Micro, or Pi Hat) that translates the original CPC keyboard matrix to USB HID. This preserves the keycaps and layout but requires wiring.
- Build a custom QMK keyboard that visually and ergonomically echoes the CPC layout. QMK makes this painless for the firmware side: https://qmk.fm/
For joystick authenticity, many MiSTer users buy DB9-to-USB adapters or use original joysticks with an adapter board.
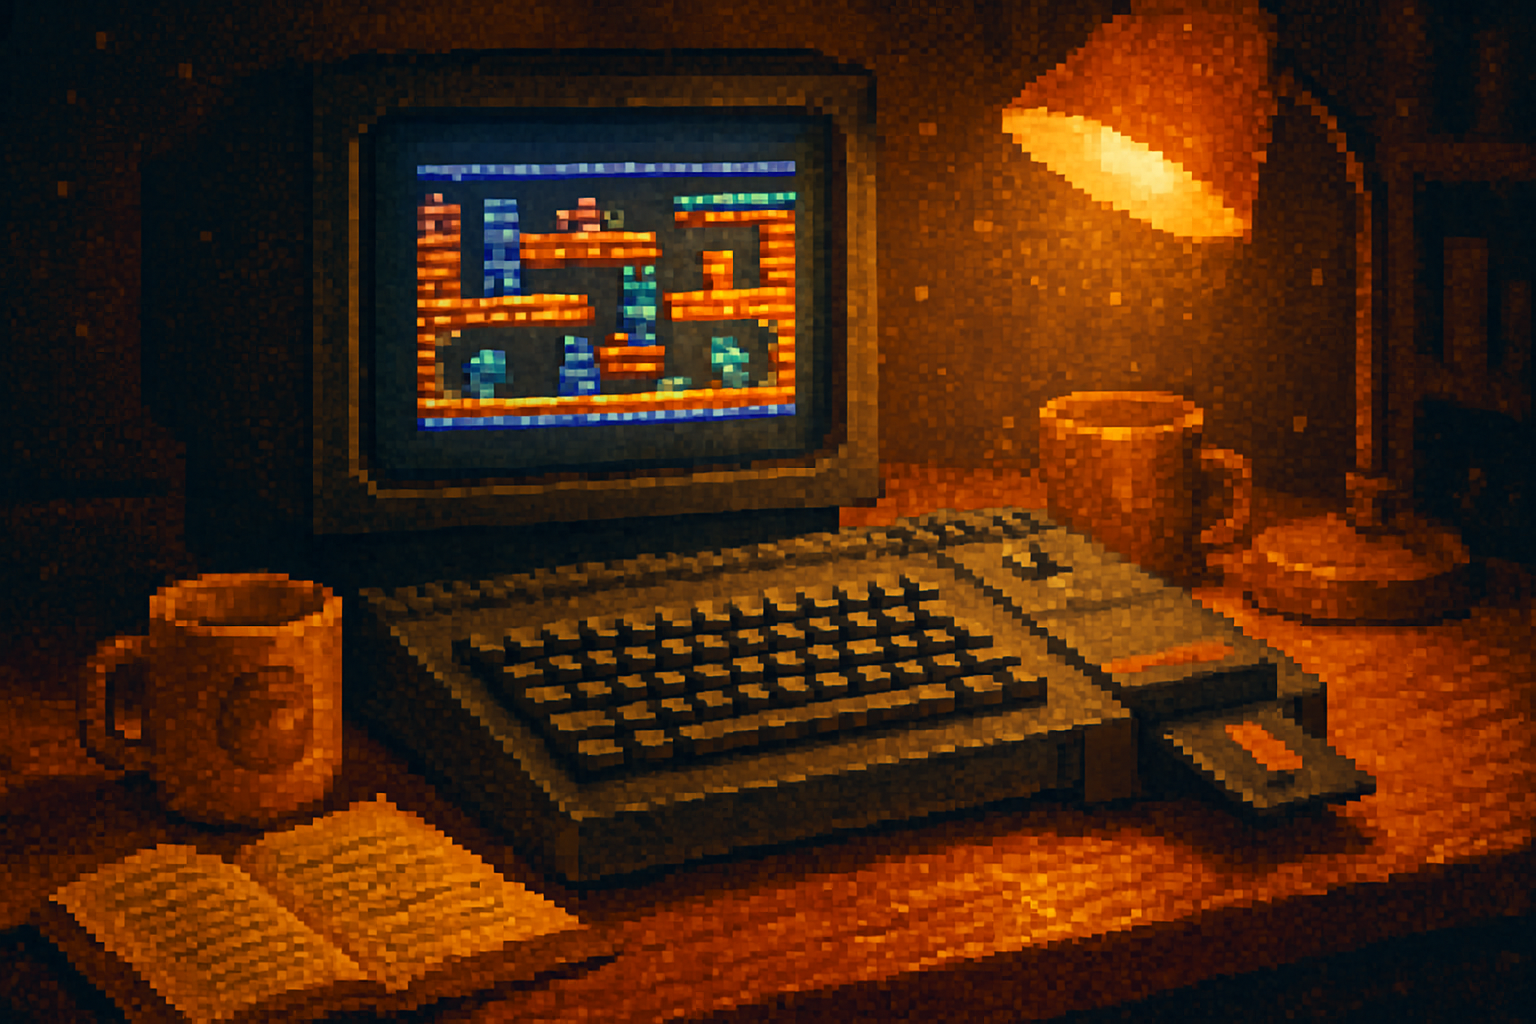
Video and audio - how to make it look like 1985 on a modern screen
- For crisp modern displays - use HDMI output (Pi or MiSTer with HDMI board). Disable integer scaling for authentic pixel edges, or enable integer scaling plus CRT shaders if you want soft edges.
- For authenticity - use VGA/SCART or an external scaler that intentionally blurs and adds scanlines. There are inexpensive HDMI shaders and OSD filters that emulate phosphor bloom.
- Audio - HDMI carries audio; for analog speakers use a DAC/line-out. Consider adding a small amp and a mono speaker to mimic the single-speaker warmth of the CPC.
Storage, disks, and tapes
- Disk images (DSK) and tape images (TAP/TZX) are standard. Both Raspberry Pi emulators and MiSTer support these formats.
- For the tactile feel of swapping disks, mount a retro-themed SD card carousel or 3D-print a faux floppy bay that holds cards labeled with game art.
Legal considerations (don’t be casually mendacious)
A sobering paragraph: the CPC BIOS and many game ROMs remain under copyright. The safe, legal paths are:
- Dump ROMs from hardware you personally own (tools and guides are available on CPCWiki). CPCWiki has community guides.
- Purchase legal re-releases - some publishers sell collections or licensed reissues.
- Use public-domain or freeware CPC software where available.
Avoid downloading and sharing copyrighted material unless you have explicit permission.
Common pitfalls and troubleshooting
- Audio crackle / sparkles - check grounding, use ferrites on USB leads, and try different audio outputs.
- Missing ROM errors (MiSTer) - verify filenames and paths; check core documentation for required BIOS files.
- Controller lag on Pi - set video output to a lower-latency mode, use wired USB controllers, or reduce shaders which add processing.
- Incorrect keyboard matrix behavior - re-check wiring and ensure the encoder firmware matches your matrix.
Case design and finishing touches
- Design a modern case that echoes the CPC - wide keyboard recess, angled typing slope, and a row of round buttons. 3D-print or laser-cut ABS/plywood for a warm, retro finish.
- Add tasteful LEDs (power, drive activity) and a fake cassette LED that glows during tape loading.
- Include game labels printed on matte paper for that tactile ritual of choosing a cartridge (or SD card).
Extras that make people nod approvingly
- Real-time clock for in-game timekeeping and accurate timestamping.
- Physical disk drive replica that actually holds a small SSD or microSD for fast loading while you get the 5.25” vibe.
- A “tape motor” button that physically spins a small motor for theatre during TAP loads.
Further reading and community resources
- MiSTer project: https://misterfpga.org/
- CPCWiki (emulation, hardware notes, ROM/dump guides): https://www.cpcwiki.eu/
- Caprice32 emulator: https://sourceforge.net/projects/caprice32/
- RetroPie (Raspberry Pi retro games platform): https://retropie.org.uk/
- QMK firmware (keyboard building): https://qmk.fm/
- Amstrad CPC (background): https://en.wikipedia.org/wiki/Amstrad_CPC
Final note - why bother?
Because nostalgia is not a museum; it’s a muscle. You could buy a boxed re-release and click through an emulator window in five minutes. Or you can assemble something that smells faintly of solder and cigarettes, that boots with the same little fuss your neighbor tolerated in 1985, and that gives you - and anyone you show it to - the small, stubborn joy of watching a tape load again.
If you follow this guide you won’t only have another piece of tech; you’ll have a personal ritual rebuilt for modern life. And that hiss? You can keep it - or simulate it with a lovingly tuned plugin. The choice is yours.