· retrotech · 7 min read
DIY Retro Projects: Building Your Own Modern HyperTerminal with Vintage Hardware
Turn an old CRT terminal or dumb green screen into a polished modern HyperTerminal: a step‑by‑step, safety‑forward guide that covers hardware assessment, level shifting, USB bridging, VT100 emulation, BBS access and useful add‑ons.

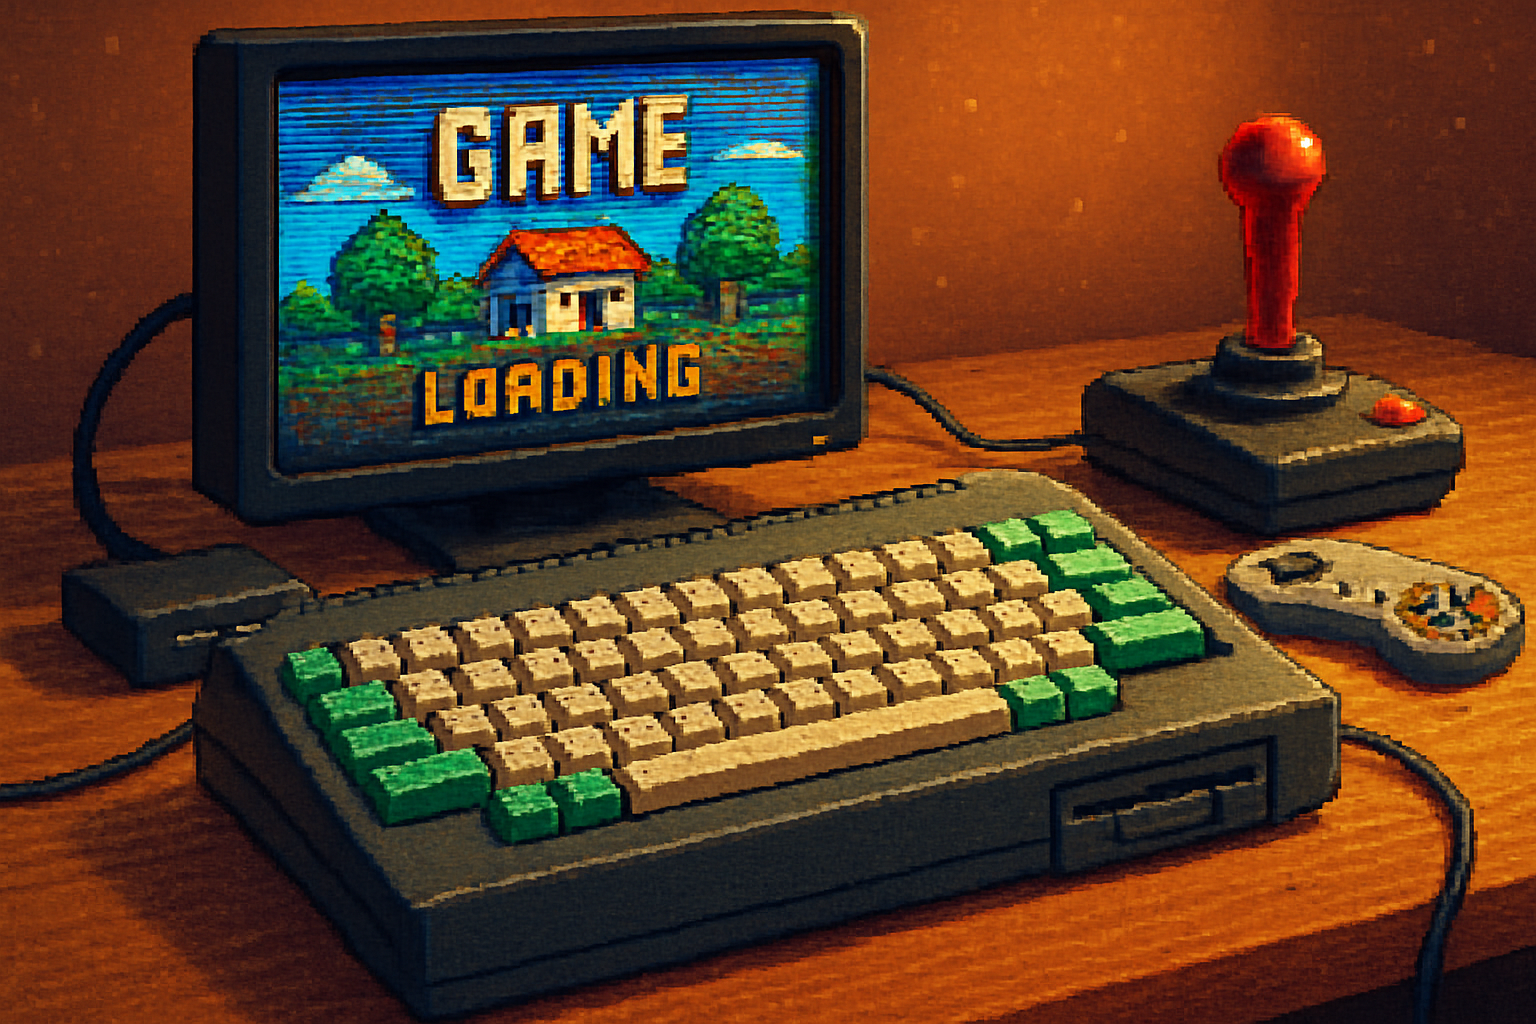
A long time ago - before web browsers fought for our attention in tabbed, animated glory - there were people who connected to computers by typing directly into glass and phosphor. They didn’t complain about lag. They flirted with the hum of modems, the poetry of escaping codes, and the comforting certainty of plain text.
If you own a dusty Wyse/VT100/Televideo terminal, or even an old PC with a DB‑9 serial port, you can make that feeling live again - but with modern comforts: USB connectivity, network bridging, logging, and file transfers. This is not an exercise in nostalgia for nostalgia’s sake. It’s a hands‑on engineering lesson about levels, voltages, protocols, and why computers talk the way they do.
Why build a modern HyperTerminal from vintage hardware?
- Education - Learn serial protocols, voltage levels, and terminal control codes.
- Aesthetic & practical - The tactile poetry of a vintage terminal plus modern convenience (files, networked BBSes, SSH tunnels).
- Reuse culture - Give old hardware a new purpose instead of tossing it.
What you’ll get out of the project
- A physical bridge between a retro terminal and modern machines (PC/Raspberry Pi)
- ANSI/VT100 compatible terminal experience with logging and modern file-transfer options
- Optional network access to BBSes, shells, or chat services via telnet/ser2net
Key concepts at a glance
- RS‑232 vs TTL - many vintage terminals use RS‑232 (±3–15V); microcontrollers use TTL (0–5V or 0–3.3V). Never connect them directly.
- Level shifting - Use a proper RS‑232 transceiver (e.g., MAX232) or an FTDI adapter with RS‑232 breakout.
- Flow control - Hardware (RTS/CTS) and software (XON/XOFF) matter when dealing with file transfers.
- Terminal emulation - VT100/ANSI escape sequences control cursor, color, and more.
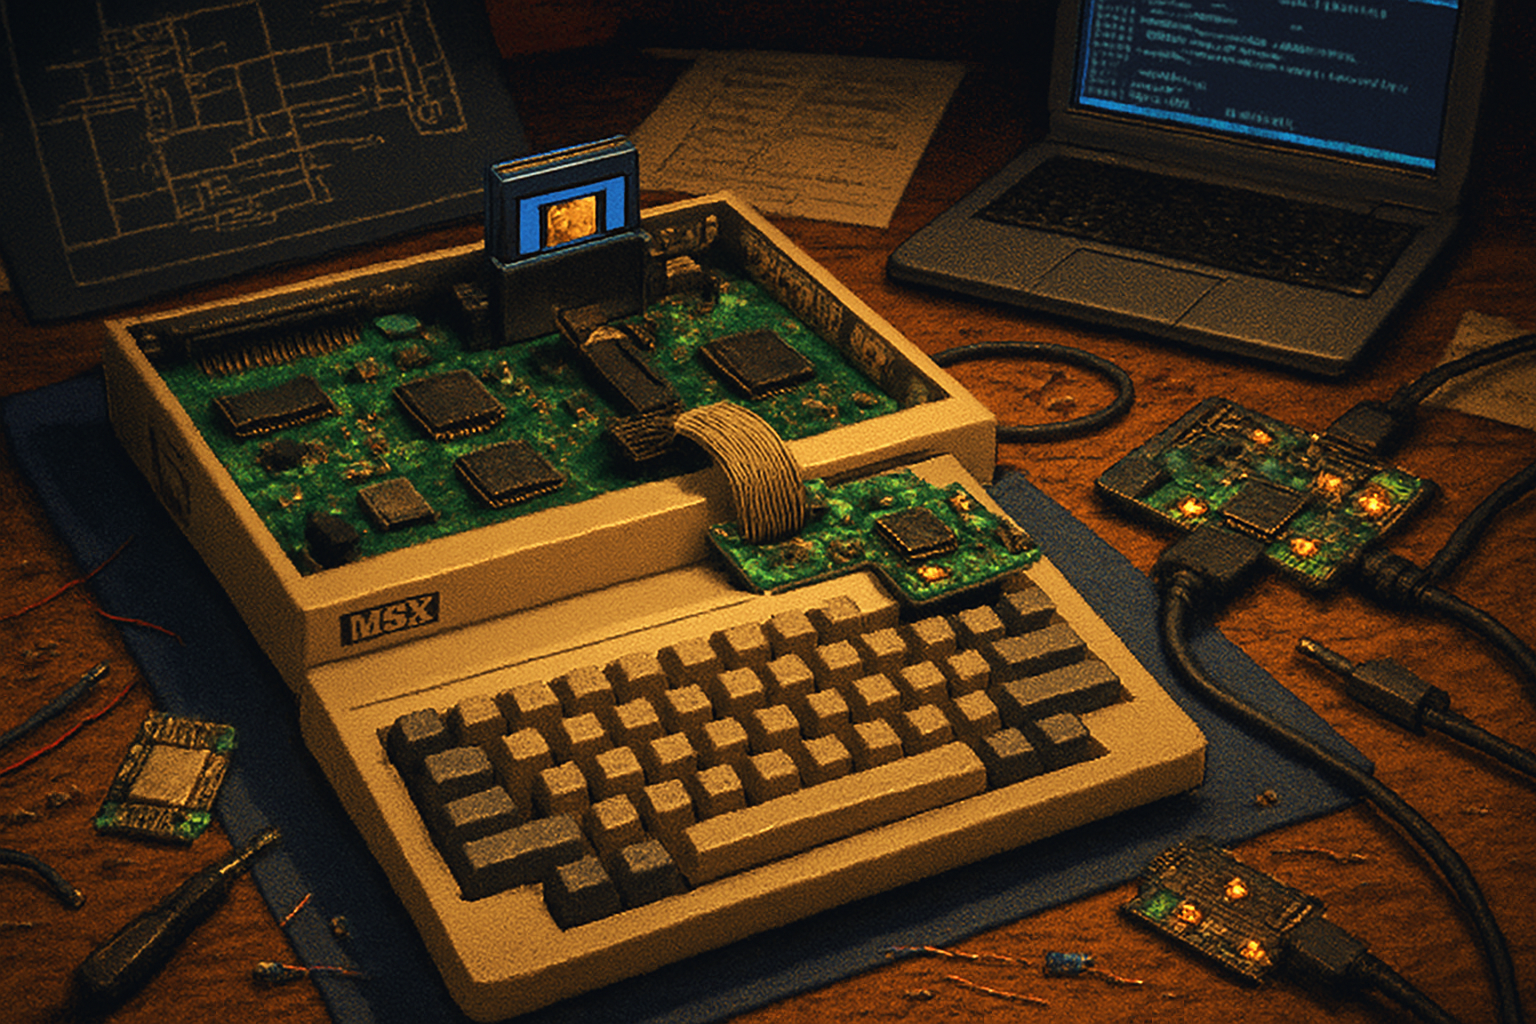
Core parts list (pick what you already have)
- Vintage terminal (DEC VT100, Wyse, Heathkit, Televideo, etc.) or vintage PC with serial I/O
- USB‑serial adapter (FTDI/CP2102) OR microcontroller with native USB (Teensy, Arduino Leonardo, Pro Micro)
- RS‑232 level shifter (MAX232 or similar) if your adapter is TTL-only
- DB‑9 serial cable or appropriate cable for your terminal
- Raspberry Pi (optional) to host BBS, ser2net, telnet clients, or SSH tunnels
- Breadboard, hookup wire, soldering iron, 9V power (for some level shifters), and a multimeter
- Optional - optoisolator or USB isolator for safety
Helpful references
- HyperTerminal (history): https://en.wikipedia.org/wiki/HyperTerminal
- RS‑232 standard overview: https://en.wikipedia.org/wiki/RS-232
- VT100 terminal: https://en.wikipedia.org/wiki/VT100
- MAX232 datasheet (TI): https://www.ti.com/lit/ds/symlink/max232.pdf
- PuTTY terminal emulator: https://www.chiark.greenend.org.uk/~sgtatham/putty/
- Minicom (Linux): https://en.wikipedia.org/wiki/Minicom_(software)
- ZMODEM (file transfers): https://en.wikipedia.org/wiki/Zmodem
- Telnet BBS Guide (community & servers): https://telnetbbsguide.com/
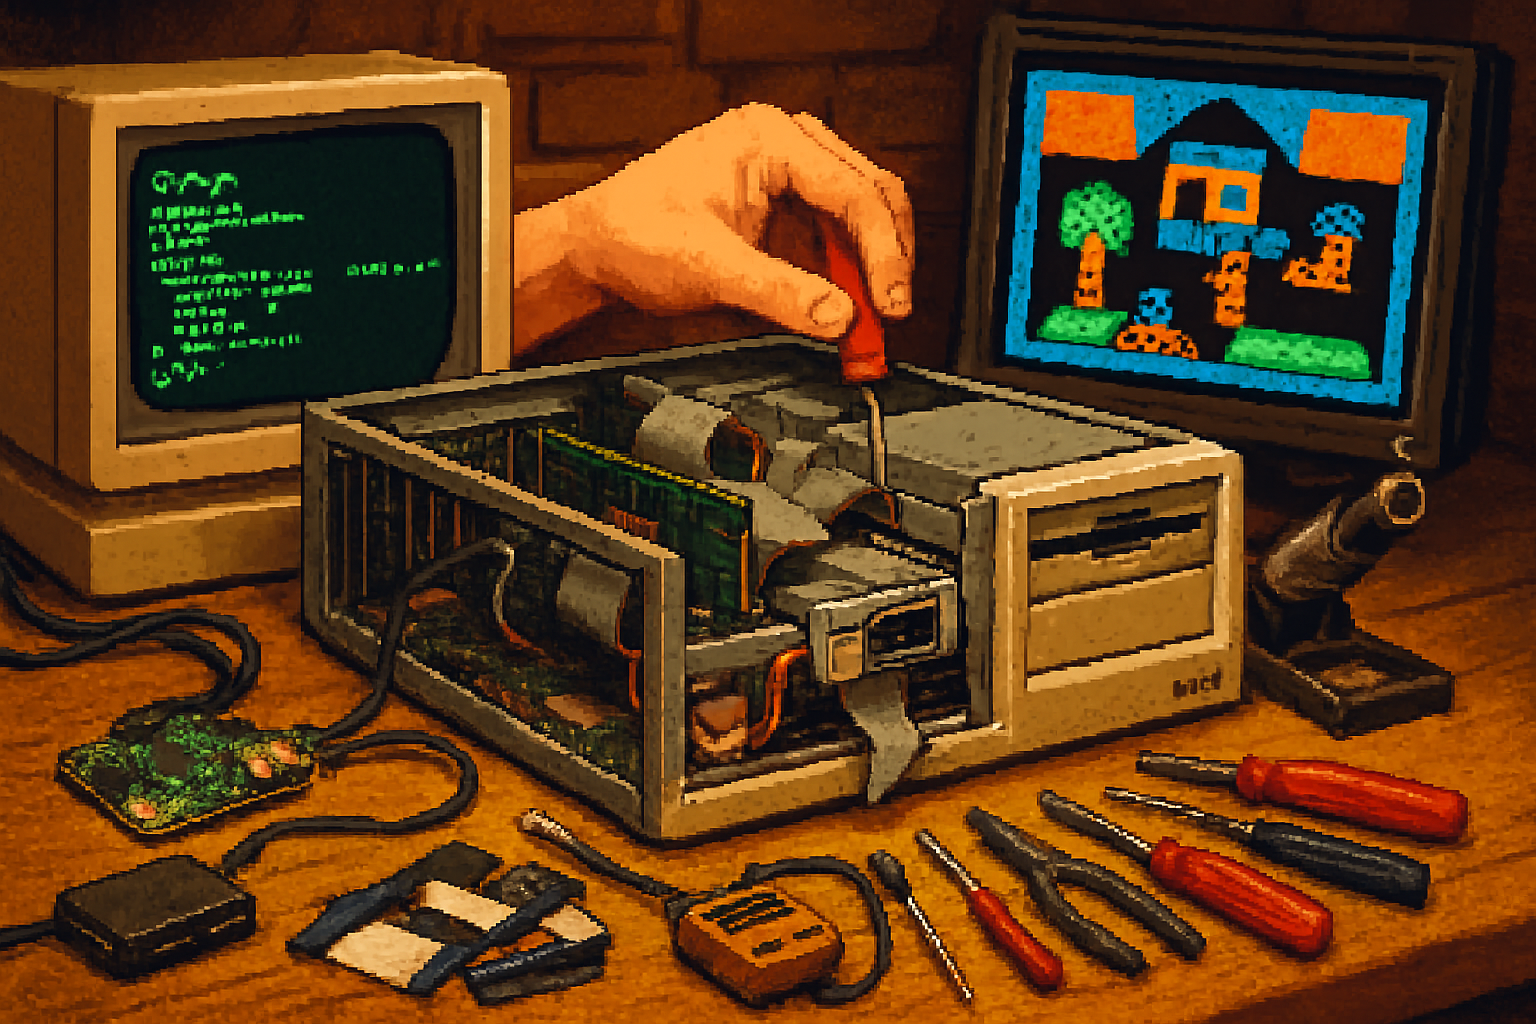
Step 1 - Inventory and measurement (don’t skip this)
- Find the serial connector and manual. The terminal’s service manual is gold - look up pinouts and default baud rates.
- Power off. Use a multimeter to check the voltage between ground and the pin you think is TX. If you see ±5V to ±12V swings when powered and sending characters, that’s classic RS‑232.
- Note required baud rates. Many terminals default to 110, 300, 1200, 9600, or 19200.
Safety note: RS‑232 uses negative and positive voltages; touching the wrong place on an old CRT or mains‑powered chassis can be dangerous. If you’re unsure, use isolation (optoisolators or an isolation transformer) and consult someone experienced.
Step 2 - Level shifting: options and tradeoffs
- MAX232 (recommended) - Small, cheap, and stable. It converts RS‑232 ±V to TTL (0–5V). Requires a few capacitors. Use if you have a TTL USB adapter or microcontroller.
- FTDI or CP2102 with RS‑232 breakout (recommended if you want fewer parts) - Some USB adapters are available with true RS‑232 voltage outputs.
- Discrete transistor circuits - Can work but are fiddly and less reliable.
- Optoisolator - Adds galvanic isolation for safety; desirable if the vintage gear has mains connections.
Sample wiring (typical DB‑9 RS‑232 to MAX232 to Arduino TTL)
Note: DB‑9 pictured as a PC DTE. Pin numbers follow common DB‑9 conventions.
- DB‑9 pin 2 (RXD) <—> MAX232 R1IN
- DB‑9 pin 3 (TXD) <—> MAX232 T1OUT
- DB‑9 pin 5 (GND) <—> GND
- MAX232 T1IN <—> Arduino RX (TTL)
- MAX232 R1OUT <—> Arduino TX (TTL)
ASCII wiring diagram (conceptual):
[Terminal DB9] --RS232--> [MAX232] --TTL--> [Arduino/Teensy]
DB9 pin 2 (RX) <-----> MAX232 R1IN
DB9 pin 3 (TX) <-----> MAX232 T1OUT
DB9 pin 5 (GND) <-----> GND
Make sure to wire Vcc to your MAX232 with the correct voltage (often +5V) and add the recommended external capacitors. See the MAX232 datasheet for pin details: https://www.ti.com/lit/ds/symlink/max232.pdf
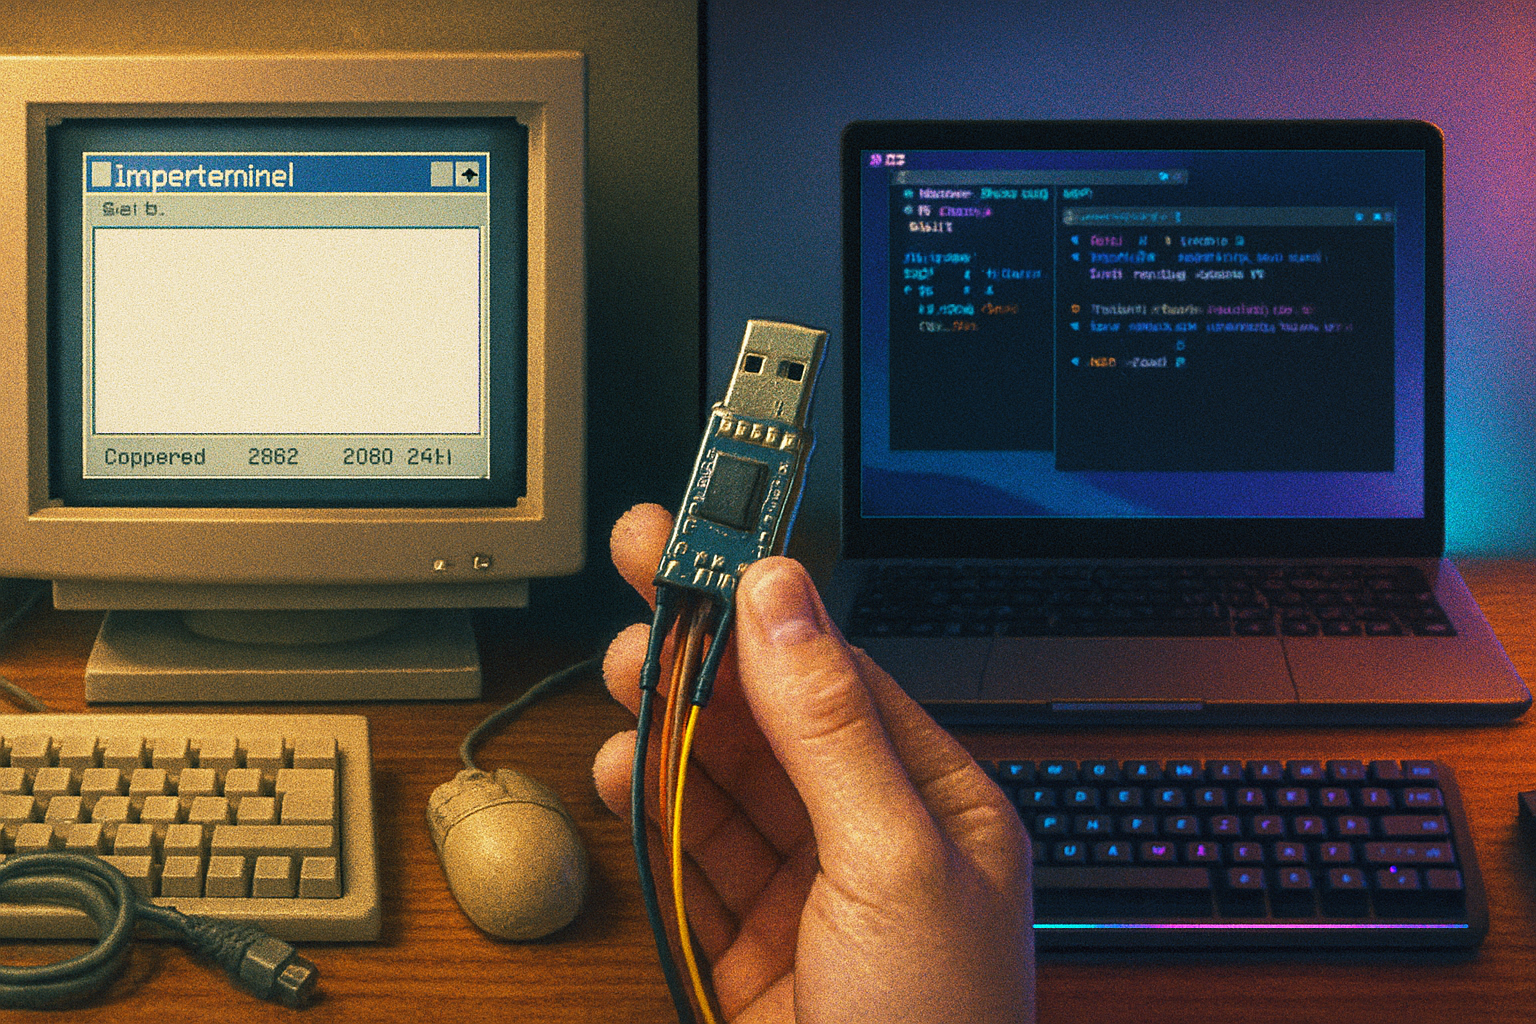
Step 3 - Bridging the serial stream: firmware options
- If you have a USB‑serial adapter that speaks RS‑232 natively, you can plug it straight into your PC and open a terminal emulator (PuTTY, screen, minicom).
- If you have TTL low‑voltage serial, use a microcontroller as a bridge. Example Arduino sketch to forward bytes between a hardware serial port and USB serial:
// Basic serial bridge for Leonardo/Pro Micro/Teensy
void setup() {
  Serial1.begin(9600);    // Serial1 = hardware UART (to terminal)
  Serial.begin(115200);   // Serial = USB to host
}

void loop() {
  while (Serial1.available()) Serial.write(Serial1.read());
  while (Serial.available()) Serial1.write(Serial.read());
}
Adjust baud rates (9600 in the example) to match your terminal. On Teensy/Uno combos you may need USB‑serial libraries or to use a dedicated USB‑serial chip.
Step 4 - PC / Raspberry Pi configuration and terminal emulation
- On Linux, quick connect with screen:
screen /dev/ttyUSB0 9600(exit with Ctrl‑A k) - On Linux, minicom for more control:
minicom -D /dev/ttyUSB0 -b 9600 - On Windows, use PuTTY and set the session to Serial, COM port, baud rate, data bits 8, parity None, stop bits 1, flow control None/Hardware as needed.
Set your terminal emulator to emulate VT100/VT102/ANSI depending on the device. Many vintage terminals expect VT100 control codes.
Step 5 - Bring the modern conveniences
- Logging - Terminal emulators usually have logging. On Linux,
- File transfers - Use XMODEM/ZMODEM. On the host (Raspberry Pi or Linux box) install
- Network bridging - Use
- ser2net: https://linux.die.net/man/8/ser2net
- BBS and telnet - Connect your terminal to a Raspberry Pi running a BBS, or use
Step 6 - Handling quirks and troubleshooting
- Blank screen or garbage - Wrong baud, wrong framing, or mismatched voltage levels.
- One way only - Swap TX/RX or check that your TX from device goes to RX of the other. Also ensure common ground exists.
- No response on power - Some terminals need a warm‑up sequence or specific keypress to enable serial.
- Flow control problems during file transfer - Try disabling hardware flow control or enabling XON/XOFF in both ends.
Extensions and upgrades (ideas to continue the fun)
- Make a Wi‑Fi bridge with an ESP32 to convert serial to Telnet/HTTP/WebSocket, and host a tiny web terminal.
- Add a Raspberry Pi as a BBS server (Synchronet, Mystic) and let the terminal roam the BBSes of the modern Internet.
- Build a preserved kiosk - mount the terminal behind safety glass with a Raspberry Pi running a curated app and automatic boot scripts.
- Create a hardware modem emulator that responds to AT commands and routes to PPP or SSH (fun and educational).
What you’ll learn (and why it matters)
This project is deceptively simple. You’ll come away with an intuitive understanding of:
- Signal levels and why ‘voltage matters’ - connecting things blindly ruins hardware.
- Protocol choke points - flow control, framing, and why file transfers fail.
- The cultural lineage of modern terminals, shells, and remote services.
A final, slightly moral point: we keep everything digital, then forget how it’s wired. Building a bridge between eras sharpens instincts most documentation can’t teach. You’ll hear the terminal breathe again, and you’ll know why that little echo in the modem’s tone used to feel like a national anthem.
Resources & community
- Telnet BBS Guide - where the living BBSes hang out: https://telnetbbsguide.com/
- Synchronet (BBS software): https://www.synchro.net/
- PuTTY (Windows terminal): https://www.chiark.greenend.org.uk/~sgtatham/putty/
- MAX232 datasheet (TI): https://www.ti.com/lit/ds/symlink/max232.pdf
Now get the soldering iron, clear the bench, and be respectful to the CRT. It might look like a relic, but it’s about to become a bridge - between the hiss of the past and the ease of now.