· retrotech · 7 min read
Vintage Tripods: An Artist’s Secret Weapon
Contemporary creators are rediscovering vintage tripods for the quiet stability and character they bring to shoots. This guide shows how to choose, restore, and use these storied tools alongside modern cameras-without losing your patience or your sensor.
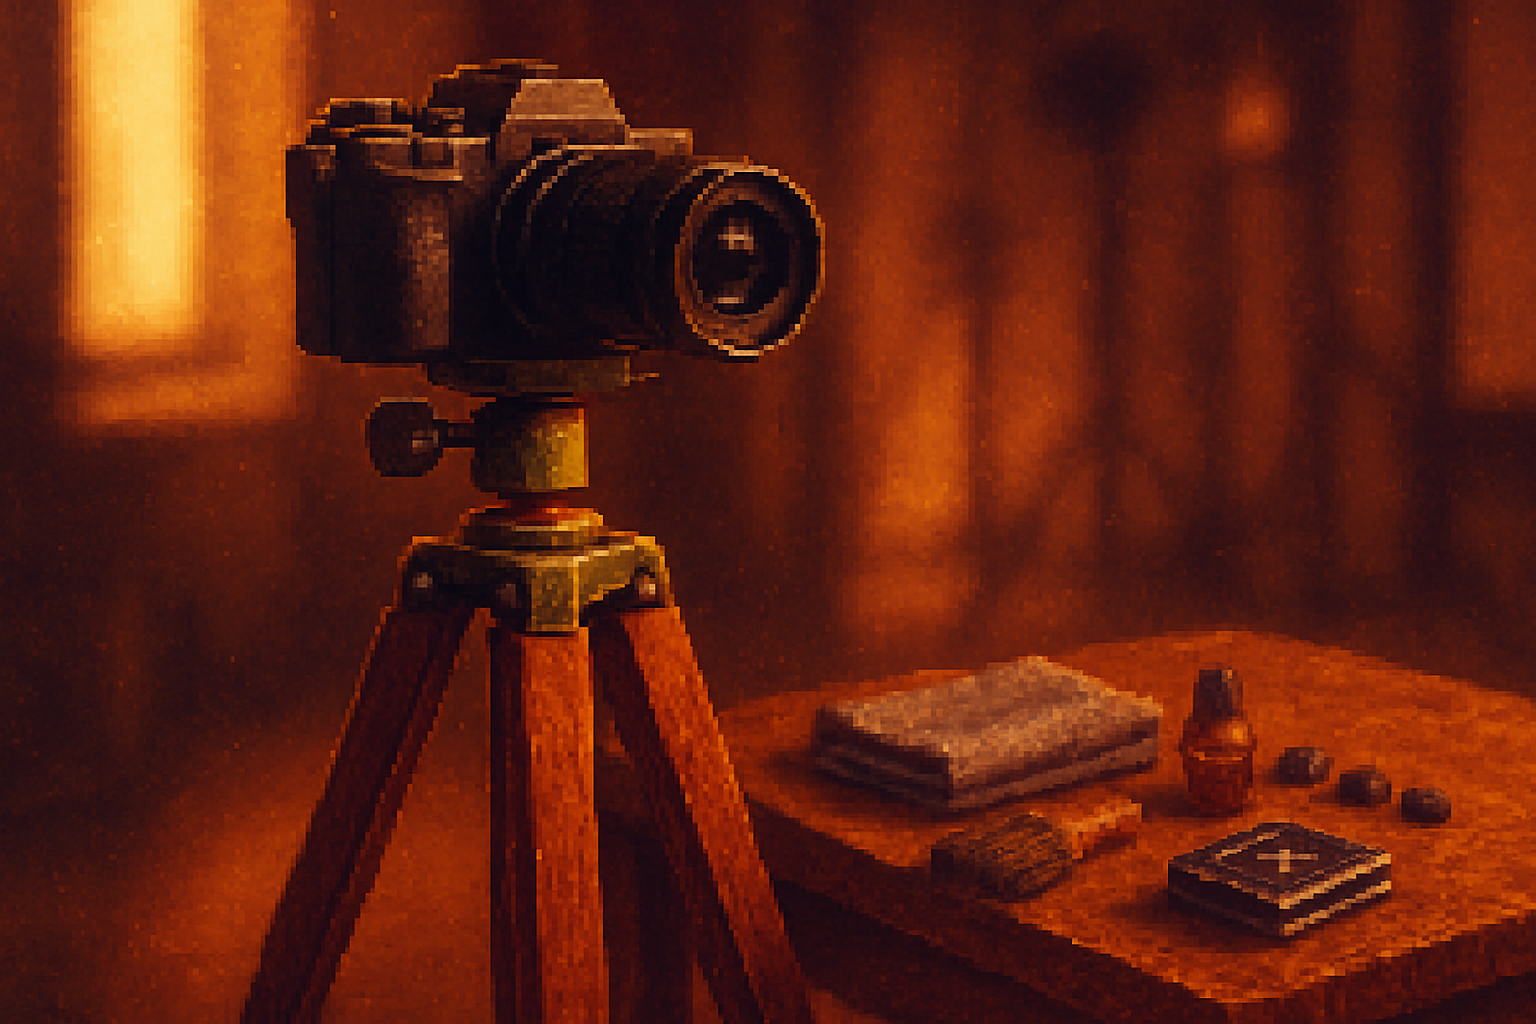
I bought my first vintage tripod at a flea market for the price of two coffees and the seller’s suspicion. It was brass-headed, legs stitched with a tired patina of varnish and history, and when I set my mirrorless on its head it felt like seating a modern engine on a coach built for another century. The camera behaved better. So did I.
Tripods are a photographer’s spine. You don’t notice them until they creak or vanish; then every exposure trembles with indecision. Vintage tripods offer more than nostalgia. They deliver stability, tactile ritual, and a look that a coated aluminium leg can’t manufacture. This isn’t a fetish. It’s practical: old materials, heavy engineering, and a feel that instructs sloppiness out of your work.
Why artists are rediscovering vintage tripods
- Character - Wooden and brass tripods carry texture. They register in the frame-not as an affectation, but as a mood. Clients notice the ritual. Models unspool differently when you hand them a brass-headed camera that seems patient.
- Stability - Single-piece wooden legs and heavy cast heads resist vibration far better than cheap ultralight carbon, especially for long exposures and large-format setups.
- Versatility - With a few modern adapters, a vintage tripod can serve DSLRs, mirrorless rigs, and even small cinema setups.
This rediscovery is also cultural. Field photographers in the 19th and early 20th centuries built tripods to last. Ansel Adams-era landscapes were made on wooden tripods for a reason: mass and damping. You can bring some of that endurance into today’s fast, digital world.
A quick taxonomy: what “vintage” usually means
- Wooden tripods (mahogany, ash, beech) - heavy, excellent vibration damping, warm aesthetic.
- Brass & cast-metal tripod heads - precise, beautifully built, often with fine geared movements.
- Early aluminum and steel tripods - lighter but often overbuilt compared with modern cheaply stamped legs.
For the technically curious: camera mounting screws on tripods generally follow the 1/4”-20 or 3/8”-16 standard. Vintage heads will usually use one of these - adapters are trivial to find. See the general tripod overview for reference: https://en.wikipedia.org/wiki/Tripod_(photography).
How to choose a vintage tripod - the checklist
Before you buy (or bid):
- Load capacity & stability
- Test it with weight equal to or greater than your heaviest rig. Bolts and heads can feel firm but be worn.
- Head condition
- Does the head hold position? Any slop or very smooth unintentional rotation is a red flag.
- Leg joints and locks
- Inspect for cracked wood, split ferrules, or seized screws. Twist-locks on older tripods can be gummy but repairable.
- Feet and corks
- Original cork or rubber may be rotted; easy to replace but factor cost.
- Rust, corrosion, and free play
- Surface patina is fine. Deep pitting on load-bearing parts is not.
- Authenticity vs. modification
- Many vintage tripods have had aftermarket ball heads installed. That’s fine if done cleanly, but check how the head attaches.
Red flags that should make you walk away:
- Cracked or delaminated wood on a leg.
- Severely stripped threads on the tripod socket or head.
- Internal spring or cam mechanisms that crumble.
Restoration: practical steps (what to attempt at home and what to leave to pros)
Tools & materials you’ll likely need:
- Soft brushes, microfibre cloths, cotton swabs
- Denatured alcohol or mild degreaser
- Fine-grade steel wool (#0000) and brass brush
- Penetrating oil (e.g., PB Blaster), light machine oil (3-in-1 or sewing-machine oil)
- Wood oil - boiled linseed, tung oil, or a blend; thin varnish or shellac for finish
- Replacement feet/corks and compatible screws/adapters
- Thread repair kit (Helicoil) for stripped metal threads - pro recommended for big repairs
Step-by-step overview:
- Inspect thoroughly
- Photograph the tripod from all angles. Note missing parts and the thread sizes (1/4” or 3/8”).
- Clean gently
- Remove dust with a soft brush. Degrease metal parts with denatured alcohol.
- Free stuck screws and joints
- Apply penetrating oil to seized screws and let sit. Work gently with the correct-size drivers.
- Treat rust and patina
- Light surface rust - use #0000 steel wool with oil; avoid aggressive grinding.
- Deep pitting - consider professional restoration or part replacement.
- Refresh wooden legs
- Light sanding only where finish is failing. Refinish with boiled linseed oil or tung oil for depth and protection; shellac if you want a glossier, era-authentic look.
- Lubricate moving parts
- Use light machine oil sparingly on threads and pivot points. Avoid heavy grease in leg tubes-it attracts grit.
- Replace consumables
- Corks, rubber feet, and nylon bushings are cheap and improve performance immediately.
- Test load and alignment
- Mount your camera and run through panning, tilting, and the whole range of motion before trusting it on a shoot.
When to seek a professional:
- Stripped main mounting threads (use a machinist or someone who can install a thread insert like a Helicoil).
- Severely delaminated wood or legs that require structural repair.
- When you want original finishes preserved and have a historically valuable piece.
Useful reading on thread repair: https://en.wikipedia.org/wiki/Helicoil
Integrating vintage tripods into modern workflows
Vintage hardware rarely fits modern workflows out of the box. But that’s not a problem; adapters are your friend.
- Heads and plates
- Keep the original head if it’s in good shape for a certain aesthetic and function. If not, fit a modern ball head or three-way head using a 3/8” adapter plate or a custom-fit stud.
- Quick-release systems
- Add a low-profile quick-release clamp adapted to the tripod’s mounting stud. That keeps shoots efficient while the leg set retains its vintage look.
- Smartphone & small-camera mounts
- Use a 1/4”-20 adapter clamp designed for phones; cheap and reversible.
- Video usage
- For fluid pans, either retain a vintage geared head or mount a modern fluid head via an adapter. The tripod’s mass will still help damp micro-vibration.
- Hybrid setups
- Use vintage legs with a modern gimbal or slider base for B-roll. The legs provide a stable, characterful foundation; the modern head provides motion control.
Practical uses and creative ideas:
- Portrait sessions - the tactile ritual of setting up an old tripod slows the shoot and commands attention.
- Time-lapse and long-exposure - old wooden legs are extraordinarily vibration-damping, ideal for multi-hour exposures.
- Product video and B-roll - mix the tripod’s patina in close-ups as a prop; the camera resting on brass looks cinematic.
Safety and testing checklist before a paid shoot
- Load test for 30 minutes with equivalent weight to your camera + heaviest lens.
- Wiggle test at all contact points.
- Confirm that the quick-release adapter (if added) is lockable and rated above your rig weight.
- Never trust a tripod with visibly compromised threads or severe leg movement.
A few concrete examples (case studies)
- Portrait studio - I replaced a worn pan head on a 1950s wooden tripod with a modern low-profile Arca-Swiss-compatible adapter. The legs’ mass killed mirror slap vibrations on long exposures; the Arca plate made swaps instantaneous.
- Indie filmmaker - They used an old cast-iron geared head for interview pans. The weight smoothed choppy mic bumps and produced a subtle analog motion feel that matched the film stock look in color grading.
- Street photographer - A collapsible wooden tripod with leather straps became a quiet stool and a camera support-easy to carry and inconspicuous.
Aesthetic choices: polish or preserve?
There’s a small moral philosophy to vintage gear: do you polish away history or preserve the story? Polishing brass until it sings will remove surface patina and the sense of age; leaving a soft patina keeps authenticity. Both are valid. Decide what you want the tripod to say on camera.
- Preserve - If the tripod is rare or has provenance, minimal intervention is best.
- Restore/Use - If it’s a workhorse intended for daily shoots, functional restoration (and selective cosmetic work) makes sense.
Final practical tips
- Buy with your camera in mind, not the salesman’s nostalgia.
- Keep spare feet, a small toolkit, and a couple of adapter screws in your kit bag.
- Consider weight - wooden tripods are heavier-worth it for studio or landscape, less so for long treks.
- Small upgrades (modern head, quick-release plate, rubber feet) make vintage tripods practical rather than ornamental.
Vintage tripods are not museum pieces. They’re old, reliable tools that, when chosen and treated well, produce better images and a better workflow. They make shoots feel deliberate. They quiet the machine and lengthen the pause before the shutter - which is where better photographs are born.
References
- Tripod (photography) - https://en.wikipedia.org/wiki/Tripod_(photography)
- How to Choose a Tripod - B&H Explora - https://www.bhphotovideo.com/explora/photography/buying-guide/how-to-choose-a-tripod
- Choosing the Right Tripod - Digital Photography School - https://digital-photography-school.com/choosing-the-right-tripod/
- Helicoil (thread repair background) - https://en.wikipedia.org/wiki/Helicoil