· culture · 6 min read
Rewind to the Past: Why VHS Camcorders are Making a Comeback in Indie Filmmaking
From nostalgic texture to narrative authenticity, indie filmmakers are rediscovering VHS camcorders. This post explains the why, the how, and practical workflows-shooting, digitizing, and grading-that will help you get that unmistakable VHS look in contemporary projects.
Why VHS? The appeal behind the lo-fi resurgence
Something about VHS feels true in ways pristine digital footage often doesn’t. For many indie filmmakers, the VHS comeback isn’t just nostalgia-it’s a deliberate aesthetic choice that brings texture, atmosphere, and narrative weight.
Key reasons filmmakers are choosing VHS:
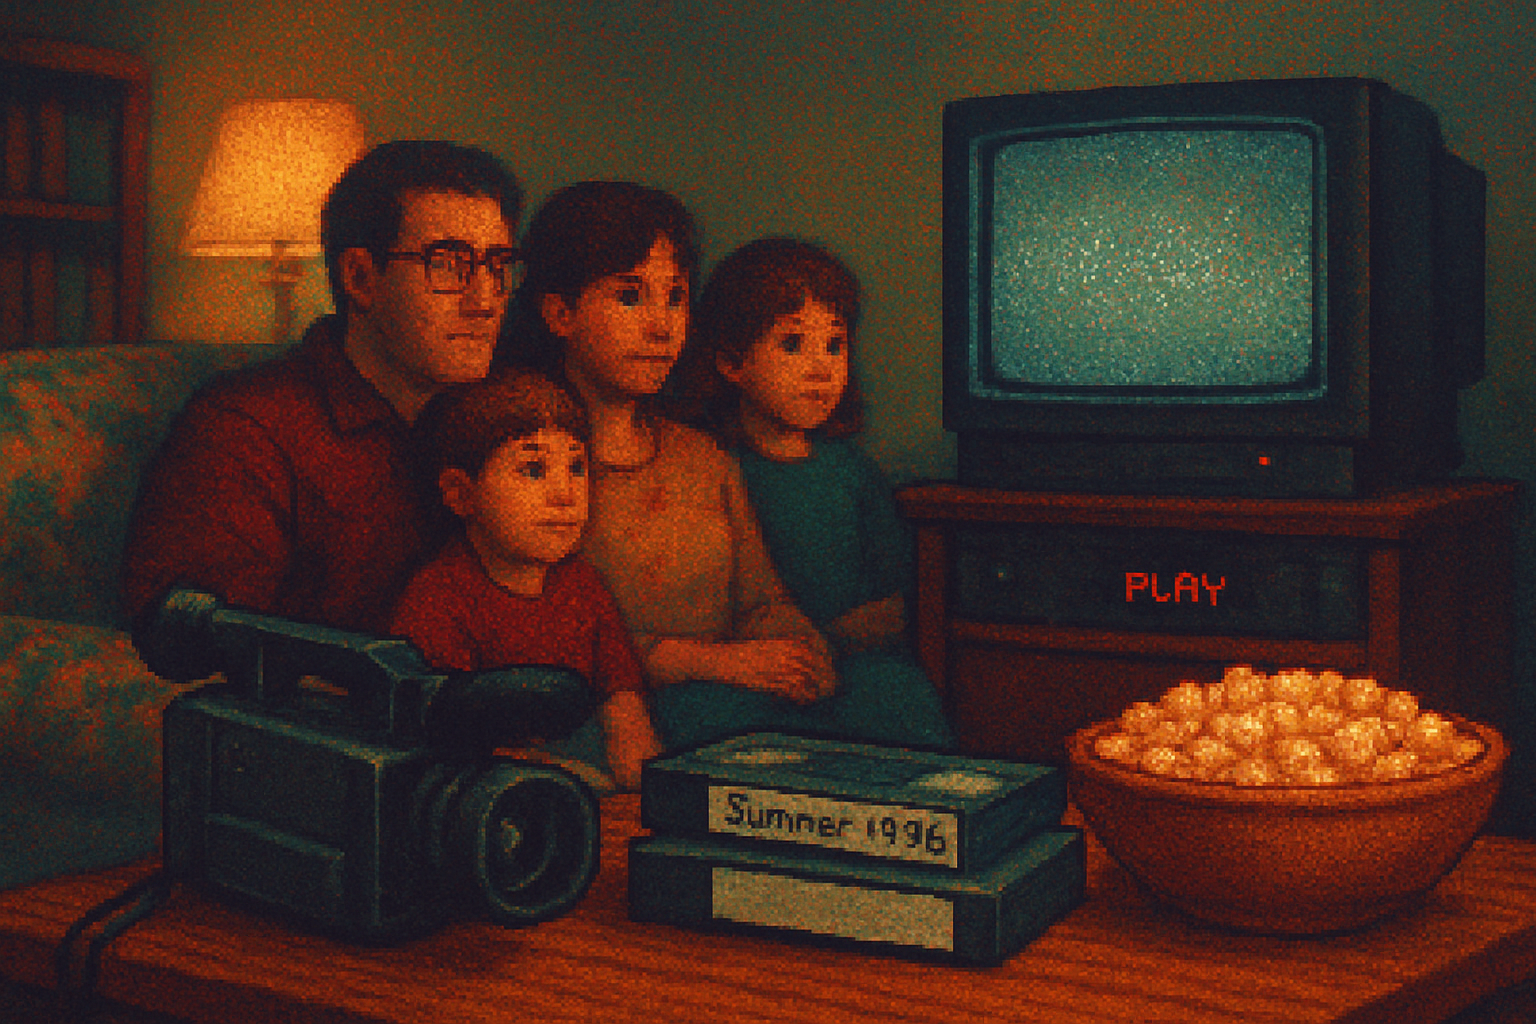
- Authenticity and narrative shorthand - VHS instantly communicates “found footage,” home movies, archival material, or a specific era.
- Textural richness - color bleed, chroma crosstalk, tracking lines, and warp give footage tactile imperfections digital filters struggle to replicate.
- Emotional resonance - analog artifacts evoke memory and unreliability-useful tools for storytelling.
- Accessibility and cost - working with old camcorders and tapes is cheap compared to some modern cameras and creates constraints that spark creativity.
- Trend and virality - short-form social platforms and music videos have popularized VHS aesthetics, creating audience familiarity.
What technically makes “VHS” look like VHS?
Understanding the technical fingerprints of VHS helps you reproduce or capture the effect intentionally.
- Resolution and scanlines - VHS effective resolution sits around 240–330 horizontal lines (NTSC), with visible scanline structure and soft detail.
- Interlacing - consumer VHS uses interlaced video (60i/59.94 fields per second NTSC; 50i PAL). Motion appears different from progressive digital capture.
- Luma/chroma separation - VHS stores luma (brightness) and chroma (color) in separated ways, introducing color bleed, jitter, and chroma noise.
- Analog noise and tape artifacts - tracking errors, tape dropouts, flutter/wobble, and transient bursts are common.
- Banding and limited dynamic range - highlights clip early and shadows can crush - contrast feels compressed.
- Audio character - tape hiss, wow-and-flutter pitch modulation, and limited frequency response shape the soundtrack.
Choosing the right hardware: real VHS camcorder vs emulation
Two main approaches:
- Shoot on authentic camcorders (VHS, VHS-C, Hi8, Video8). Pros - authentic artifacts and handling. Cons: maintenance, tape availability, capture hassles.
- Emulate VHS in-camera or in post (apps, plugins, LUTs). Pros - predictable, easier workflow. Cons: can feel artificial if overused.
If you want authenticity, look for models from the late 80s–90s: Sony Handycam series, JVC, Panasonic consumer camcorders. For better optical quality, Hi8/Video8 often outperform standard VHS in image fidelity while keeping analog charm. Sources for hardware: thrift stores, eBay, Facebook Marketplace, and local classifieds.
Practical shooting tips with real VHS camcorders
- Clean & service - clean tape heads, check belts (they can slip on old units), and consider a head demagnetizer. Dirty heads = flaky capture.
- Use fresh tapes - old tapes can suffer dropouts and mold. Blank new old-stock (NOS) tapes are best when you can find them.
- Lighting - keep lighting even and slightly underexposed rather than blown out. VHS handles midtones better than clipped highlights.
- Embrace movement - pan slowly to emphasize interlaced motion and tape motion artifacts. Fast pans produce smear and interlace combing.
- Frame rate choices - don’t deinterlace too aggressively in capture if you want the authentic field-based motion. Preserve fields when possible and make editing decisions around interlaced material.
- Stabilization - VHS camcorders usually produce handheld, slightly wobbling footage-this can be desirable. If you need steadier shots, use a tripod but retain some handheld shots for contrast.
- Audio - consider recording audio separately if you want clarity; use the camcorder’s mic for authenticity or blend both.
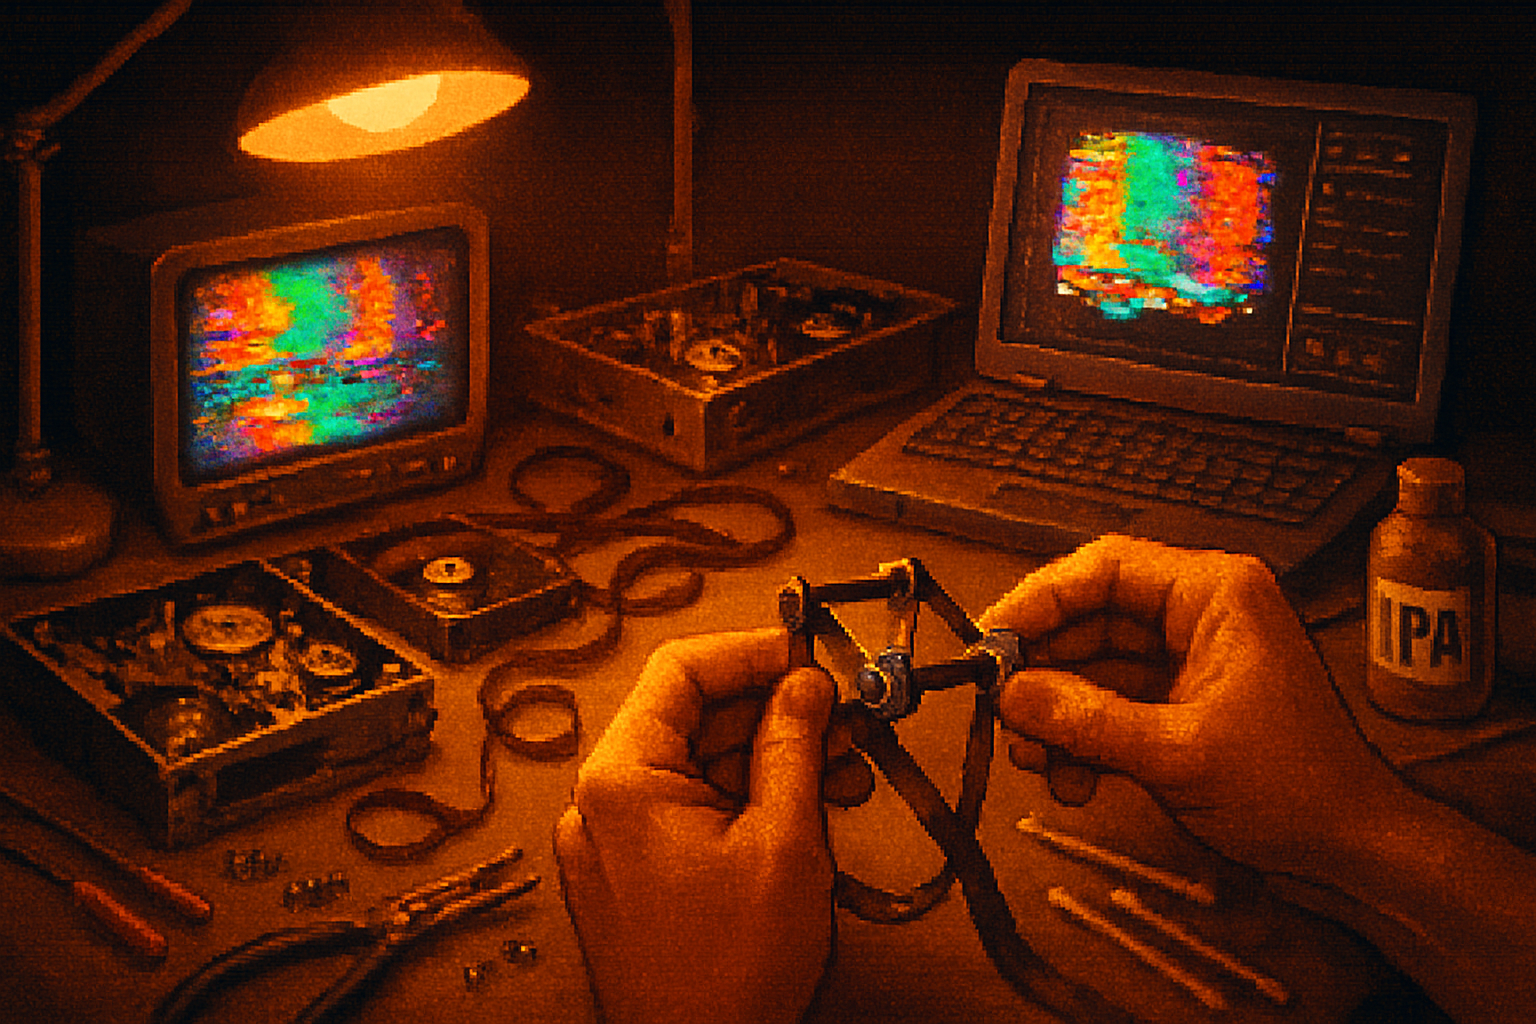
Capturing analog footage to digital: tools and workflow
- Connections - most VHS camcorders output composite (RCA) and sometimes S-Video. Use S-Video where available for cleaner chroma/luma separation.
- Capture devices - USB analog capture dongles exist (Elgato Video Capture, inexpensive capture sticks), but for quality and reliability, use dedicated converters or Blackmagic devices that accept S-Video/composite.
- Time Base Correction (TBC) - TBC hardware stabilizes sync and removes many jitter glitches during capture. If your camcorder is unstable, a TBC is hugely valuable. Look at manufacturers like Datavideo for TBC units.
- Capture settings - capture at SD resolution (720×480 for NTSC) and preserve interlaced fields if you want authentic motion. Use lossless or high-bitrate intermediate codecs for archiving (ProRes, DNxHD).
- Archival workflow - always digitize a master at the highest stable quality you can; then create edited copies and stylized versions from that master.
Resources: Blackmagic Design for capture hardware (https://www.blackmagicdesign.com/), and community help on Reddit’s VHS forum (https://www.reddit.com/r/VHS/).
Emulation and post-production: making digital footage look like tape
If you prefer to shoot digital or need reproducible results, a post pipeline can emulate VHS convincingly.
Core steps to emulate VHS:
Resolution & interlace
- Downscale to SD (720×480 NTSC) or use a blur layer to soften detail.
- Add simulated interlacing or preserve field-based motion; you can create a subtle combing effect on fast motion.
Color & chroma treatment
- Slightly desaturate mid-to-high tones and lift blacks subtly.
- Split luma and chroma - blur the chroma channel to produce color bleed and soft corona around high-contrast edges.
- Nudge color channels slightly out of register for occasional chromatic misalignment.
Noise, grain, and tracking
- Layer analog-style noise and horizontal tracking lines with variable opacity.
- Add vertical jitter/tape flutter and occasional tracking flashes/banding.
Artifacts and glitches
- Introduce randomized tape dropouts, static bursts, and horizontal tear lines.
- Add a VHS-style title overlay (blocky on-screen timecode or burnt-in date stamp).
Audio
- Add tape hiss, low-pass filtering, and slow pitch modulation (wow-and-flutter). Keep some high frequencies to retain intelligibility.
Plugins and tools:
- VHS-specific plugins and LUTs exist from vendors like Boris FX and third-party creators; search for “VHS LUT” or “VHS plugin” in your NLE ecosystem. Boris FX offers TV damage and analog effects (https://borisfx.com/).
- Red Giant/Maxon Universe contains retro effects and useful noise tools (https://www.maxon.net/en/red-giant-products/universe).
- For DIY, stack native tools - chroma blur, noise, displacement maps, scanline overlays, and pitch modulation.
Pro tip: emulate the signal chain-reduce resolution and chroma, add artifacts, then upsample or composite into your HD timeline. Repeated low-bitrate re-encodes can also add MPEG-like compression artifacts that, combined with analog noise, feel convincingly “used.”
Narrative uses and editorial considerations
- Use sparingly - VHS is a strong visual language. Use it for specific storytelling beats (flashbacks, diegetic recordings, surveillance, memory sequences).
- Match the design - if contemporary footage sits next to VHS-style footage, use color and audio cues to tie them together so transitions don’t feel jarring.
- Keep continuity in mind - VHS degrades colors and contrast. If a scene is partly in VHS, maintain consistent lighting and costume palettes that read through the degradation.
Common pitfalls and how to avoid them
- Overdoing the effect - too much distortion or too many overlays can feel gimmicky and distract from story.
- Poor capture pipeline - cheap capture dongles can introduce additional color shifts and latency-test your setup before committing to a shoot.
- Archival loss - if you shoot on real tape, digitize masters quickly. Tapes degrade, mold, and break.
- Legal/ethical - if using found or archival tapes, clear ownership and privacy rights before public release.
Quick checklist: a simple VHS workflow for indie shoots
- Pre-production
- Decide if you want authentic tape or emulation.
- Source camcorders/tapes and test them.
- On set
- Clean heads, use fresh tapes, light for midtones, preserve interlaced fields.
- Capture
- Use S-Video where possible, apply TBC if necessary, capture to a lossless intermediate.
- Post
- Downscale/blur, chroma blur, add scanlines/tracking, introduce randomized glitches, process audio for tape character.
- Deliver
- Render a master and create smaller derivatives for social platforms using controlled codecs to preserve the look.
Where to learn more and find tools
- Community - r/VHS on Reddit (
- Apps and emulators - the “VHS Camcorder” mobile app (
- Hardware and capture - Blackmagic Design for converters (
Final thoughts
VHS is more than a filter-it’s a storytelling tool. Whether you choose to hunt down a battered camcorder or reproduce the aesthetic digitally, being intentional about why you use the look will pay off on screen. When used thoughtfully, VHS can add texture, memory, and emotional weight that polished digital footage simply can’t replicate.