· retrogaming · 8 min read
Reviving the Past: How to Enhance Your Atari Lynx Emulation Experience
A practical, advanced guide to making Atari Lynx games look and sound better in emulation - covering emulator choice, rendering & shader tricks, audio treatment, input tweaks, save workflows and legality notes so your Lynx library finally feels alive.

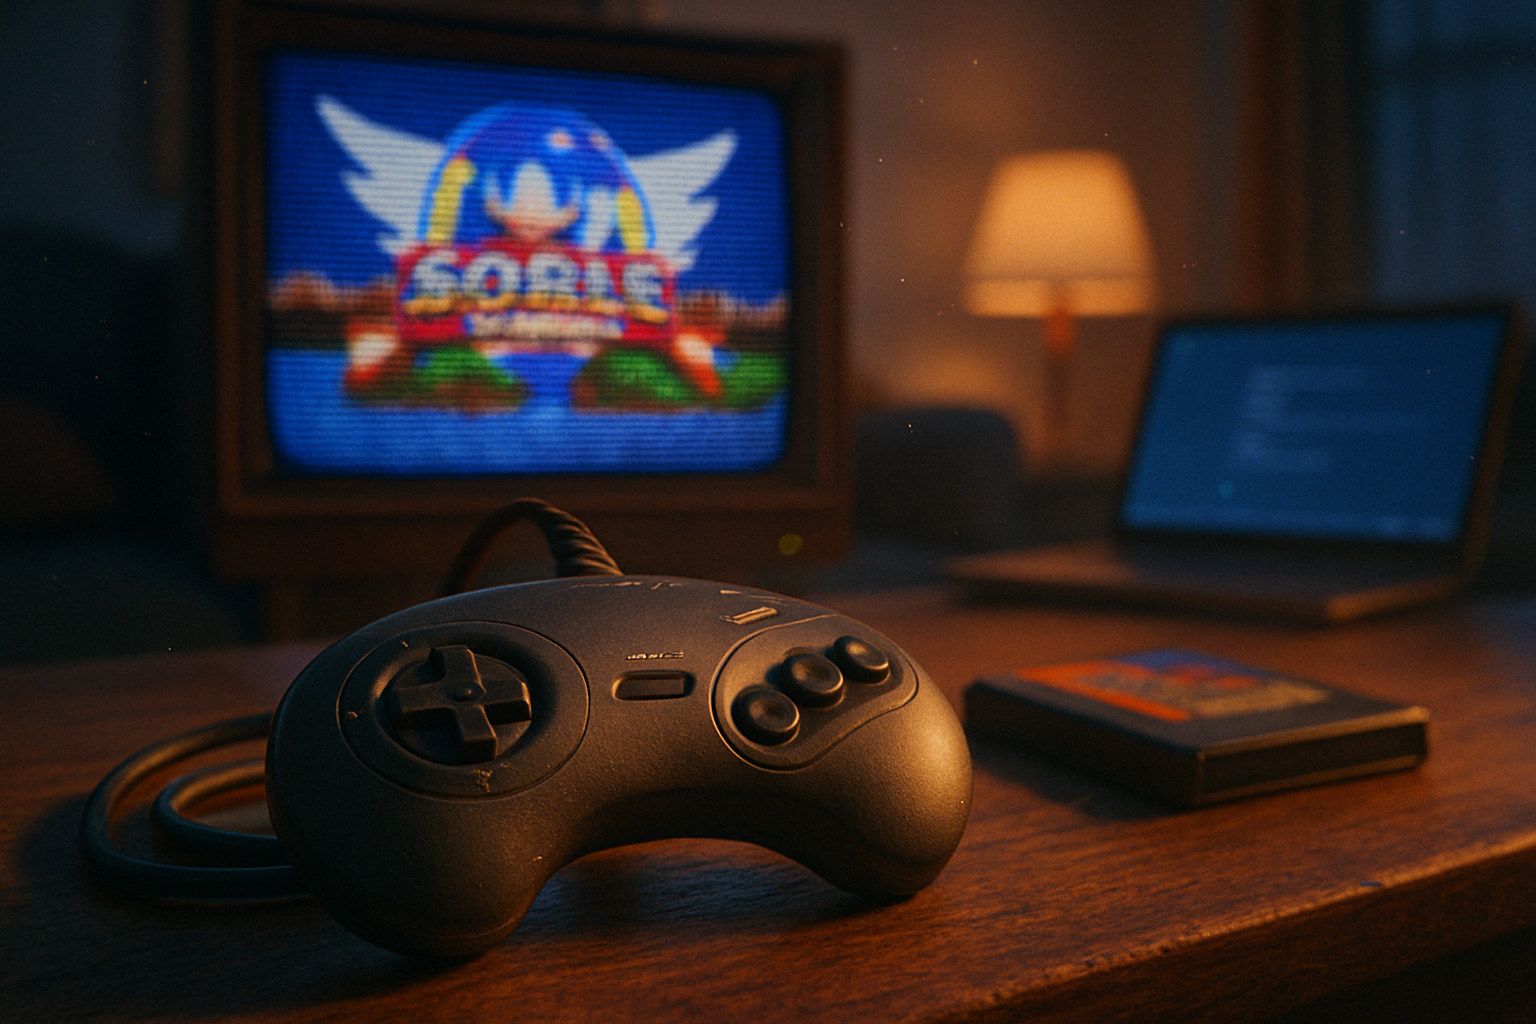
I still remember the first time I booted a Lynx ROM on my laptop: a riot of colors squeezed into a tiny rectangle, sprites layered like a jigsaw - and every movement smeared into a trembling haze when blown up to my widescreen monitor. The original handheld was charmingly crude; emulation makes that charm negotiable. With a few honest adjustments, you can preserve what made the Lynx unique while banishing the modern sins of blur, jitter, and thin audio.
This post is a practical, slightly opinionated tour through the advanced tweaks that actually change the experience - not the fake polish that just makes pixels look like mush. We’ll focus on realistic, repeatable steps using the most common toolchains (RetroArch + Handy core, standalone Handy, and Mednafen), plus system-wide ideas that apply everywhere.
1) The right emulator: accuracy vs convenience
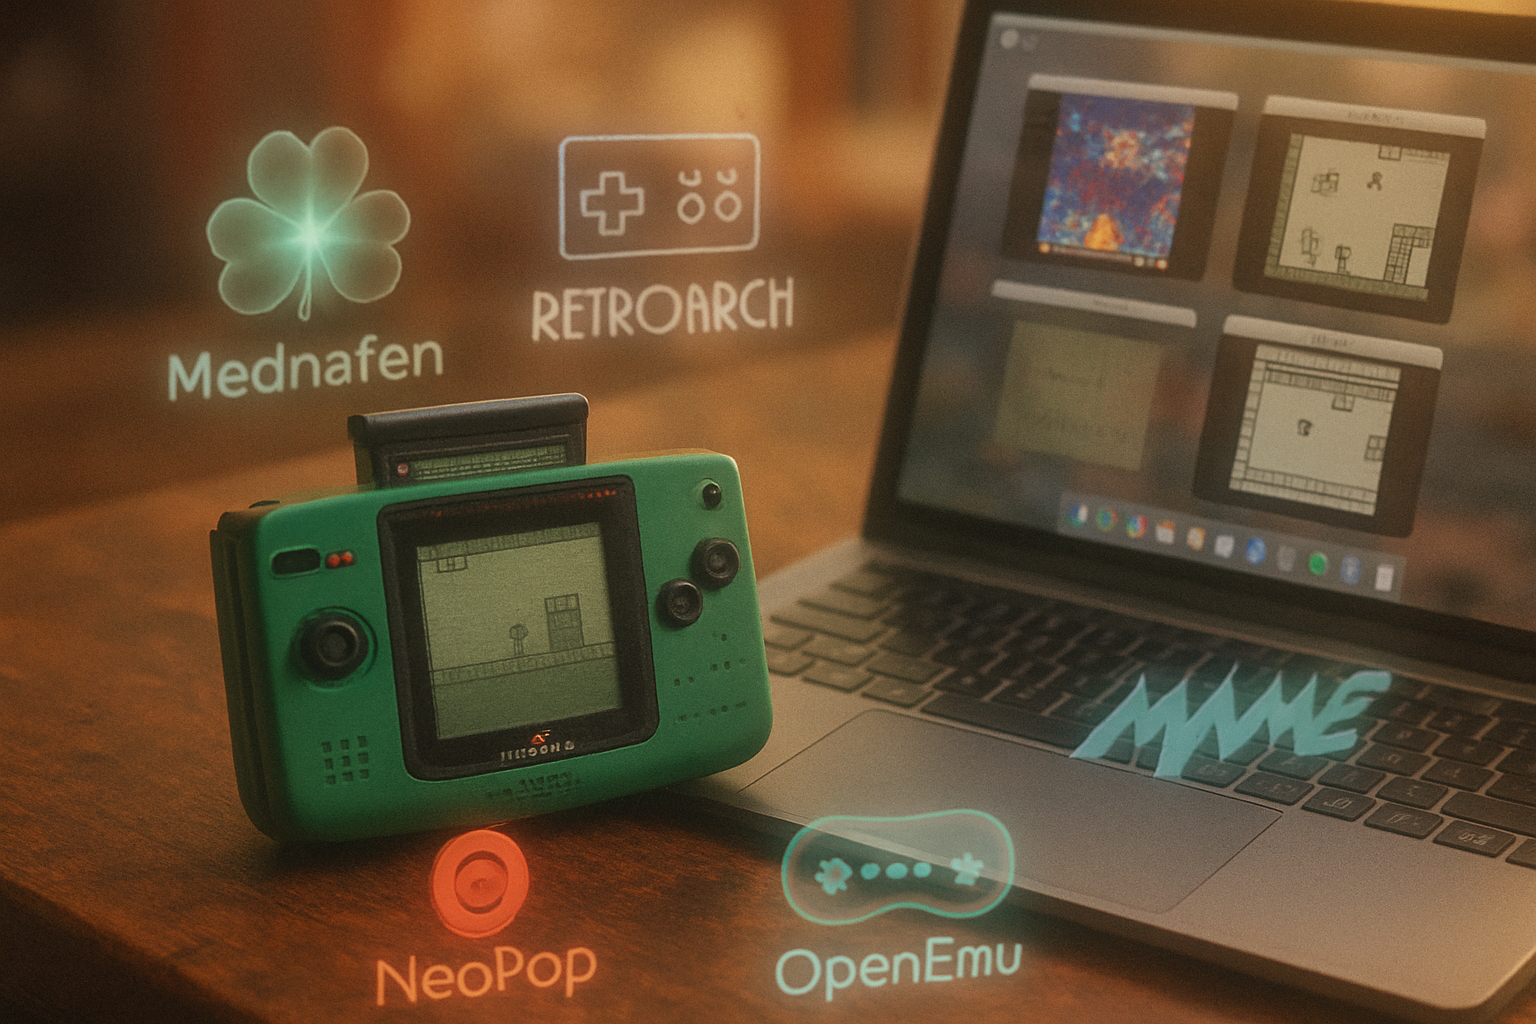
Pick your poison. For Lynx emulation the three sensible choices are:
- RetroArch with the libretro “Handy” core - best for convenience, shaders, netplay, and controller integration. Grab it from the official site and use the Online Updater for cores and shaders: https://www.retroarch.com/
- Handy (standalone) - historically the most widely used Lynx emulator; small, configurable, and sometimes the reference for compatibility. Official or maintained forks are available on GitHub (search “handy lynx emulator”).
- Mednafen - a multi-system emulator that prizes accuracy. If you want conservative timing and fewer odd graphical glitches, Mednafen is worth a try: https://mednafen.github.io/
If you care about purist accuracy, Mednafen or an up-to-date Handy are the pick. If you want one place to manage shaders, overlays, audio DSP, and controllers, RetroArch is the most practical.
2) Legal housekeeping (because I don’t want you to be a pirate)
Emulate games you own. If you’re unsure, dump your cartridges using a hardware dumper (Retrode is one mainstream device) or buy legitimate digital releases where available: https://retrode.com/
Communities such as AtariAge are useful for historical context, homebrew, and preservation discussions: https://www.atariage.com/
3) The visual stack: from raw pixels to polished handheld
Think of the Lynx image as a fragile fossil: too much modern smoothing and you lose the texture; too little scaling and it’s unreadable on a modern screen. The goal is to translate the original display characteristics onto new hardware.
Core concepts to master:
- Integer scaling - Scale the original resolution by whole-number factors to avoid fractional pixel blurring. Most frontends (RetroArch, many standalones) have an “Integer Scale” option. Always prefer integer scaling when possible.
- Aspect correction / pixel aspect - The Lynx’s pixel aspect isn’t square. Use “Core Provided” or “Maintain Aspect” depending on your frontend to avoid vertically squashed or stretched sprites.
- Shaders (CRT, scanlines, geometry) - Apply a CRT shader sparingly to recreate the glow, phosphor bleed, and scanline density of old screens. The RetroArch shader repository includes several options and documentation:
- Recommended approach - combine a modest CRT geometry shader (for curvature and subtle bloom) with a soft scanline shader and minimal bloom/blur. Hard bloom or heavy scanlines make sprites muddy.
- Color correction and gamma - The Lynx palette can look washed out on modern displays. Small adjustments to gamma and contrast in your frontend or shader can bring back punch without flattening the midtones.
Practical preset (RetroArch + Handy):
- Settings -> Video -> Integer Scale = ON
- Settings -> Video -> Aspect Ratio = Core Provided (or 1:1 for pixel perfect)
- Quick Menu -> Shaders -> Load shader preset -> use a mild CRT + scanline preset (download via Online Updater if you don’t have any)
- Quick Menu -> Controls -> Set analog deadzone / mapping so the d-pad feels snappy
Why this works: integer scaling removes interpolation blurring, while a mild CRT shader softens harsh transitions and reintroduces a believable texture that keeps sprite edges readable but visually pleasing.
4) Shaders: choose restraint over theatrics
Shaders are the secret sauce - when used wisely. Several schools of thought exist:
- “Hyper-real CRT” - heavy bloom, heavy curvature, noisy scanlines. Good for screenshots. Bad for playing.
- “Faithful handheld” - light curvature, subtle scanline/openness, accurate gamma and color bloom. Best for gameplay.
A good shader stack for play:
- Geometry/curvature - tiny amount to give a rounded handheld feel (optional)
- Curated CRT for bloom - low intensity
- Scanlines - low opacity (10–25%) so text remains legible
Load shaders via your frontend’s shader manager (RetroArch has an Online Updater for shader packs). Experiment with order: geometry first -> CRT -> scanlines is a common sequence.
Tip: Keep a few presets: one for streaming/screenshots (more dramatic) and one for daily play (subtle).
5) Scaling filters and interpolation - when they help (and when they ruin things)
Avoid bicubic/smart interpolation for index-artistic 8/16-bit systems. Those filters smear sharp edges and create a fake watercolor look. Use them if you like the aesthetic - but don’t pretend it’s authentic.
Better options:
- Nearest neighbor (pixel-perfect) with integer scaling - the most authentic and sharpest.
- hqx, xBR, or ScaleNx filters - can be helpful if you like smoothing but want edge-aware upscaling that preserves outlines. Use conservative settings.
6) Audio: clarity, warmth, and modern polish
The Lynx sound hardware isn’t a hi-fi studio instrument. But emulation lets you treat its output like a rough recording you can remaster.
Actions that will improve audio�
- Increase sample rate - set the emulator audio to 48 kHz (or 96 kHz if your system handles it) to avoid aliasing and give more headroom for DSP.
- Use high-quality resampling / interpolation - look for a “HQ resampler” or similar option in your emulator. This smooths waveforms rather than jagged stepping.
- Low-latency audio backend - use WASAPI (Windows), ALSA/JACK (Linux), or CoreAudio (macOS) for the lowest input-to-output delay and fewer pops.
- System-level EQ or reverb - an external equalizer (Equalizer APO on Windows, PulseEffects on Linux) with a gentle high-frequency boost and subtle warmth can make music and effects more present without altering composition.
A quick RetroArch audio checklist:
- Settings -> Audio -> Output Rate = 48000 (or 96000 if CPU allows)
- Settings -> Audio -> Audio Driver = WASAPI/CoreAudio/JACK for low latency
- If latency issues present - raise buffer size in small steps until stable
Note: Avoid digital effects that simulate modern reverb on instruments meant to sound synthetic; tasteful, subtle processing is what preserves the original composition’s intent while giving it warmth.
7) Input and control: make it feel like the handheld
The Lynx’s ergonomics are distinctive. You can approximate or dramatically improve it on modern controllers:
- Map face buttons to the Lynx A/B and option buttons; use two shoulder buttons for convenience.
- Consider binding an analog stick to D-pad with a short deadzone so directional movement can be precise without being floaty.
- Use turbo/auto-fire sparingly for shooters where hardware supports it. It can change a game’s balance, but sometimes it makes arcade ports more playable.
- For linked multiplayer games - RetroArch supports netplay; this can re-create the ComLynx linked experience across the internet (with higher latency than physical cables, obviously).
8) Save states, SRAM, and durability
Save states are glorious. They’re also fragile and emulator-specific. Best practices:
- Use dedicated save slots for progress (not only save states). Let the in-game SRAM save as the canonical progress file.
- Backup your save directory regularly if you value long-term playthroughs.
- When switching emulator or core, export/import saves carefully; some formats are incompatible.
9) Tuning core-specific options (Handy / libretro-handy / Mednafen)
Each core/emulator exposes different options. A few high-impact toggles to look for:
- Vertical/horizontal rotation - some Lynx games were designed to be played rotated or with a different native orientation. Try rotating the display if sprites appear stretched.
- Frame limiting / vsync - enable to avoid tearing. RetroArch allows frame delay adjustments to sync audio and video better.
- Hardware vs software scaling - hardware scaling is faster but may introduce filtering. Keep it simple � integer scaling + nearest neighbor when possible.
Consult the project’s readme or settings page for exact option names (cores vary). Official RetroArch docs are a good starting point: https://www.retroarch.com/
10) Advanced creative touches
- Overlays & bezels - Use a handheld bezel overlay for nostalgia. RetroArch supports overlays and positions them automatically.
- Custom palettes - some emulators let you tweak palette entries or load an alternate palette. For certain games this can remove an ugly tint or bring out a different mood.
- Controller-specific profiles - build profiles per-game for unique tunings (auto-fire in shooters, adjusted deadzone for platformers).
11) Examples: Before / After (mental snapshots)
- Blue Lightning (example) - default upscaling: jagged mountains and smeared sky. Tweak: integer scale + slight CRT shader + color gamma + high-quality resampler = crisp sprites, believable depth in the sky, and punchier explosions.
- Puzzle/word games - prioritize clarity. Remove scanlines, use 1:1 scaling, raise font contrast. Function over flair.
12) Troubleshooting common problems
- Jittery sprites after enabling shaders - try toggling “Hard GPU Sync” or increase the audio/video buffer to reduce async issues. Also try different shader orders.
- Audio pops when raising sample rate - increase buffer size or switch audio driver.
- Save states incompatible after switching cores - always export saves or use core-specific exports if the frontend provides them.
13) Final philosophy: fidelity with mercy
There are two sins you can commit with retro emulation: apologizing for the original hardware (make it glossy and modern) or fetishizing every artifact as sacred (preserve bugs and misery). The middle path - fidelity with mercy - treats the Lynx as an art object that deserves clarity and warmth. Keep sprites legible, keep timing honest, and use modern tools to emphasize what made each title interesting.
If you take away one concrete thing: start with integer scaling + a mild CRT shader + higher audio sample rate. Those three changes will make a bigger, clearer, and more emotionally satisfying difference than five other fiddly settings combined.
References & Further Reading
- RetroArch (front-end, cores, shaders): https://www.retroarch.com/
- Mednafen (accurate multi-system emulator): https://mednafen.github.io/
- Retrode (cartridge dumper / preservation hardware): https://retrode.com/
- AtariAge (community & preservation): https://www.atariage.com/