· retrogaming · 6 min read
Recreating Nostalgia: How to Enhance Your Game Boy Color Experience with Emulator Mods
Learn practical, safe, and creative ways to give your Game Boy Color games a modern sheen - HD-friendly scaling, richer audio, and custom controls - while keeping the soul of the original cartridge intact.
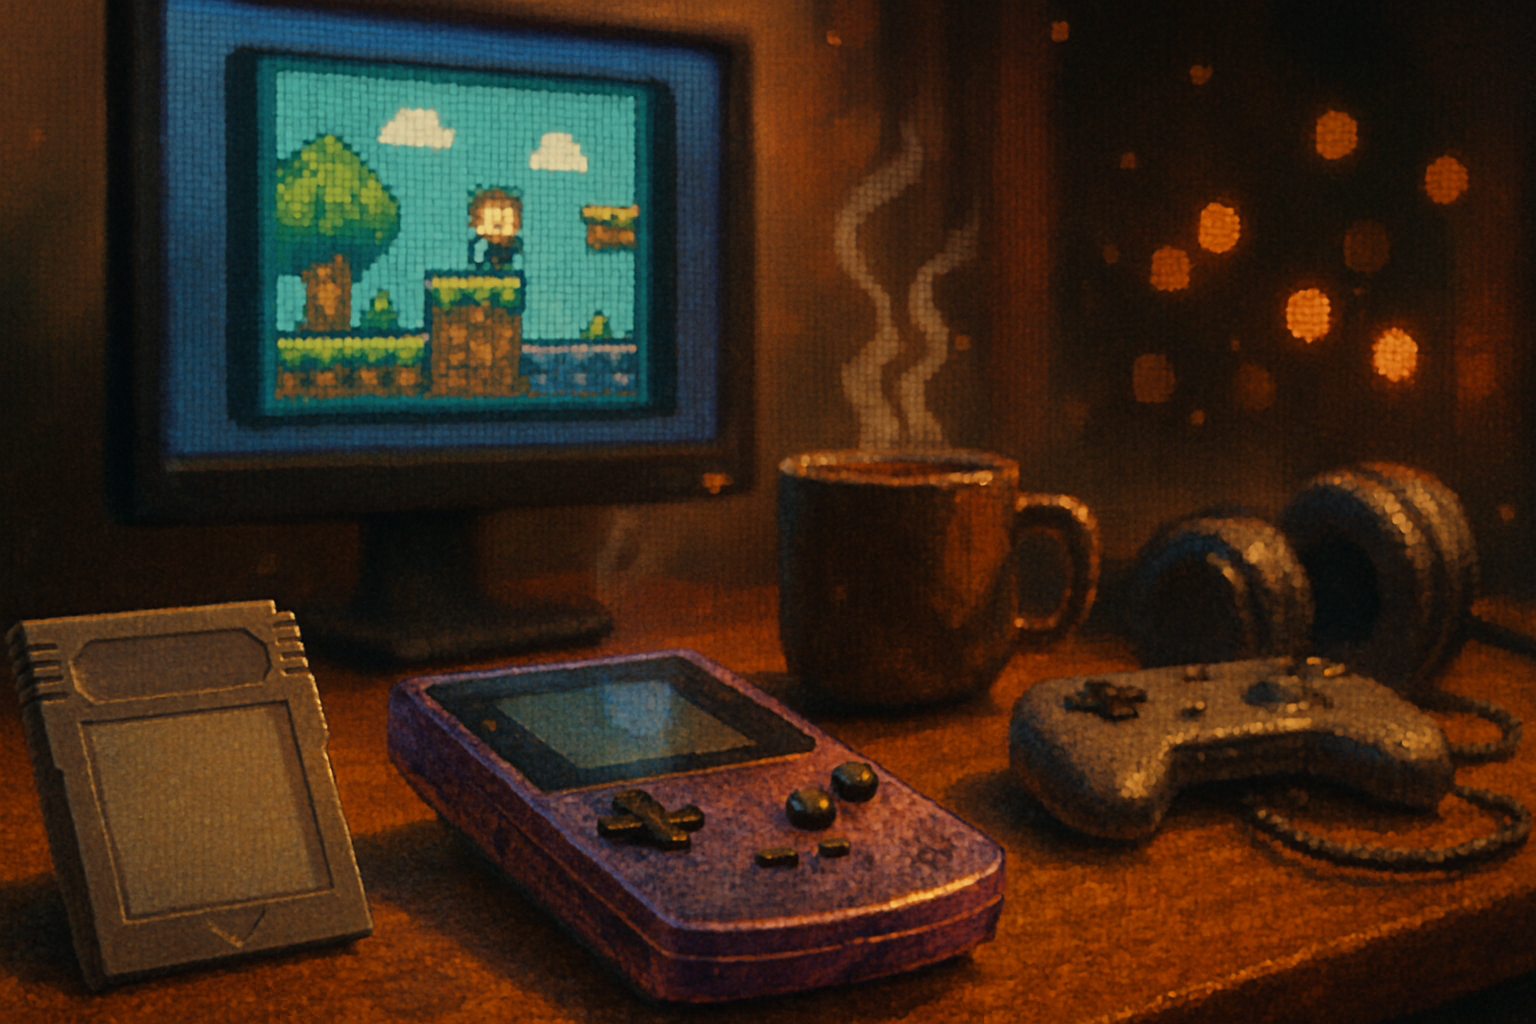
I remember blowing on a cartridge and pretending that was the entire tech stack. The screen was a green smear. My thumbs ached. The game was perfect anyway.
Fast-forward: you now have access to millions more pixels and the audacity to make classic games look and sound like something your future grandchildren will call vintage. That doesn’t mean stripping away nostalgia. It means refining it - like putting new shoes on an old dog who still remembers where you hide the snacks.
Below: a practical, somewhat snarky, and friendly guide to upgrading your Game Boy Color (GBC) experience with emulator mods. We’ll cover which emulators to pick, how to add HD visuals without turning sprites into mush, sound improvements, custom control schemes, ROM mods and sprite replacement basics, and a few ready-made “recipes” you can try tonight.
Quick legal housekeeping
- Only emulate games and BIOS files you legally own. Downloading or distributing copyrighted ROMs you don’t own is illegal in many places. Be responsible.
Useful project pages:
- RetroArch (front-end): https://www.retroarch.com
- Gambatte (GB/GBC core): https://github.com/sinamas/gambatte
- SameBoy (high-accuracy GB/GBC): https://sameboy.github.io/
- Libretro shader collection: https://github.com/libretro/glsl-shaders
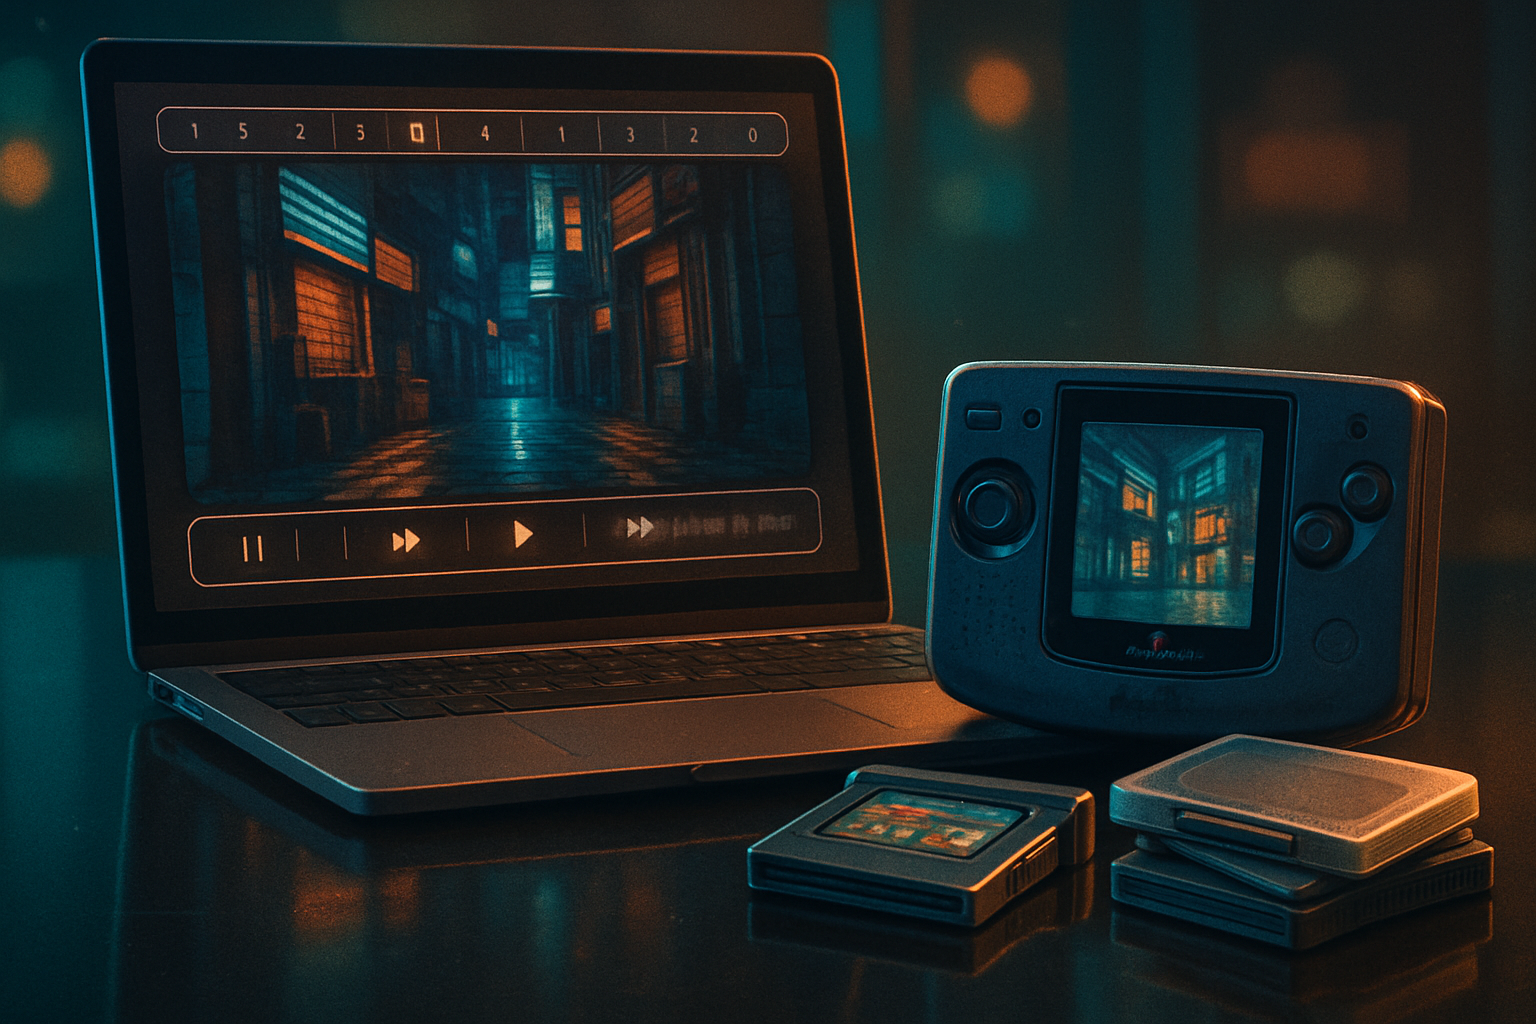
Pick the right emulator (the foundation matters)
Not all emulators are created equal. For GBC you want something accurate, flexible, and with support for shaders, audio settings, and controller mapping.
- RetroArch + Gambatte core - Great if you like modularity - shaders, runahead, overlays, netplay, achievements. RetroArch bundles features but has a learning curve. (Recommended for modders.)
- SameBoy - Ultra-accurate emulation. Excellent for purists, ROM hacking testing, and debugging. Simpler UI than RetroArch, fewer bells and whistles.
- mGBA - Primarily a GBA emulator, but its GB/GBC support and features can be handy for multi-system setups.
Choose RetroArch if you want the most options. Choose SameBoy if accuracy and authenticity are the priorities.
Visuals: how to get HD without defiling sprites
Pixels are not sacred because they’re tiny. They’re sacred because they’re purposeful. Upscaling must respect that.
Key concepts:
- Integer scaling - multiply the original pixel size by whole numbers (2x, 3x, etc.). This preserves crisp edges.
- Nearest-neighbor filtering - prevents blurring when scaling.
- Shaders - post-processing effects (scanlines, CRT curvature, bloom, or stylized smoothing like xBR).
Practical setups:
- Crisp HD (clean) - Integer scale (2x–6x depending on resolution), nearest-neighbor. No smoothing. Perfect if you want pixel-perfect clarity.
- Nostalgic with charm - Integer scale + gentle scanlines shader + slight bloom. Adds warmth without smudging.
- Painterly upscale - xBR or hq2x shader layered under a subtle CRT shader. Use sparingly; it changes the art.
RetroArch steps (conceptual):
- Load Gambatte core and your ROM.
- Go to Video settings - set scaling to “Integer Scale” and GPU texture filtering to “Nearest”.
- Load a shader preset from the shader folder (examples - xbr-3x.glslp, crt-royale.glslp, crt-pi.glslp). The Libretro shader repo is a great source.
If you care about crispness above all: the single most important toggle is Integer Scaling + Nearest filtering. If it looks slightly blocky, good. That’s fidelity, not a flaw.
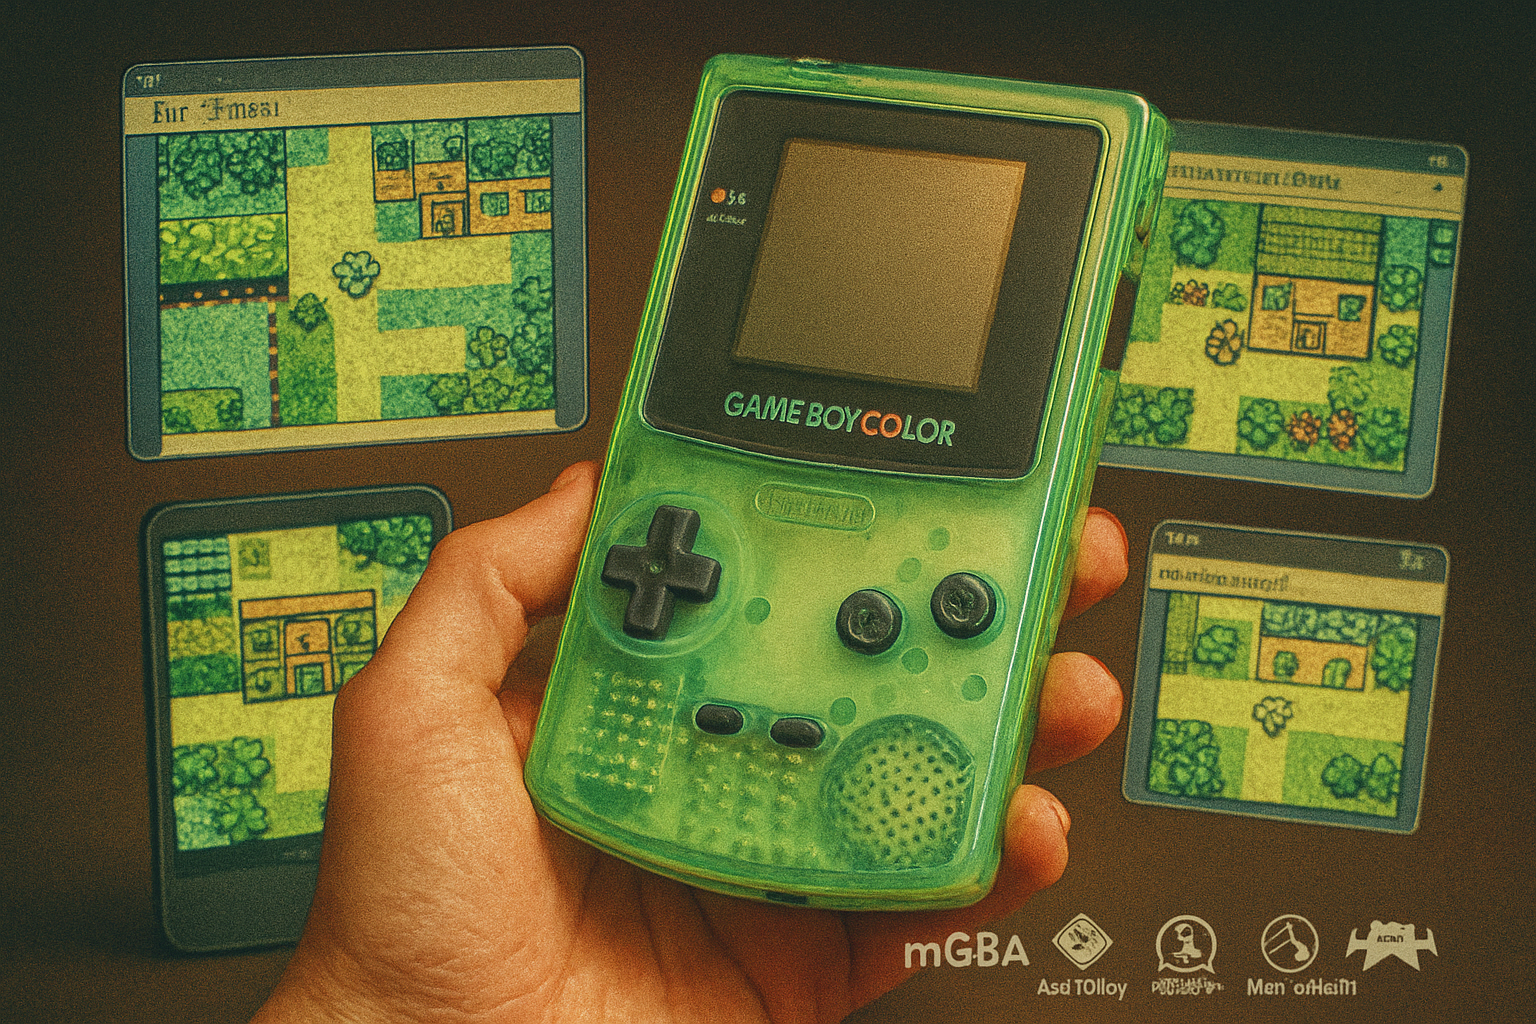
Color palettes and palette swapping
GBC games used different palettes on different hardware. Modern emulators often let you tweak palettes or apply color-correction shaders to replicate the lovely cyan/green of old LCDs or richer GBC color.
- Try subtle increases in saturation and contrast.
- Many RetroArch shader packs include palette shaders specifically designed for Game Boy / Game Boy Color.
- For a more dramatic change, you can apply custom palettes or edit tile graphics (see ROM mod section).
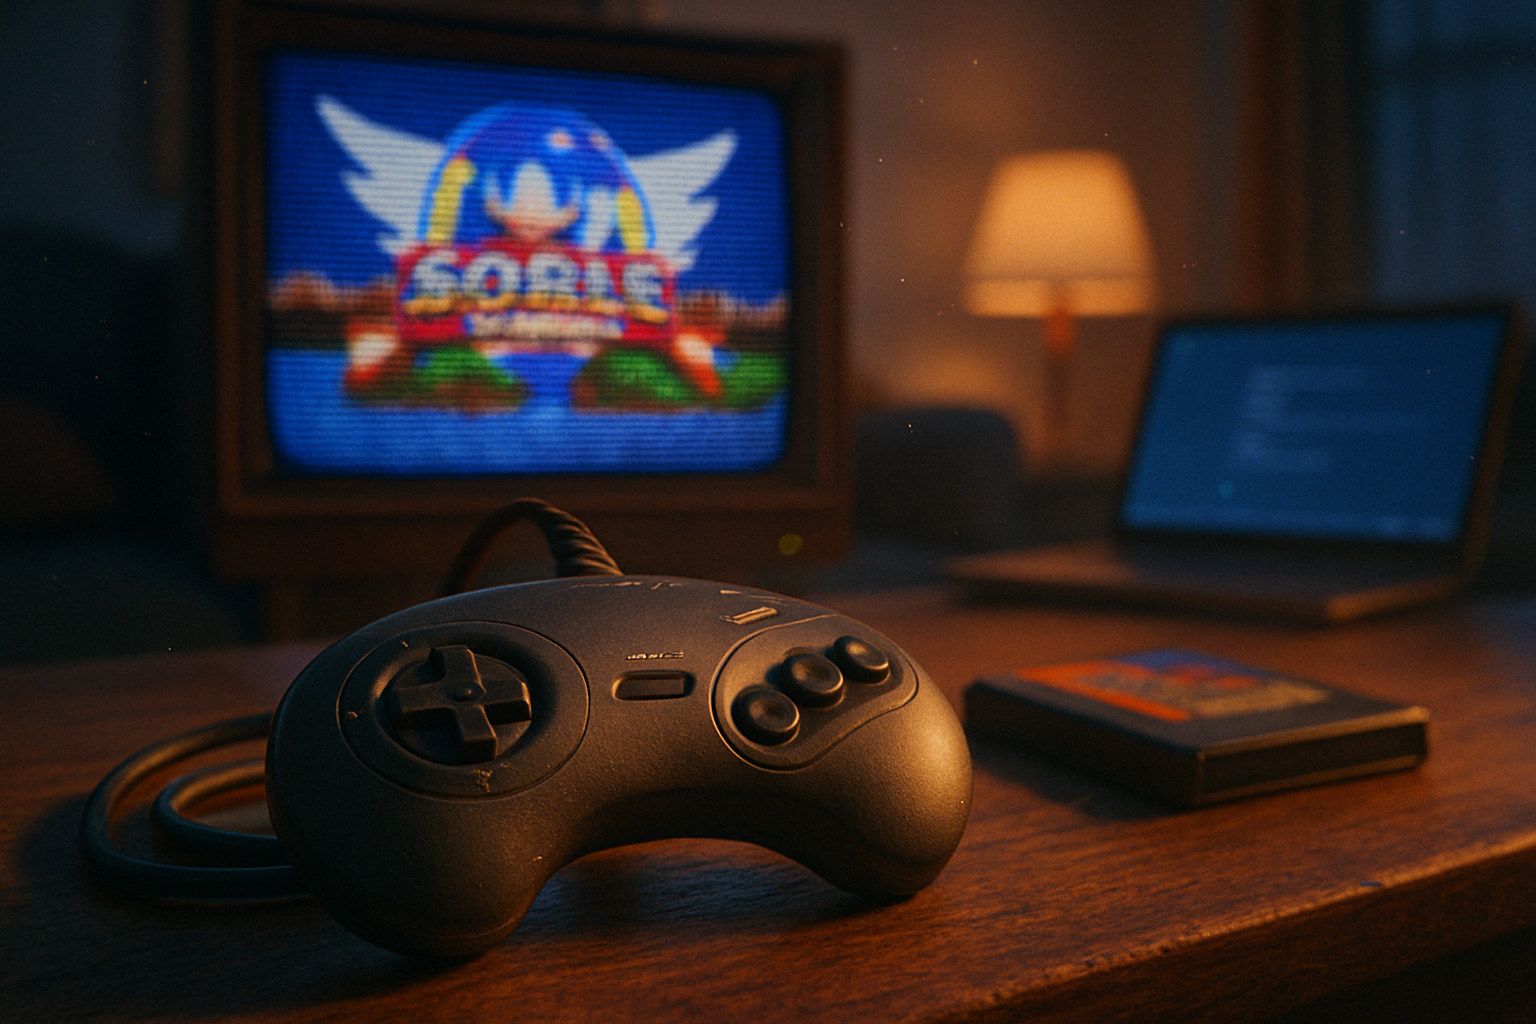
Sound: from tinny to plush without losing chiptune identity
The Game Boy’s APU is charmingly limited. Modern processing can make chiptune tracks sound fuller without turning a melody into EDM.
Simple improvements:
- Increase emulator sample rate (e.g., 44.1kHz → 48kHz or 96kHz) - smoother audio.
- Use higher-quality resampling (cubic or sinc) if the emulator offers it.
- Enable stereo separation or reverb modestly to give tracks depth.
Advanced workflow (for audiophiles):
- Capture emulator output (OBS, loopback driver, or internal recording).
- Import into a DAW (Audacity, Reaper, FL Studio).
- Add tasteful processing - light saturation, subtle stereo widening, gentle reverb, and EQ to boost warmth in low mids.
Why record and process externally? Because a DAW gives you control. You can keep the chip’s character and still make percussion snap.
Controls and ergonomics: make your setup feel like a real instrument
Modern controllers, Steam Input, and hotkeys can make old games feel new.
- Map face buttons to the Game Boy layout (A/B) and remap shoulder buttons to become rapid-fire or context menus.
- Use turbo buttons sparingly for convenience - not cheating (unless you want to cheat).
- Create controller profiles - Steam Input or RetroArch configs can switch automatically per-game or per-core.
- Macros/hotkeys - Map save states, rewind, and screenshots to easy buttons. Rewind is a magical time machine; use it at your own peril. It takes the edge off learning some of those brutal late-90s bosses.
Tip: if playing on a laptop with an integrated controller (like Steam Deck), configure deadzones and rumble to taste.
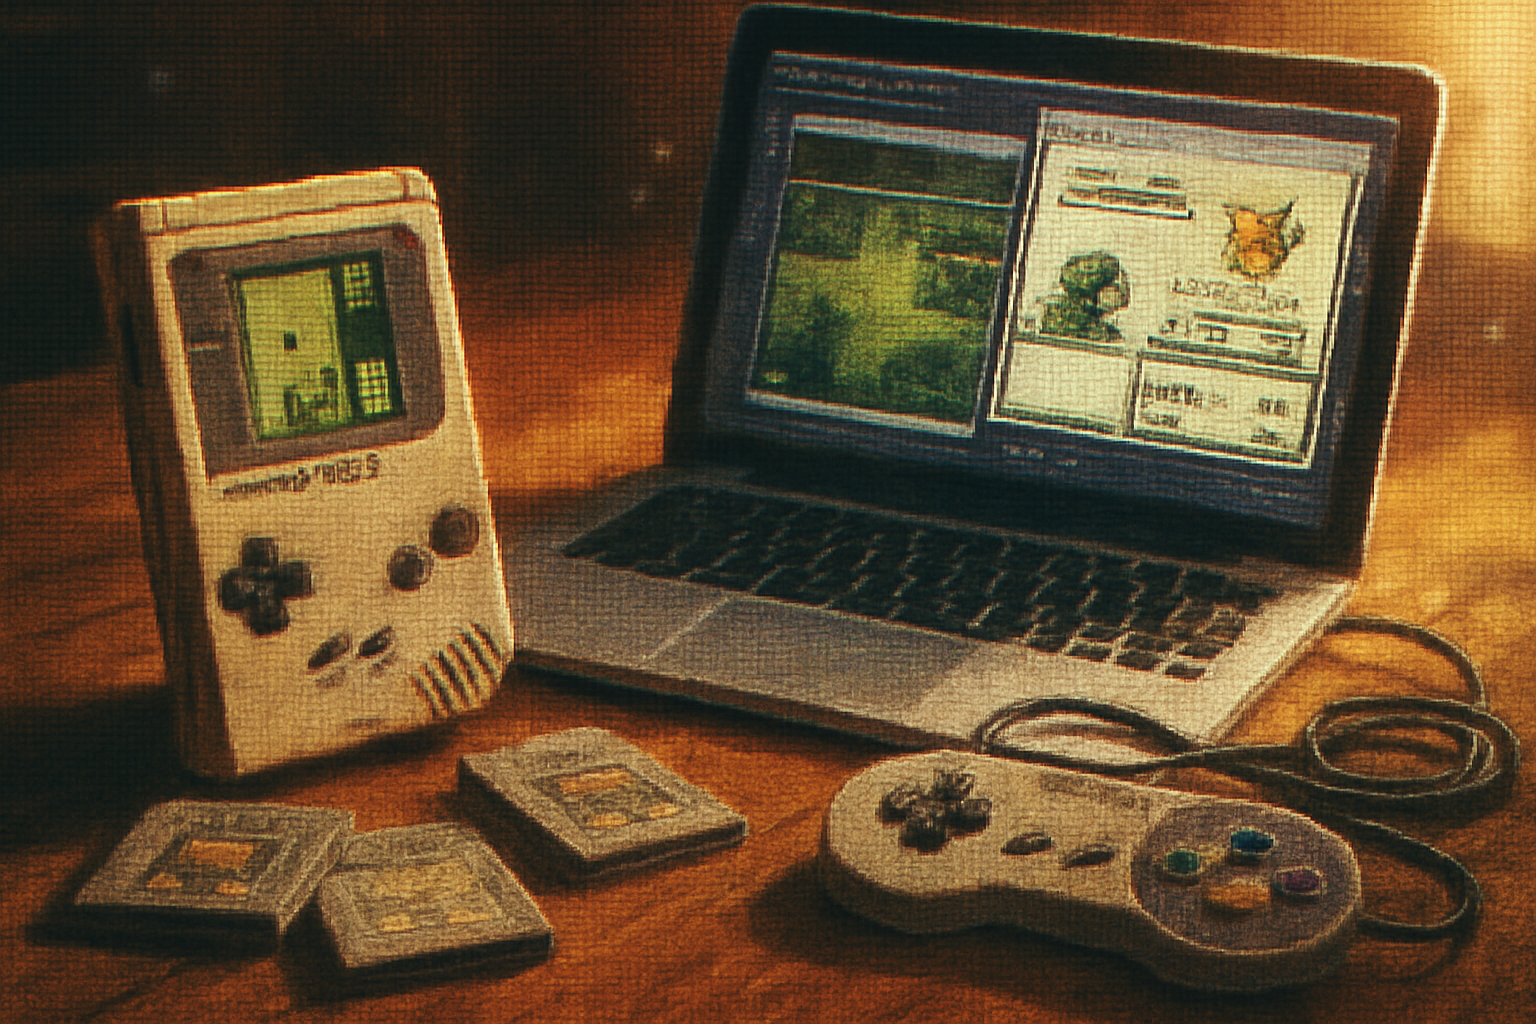
ROM hacks, sprite replacement, and tasteful remixing
If you want to go beyond shaders and audio - replacing sprites or applying quality-of-life ROM patches is an option.
- IPS/UPS patches - Common formats for distributing fan-made ROM modifications (e.g., sprite remasters, translations, bugfixes). Use a patcher like “Flips” (command-line GUI) to apply patches to ROMs you own.
- Tile editors (YY-CHR, Tile Layer Pro) - Allow editing of tiles and palettes directly. You’ll need a rom-hacking workflow to reassemble and test safely.
- Emulation-texture replacement - Some advanced front ends allow replacing texture atlases on the fly. This is complex and rare for GBC.
Warnings:
- Editing ROMs can break save compatibility and may introduce bugs.
- Respect original artists - when distributing your work, either get permission or clearly credit and avoid monetizing copyrighted assets.
Performance and troubleshooting
- If shaders cause stutter - lower shader complexity, switch to integer scaling, or enable GPU video drivers.
- Audio crackling - increase audio buffer size and reduce host CPU frequency scaling.
- Visual tearing - enable vsync or use runahead features in RetroArch carefully (helps input latency but costs CPU).
Three starter “recipes” you can try tonight
Pure nostalgia (minimal changes)
- Emulator - SameBoy
- Settings - Nearest filtering, no shaders, native resolution, original palette
- Audio - 44.1kHz, default resampler
- Why - Maximum authenticity; you get the classic experience with accurate timing.
Clean HD (pixel-perfect modern)
- Emulator - RetroArch + Gambatte
- Settings - Integer Scale, Nearest, windowed 3x–4x, no CRT shaders
- Audio - 48kHz, high-quality resampler
- Controls - Controller profile, quick-save hotkey
- Why - Looks crisp on modern screens; no filters to obscure art.
Cinematic chip (ambience without ruining the pixels)
- Emulator - RetroArch + Gambatte
- Settings - Integer Scale + xBR-2x (very light), CRT-royale with low-intensity scanlines
- Audio - 48–96kHz, capture and lightly process in a DAW (gentle reverb + EQ)
- Controls - Steam Input profile with mapped save states and rewind
- Why - Feels like an upscale restoration - modern, but still recognizably 1998.
Final note: preserve the soul
Making old games prettier is not about erasing their quirks. It’s about giving them better breath. Clean pixels and lush audio are prosthetics - they should help the original design feel alive, not replace its skeleton. Approach with respect and taste, and you might discover that nostalgia, when polished, still bites with lovely precision.
References and resources
- RetroArch (official): https://www.retroarch.com
- Gambatte (GitHub): https://github.com/sinamas/gambatte
- SameBoy (official): https://sameboy.github.io/
- Libretro GLSL shader collection: https://github.com/libretro/glsl-shaders