· retrogaming · 7 min read
From Console to PC: How to Set Up Your Dreamcast Emulator for Maximum Performance
Step-by-step guide to get the best Dreamcast emulation on PC: choose the right emulator, convert discs to CHD, configure Vulkan/OpenGL, map controllers, tune audio, enable VMU saves, and apply per-game tweaks for flawless performance.
I remember booting Shenmue for the first time on my Dreamcast years ago - that peculiar hum of the GD-ROM, the VMU blinking like a tiny, hopeful creature. Fast forward a decade: I wanted that feeling back on my PC, but cleaner, faster, and without the dread of a failing laser. Emulation promised that, if I was willing to tune a few dials.
This guide is the tuning manual. We’ll go from choosing the emulator to file formats, BIOS and VMU handling, graphics and audio tweaks, controller mapping, and per-game tips that turn a good play session into a sublime one. No fluff. Just the settings that actually matter.
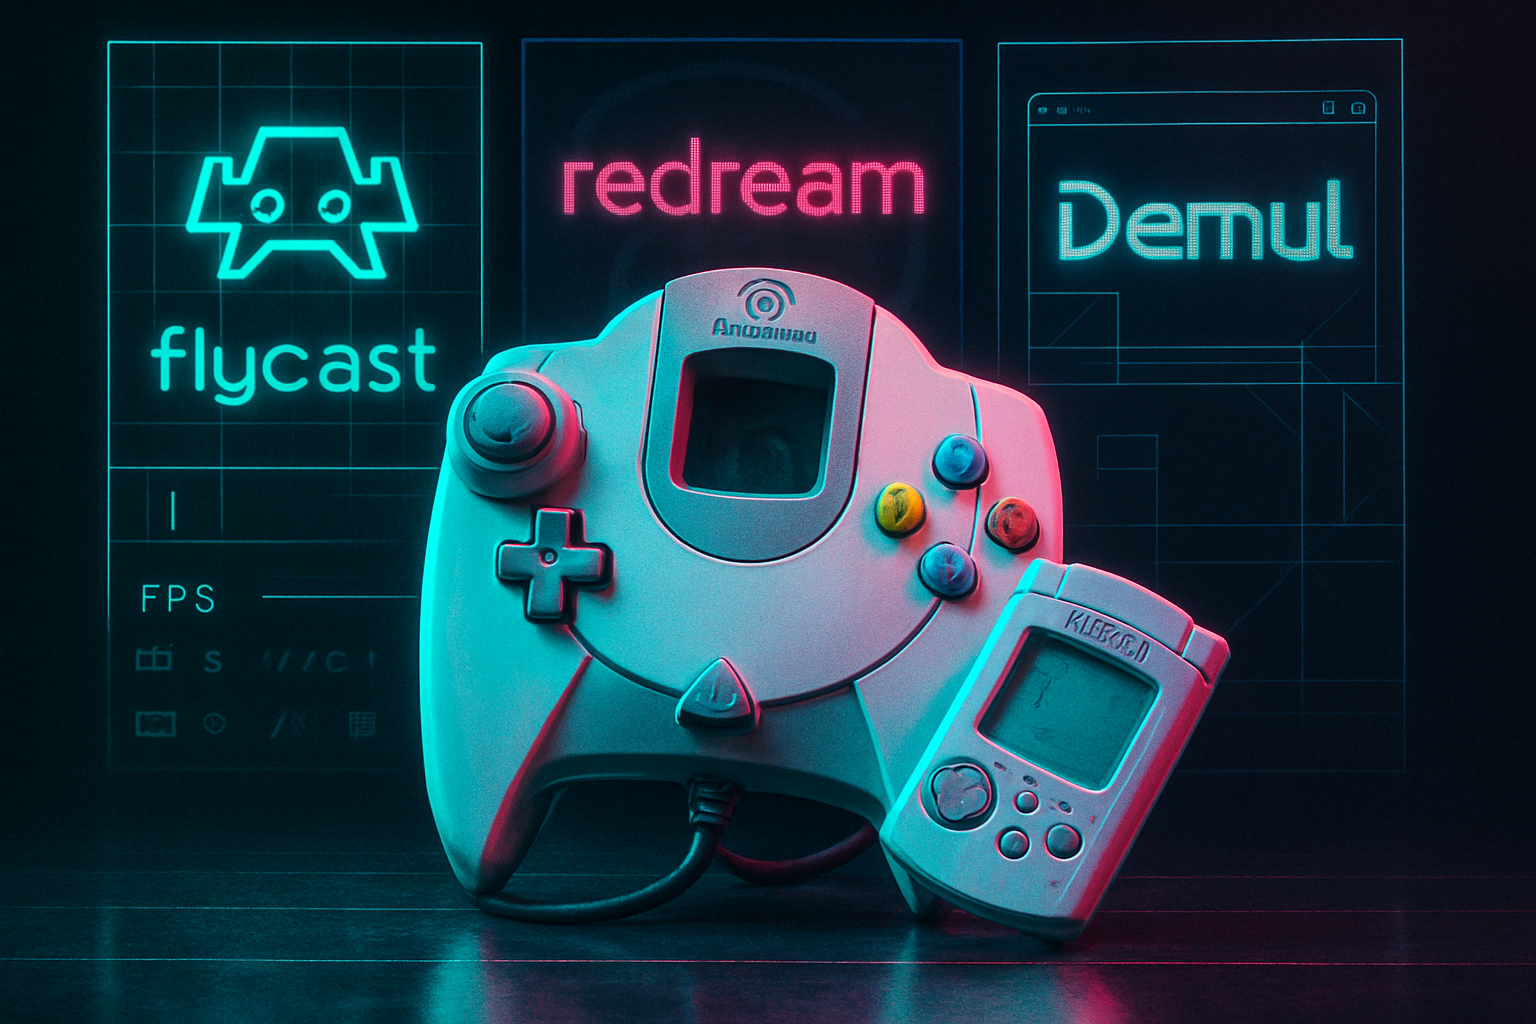
Which Dreamcast emulator should you choose?
Short answer: use Flycast (or Redream for a plug‑and‑play approach). The scene used to be messy - Demul, NullDC, Makaron - but Flycast and Redream are the modern winners.
- Flycast (recommended) - open-source, actively developed, best compatibility - supports Naomi/Atomiswave arcade ROMs, Vulkan and OpenGL backends, VMU and memcard support. See the repo:
- Redream - extremely easy setup, great performance, polished UI. Commercial tier unlocks upscaling and extra features but the free desktop version is excellent:
- RetroArch + Flycast core - if you like single-launch frontends and shaders, RetroArch’s Flycast core offers identical emulation with libretro conveniences:
If you want the highest compatibility plus arcade support (Naomi/Atomiswave), pick Flycast. If you want simplicity and minimal fuss, try Redream.
Legal note (be reasonable)
Don’t ask for ROMs/ISOs or BIOS files here. Emulation is legal; downloading copyrighted game images or BIOS files you don’t own is not. Use game images and BIOS only for hardware you legally own.
Files and formats: BIOS, GD-ROM dumps, and why CHD matters
- BIOS - Some emulators can run without a BIOS, but having an official Dreamcast BIOS increases compatibility and authenticity. Only use BIOS files you legally own.
- Game images - Dreamcast discs are commonly found as .cdi, .gdi, or .bin/.cue. These can be large and sometimes quirky.
- CHD - Compressed disk images (Compressed Hunks of Data) produced by MAME’s chdman are the preferred format. They compress without losing data and reduce seek-related stutter on some emulators.
Convert to CHD with MAME’s chdman (example):
# Create a CHD from a GDI folder or .bin/.cue
chdman createcd -i "/path/to/game.gdi" -o "/path/to/game.chd"

# From .bin/.cue
chdman createcd -i "game.bin" -o "game.chd"
MAME tools and docs: https://www.mamedev.org/
Why CHD? Less disk thrashing, smaller files, fewer loader edge-cases. Flycast and Redream both read CHD images cleanly.
Installing Flycast (standalone) - quick steps
- Download the latest build from the Flycast GitHub releases.
- Extract the archive to a folder you control.
- Place your Dreamcast BIOS in the emulator folder or set its path from the config menu.
- Put your .chd or .gdi images in a games folder.
- Launch flycast.exe and point it at the game image.
For RetroArch, install the Flycast core via Online Updater -> Core Updater, then load content.
Essential Flycast settings for performance and fidelity
You don’t need to understand every knob. Set the useful ones and forget the rest.
Video
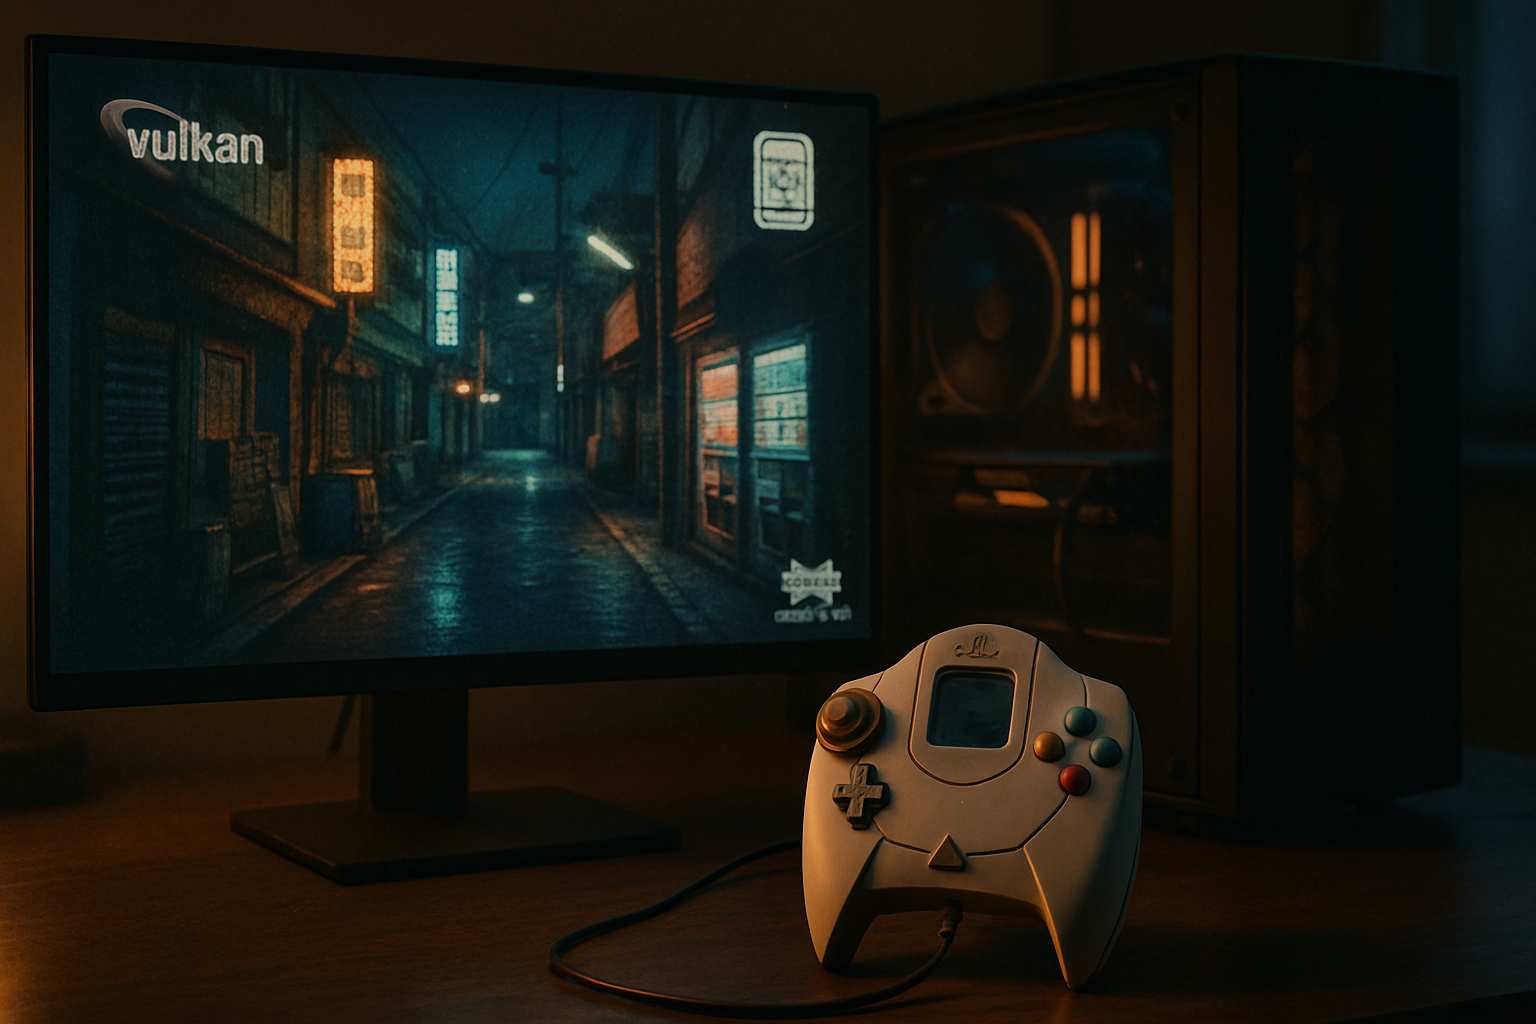
- Renderer - Vulkan (preferred) -> fallback to OpenGL if your GPU/drivers fail. Vulkan generally reduces stutter and offers better performance on modern GPUs.
- Resolution / Internal render resolution - Set to 1x (native) for perfect authenticity; increase to 2x or 3x for crisper textures. Most modern GPUs handle 2x easily; 3x+ may be heavy depending on the game and shader use.
- Texture filtering - Bilinear is fine; use “Nearest” for pixel-perfect sharpness in certain games. Try both.
- Window vs Fullscreen - Use exclusive fullscreen for lower input latency.
Audio
- Backend - Use your OS’s low-latency API (WASAPI on Windows) if available.
- Audio buffer size - Increase if you hear crackles/stuttering. Lower if you want reduced latency and have stable audio.
- Sample rate - 48000Hz is standard. Some games may prefer 44100Hz - experiment if you get pitch issues.
Input
- Controller - Use XInput/Xbox-compatible controllers where possible for guaranteed analog and button mapping.
- Deadzone - Set a small deadzone for analog sticks (2–6%) to avoid drift.
- Map VMU buttons (Start, A, B, etc.) clearly. For fighting games, bind all face buttons and both analog triggers.
Emulation
- Frame limiter - Leave enabled. Disable only for diagnostics.
- VSync - Use the emulator’s internal limiter and exclusive fullscreen; enable VSync only if you have screen tearing.
- Multithread - Enable threaded rendering if available - this offloads GPU submission and reduces hitching.
Save/Memory
- VMU emulation - Enable and set a dedicated save directory. The VMU file is a small binary that you can back up and move between emulators.
- Save states - Use sparingly as a convenience. Keep in-game saves for permanence.
RetroArch + Flycast - quick tweaks
If you use RetroArch, these settings are helpful:
- Core options (RetroArch -> Quick Menu -> Options) - set the renderer to Vulkan or GL, enable ‘Enable HLE BIOS’ only if you want to avoid needing a real BIOS (but HLE can be less compatible). For maximum compatibility, provide the real BIOS in RetroArch’s system folder.
- Shaders - RetroArch shaders give CRT or scanline effects. Use them sparingly - they cost performance.
RetroArch docs: https://docs.libretro.com/
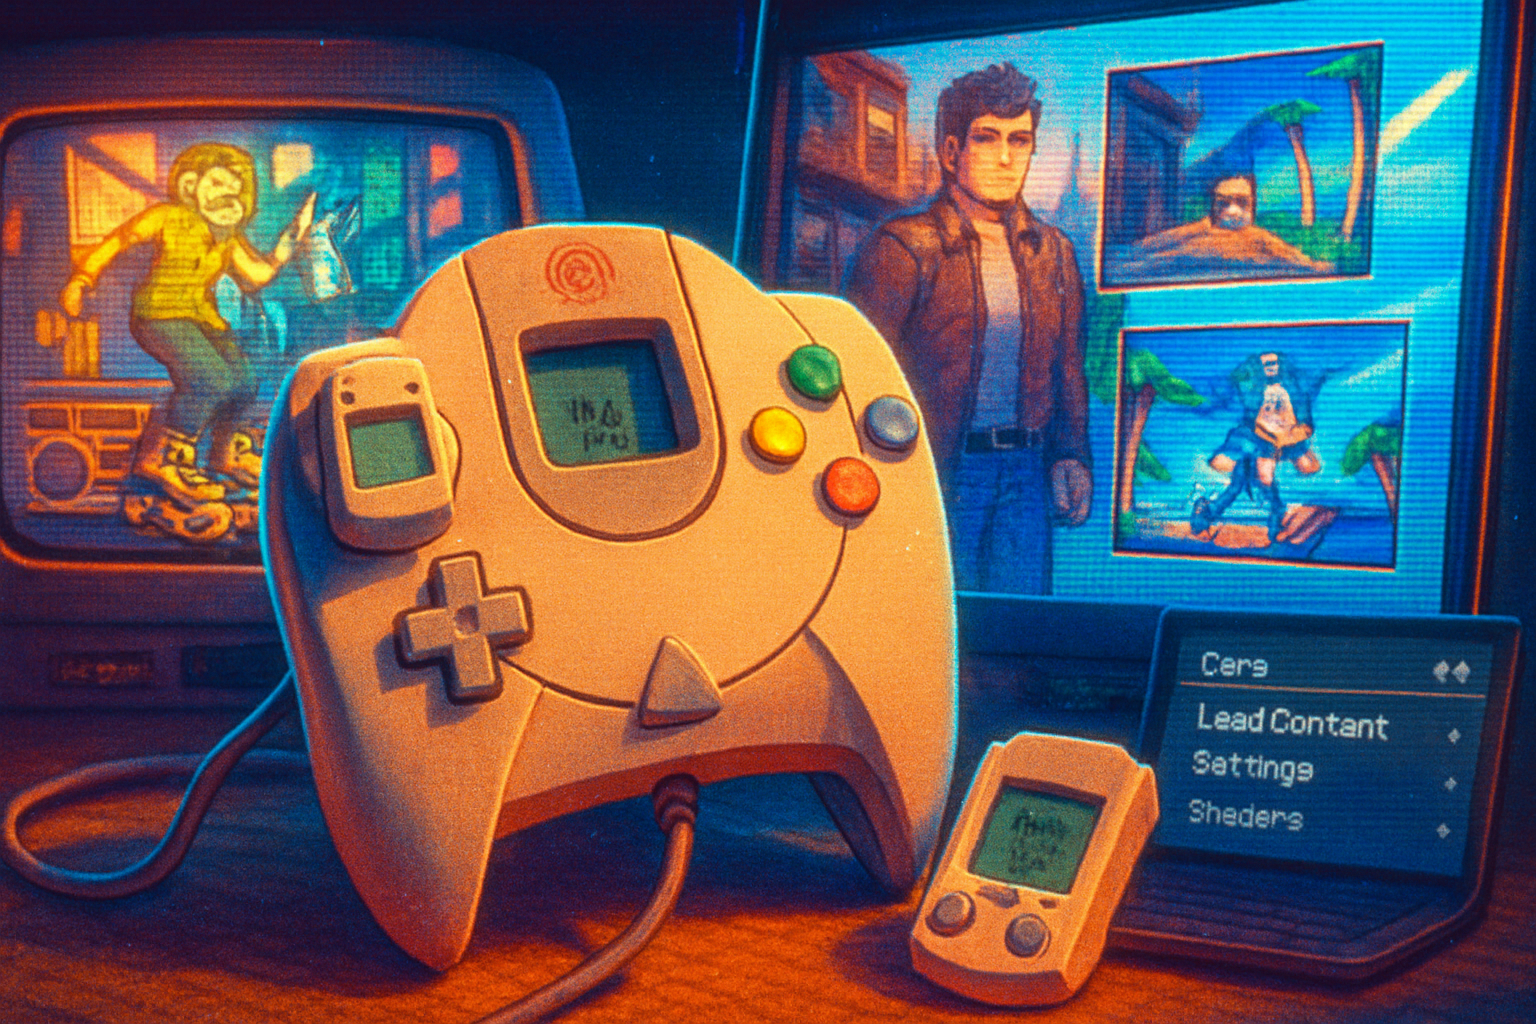
Controller and VMU workflow
- For authentic feel, use a Dreamcast-style USB controller or map an Xbox controller. Emulators map buttons to modern controllers easily.
- VMU files - Create a per-game VMU directory or name VMUs by game. Back them up - losing a VMU save is heartbreaking in Shenmue.
- Force feedback - Some emulators support rumble. Enable it if the controller supports it.
Per‑game gotchas and tweaks
Some Dreamcast titles are picky. Here are short, practical notes on a few classics:
Shenmue I & II
- Use a real BIOS for best compatibility.
- If audio crackles, increase audio buffer size; if texture glitches appear, try OpenGL instead of Vulkan.
SoulCalibur
- Use 1:1 internal res or 2x - higher upscales can break hitboxes or HUD scaling in rare cases.
- Enable threaded rendering for smoother frame pacing on modern CPUs.
Crazy Taxi
- This benefits from higher internal resolution; set texture filtering to bilinear and enable anaglyph-free widescreen patches if available.
Naomi/Arcade ports (e.g., Marvel vs. Capcom)
- Flycast supports Naomi; some arcade dumps need specific BIOS or CHD conversions. Consult Flycast’s README for compatibility notes: https://github.com/flyinghead/flycast
Performance troubleshooting checklist
If a game stutters, audio glitches, or drops frames, try these in order:
- Switch renderer - Vulkan -> OpenGL or vice versa.
- Lower internal render resolution.
- Increase audio buffer / change audio backend (WASAPI/DirectSound).
- Enable threaded rendering or multithreading options.
- Make sure GPU drivers are up to date.
- Use CHD instead of raw .cdi/.gdi/.bin files.
- Check background apps - overlays, recording tools, and browsers can cause stutters.
- Try RetroArch’s frameserver off (if using) or disable shader caching temporarily.
If none of the above work, check the emulator’s issue tracker for per-game bugs or search community threads.
Advanced: shaders, widescreen patches, and texture packs
- Shaders - CRT, scanline, or bloom shaders give visual flavor but cost GPU. Use RetroArch shaders or Flycast postprocessing.
- Widescreen patches - Fan patches exist for some titles. Apply them carefully - they can break HUDs or cutscenes.
- Texture packs - Rare for Dreamcast. Most texture mods are community projects and need special loaders; beware-they can break save compatibility.
Final checklist before you play
- Emulator - Flycast (or Redream) installed and updated
- BIOS - Legally owned BIOS placed in the emulator/system folder
- Games - CHD images created with chdman
- Renderer - Vulkan (try OpenGL if issues)
- Resolution - 2x internal for crisp visual improvement without major performance cost
- Audio - Low-latency backend, slightly increased buffer to avoid crackling
- Controller - Mapped with comfortable deadzone, rumble enabled if desired
- VMU - Save directory configured and backed up
Quick-reference per-game recommendations
- Shenmue - Real BIOS, 1–2x internal res, increase audio buffer if crackles
- SoulCalibur - 1x or 2x internal, threaded rendering on
- Crazy Taxi - 2x internal, bilinear filtering
- Marvel vs. Capcom (Naomi) - Use Flycast’s Naomi support and CHD images; check Flycast README for arcade BIOS requirements
Closing: why it’s worth the effort
Dreamcast games age like temperamental wine: they can taste sublime if you preserve their original charm, or sour if you cut corners. Emulation is the corkscrew. It needs a little technique, a little patience, and an honest respect for the machine’s quirks.
Get Flycast or Redream running the right way - BIOS, CHD, Vulkan, VMU - and you get the Dreamcast experience on your PC: faithful, fast, and often better than the original hardware. More importantly, you preserve an era when Sega gambled and, sometimes, won spectacularly.
References & further reading
- Flycast GitHub: https://github.com/flyinghead/flycast
- Redream official site: https://redream.io/
- Libretro Flycast core: https://docs.libretro.com/library/flycast/
- MAME / chdman tools: https://www.mamedev.org/