· retrotech · 7 min read
The Aesthetic Appeal of Retro PCs: Designing a Showcase Build
Explore how to design a visually striking retro-inspired PC that pays homage to classic machines while delivering modern performance - covering concept, parts selection, color & materials, efficient cooling, and pro cable-management techniques for a museum-worthy showcase.
Introduction
Retro PCs are more than nostalgia - they’re an exercise in design. A well-executed retro-inspired build is a conversation between form and function: familiar silhouettes, vintage colors, and tactile materials meet modern cooling, tidy wiring, and contemporary components. Whether you want a beige-box tribute to the early IBM era, a Macintosh-inspired jewel, or an Amiga/Commodore-flavored rig, this guide walks you through creating a showcase build that looks and performs like a piece of functional art.
Why the retro aesthetic resonates
- Tangible identity - Vintage machines had character - distinct bezels, badges, vents, and typography - which gives a modern build an immediate personality.
- Contrast and warmth - Natural materials and muted palettes stand out against typical all-metal, glass, and RGB-heavy modern rigs.
- Storytelling - A retro look is a narrative device - it says something about the builder’s influences and attention to detail.
Inspirational archetypes (pick one as your anchor)
- Beige Box Classic - Cream/beige tones, chunky bezels, large switches and vents (IBM PC/XT/AT vibe).
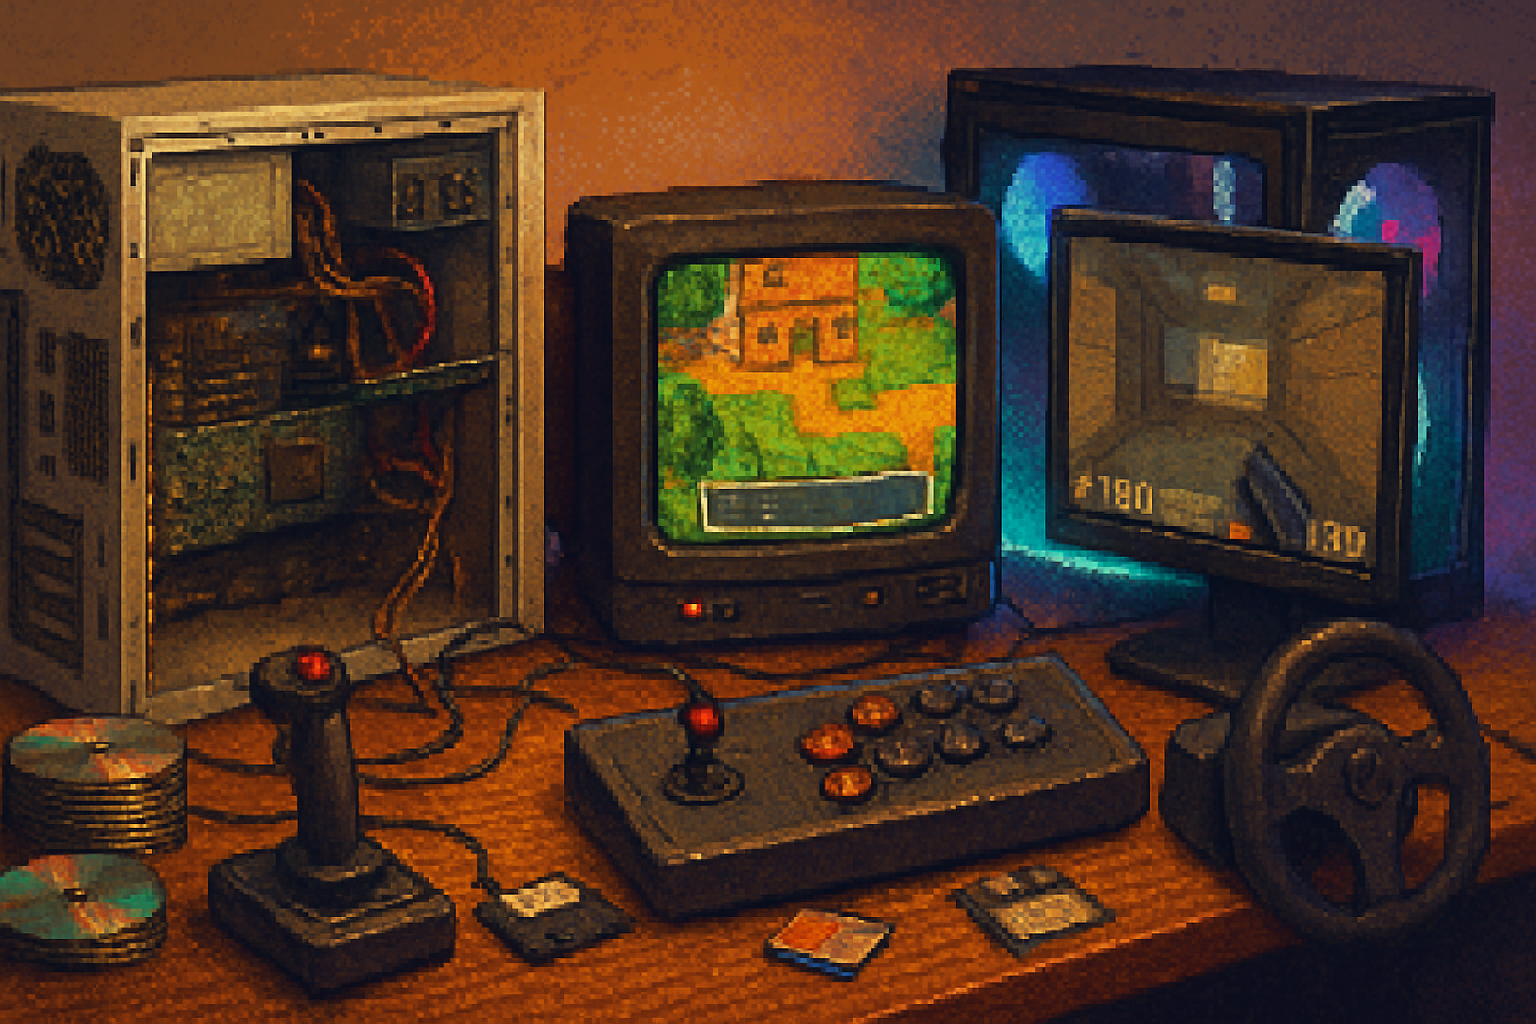
- Home Computer Nostalgia - Amiga, Commodore 64, Atari - darker plastics, woodgrain panels, retro typefaces.
- Macintosh/Apple Homage - Smooth curves, off-white or bondi-blue accents, minimal badge/logo treatment.
- Neo-Retro 80s - Neon accents, grid patterns, chrome trim, CRT-green terminal fonts.
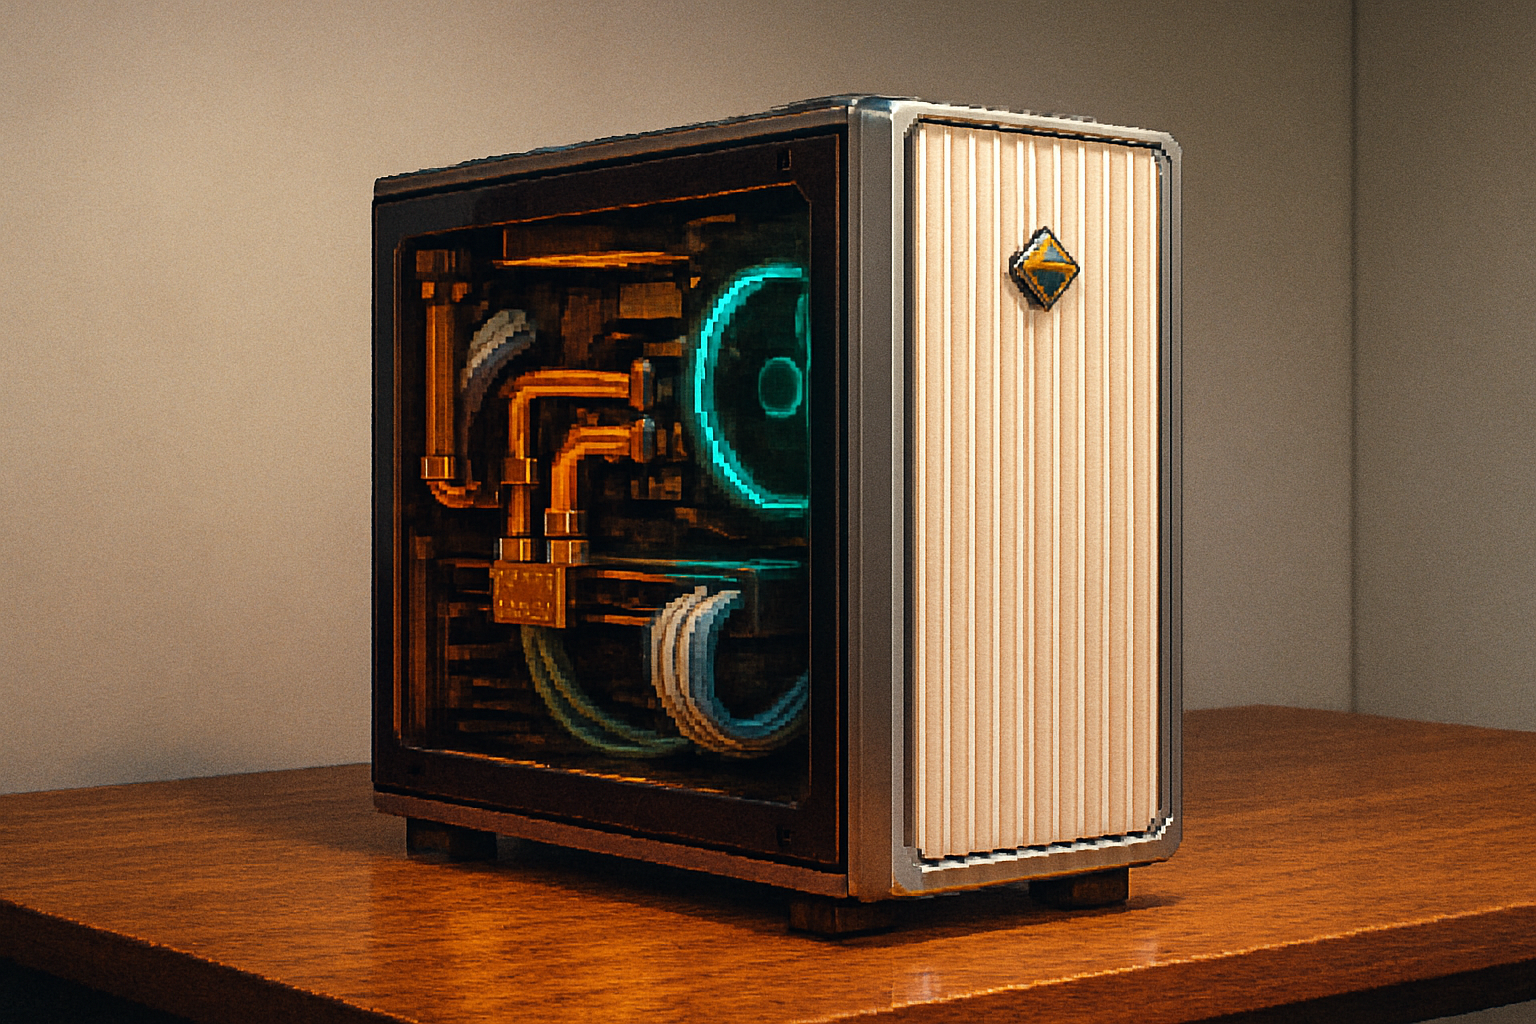
- Steampunk / Industrial - Brass fittings, exposed hardware, leather or walnut panels.
Design principles to follow
- Cohesive palette - limit to 2–4 colors (base, accent, trim, illumination).
- Material contrast - mix metal, wood or leather, and glass/acrylic sparingly.
- Negative space & proportions - respect breathing room; don’t over-decorate.
- Functional ornamentation - switches, vents, and badges should suggest purpose (and ideally be actual functional parts).
Case selection and modification
Start with a case that either closely matches your aesthetic or is mod-friendly.
- Mod-friendly modern cases - models like the Lian Li O11 series and other roomy, modular enclosures are great canvases for retro mods (
- Small form factor & vintage shells - scavenged old shells (e.g., original beige cases) or replica enclosures can host modern Mini-ITX systems.
- Materials - wood panels can be mounted externally or used to replace side panels; laser-cut acrylic or brushed aluminum faceplates help achieve the right look.
Case mods to consider
- Replace a front bezel with a textured or ribbed plate to mimic vintage fluting.
- Add a wood veneer or walnut accent strip (counter-sunk screws and brass washers amplify authenticity).
- Install retro toggle switches, recessed power buttons, or analog-style knobs for fan control.
Typography, logos and badges
A subtle, period-appropriate badge or small plaque can sell the theme. Use retro fonts (e.g., DIN 1451 for industrial, or pixel/bitmap fonts for 8-bit vibes) and consider anodized metal or enamel badges. Small details like period-correct indicator LEDs (amber or green instead of bright white) make the piece feel genuine.
Lighting: tasteful illumination, not a rave
- Color temperature - warm whites (2700–3500K) or amber hues better suit retro palettes than cool whites.
- Accent lighting - use strips for backlighting or inside alcoves. A single neon-style accent (pink/teal for 80s) can be striking.
- Avoid over-RGBing - if you use RGB, confine it to a single channel/area and keep colors consistent with your palette.
Cooling: marry vintage form with modern function
Retro style shouldn’t compromise thermals. Plan an airflow and cooling system that hides complexity while letting the exterior read as simple and clean.
Airflow basics
- Pressure - aim for slight positive pressure (more intake than exhaust) to reduce dust accumulation.
- Intake & exhaust placement - intake low/front/bottom, exhaust high/rear/top - hot air rises, and following this rule is still best practice.
- Filters - use magnetic or snap-in dust filters behind the bezel or intake areas for easy cleaning.
Fan choices & placement
- Quiet performance - premium fans (Noctua, Corsair ML, or similar) deliver high airflow at low noise; Noctua’s brown/beige aesthetic can also complement certain retro palettes (
- Push/pull on radiators - if you’re using AIOs or rads, push/pull improves static pressure and thermal performance at the cost of added fans and slightly more complex wiring.
AIO vs Custom Loop vs High-performance Air
- AIO (All-in-One) liquid coolers - clean look, compact exterior impact; choose low-profile mounts or route the tubing internally to keep the outside tidy.
- Custom loops - ideal for a show build - use colored coolant that matches your palette, vintage-style tubing clamps, and brass/bronze fittings to sell an antique look. EKWB’s guides are invaluable for planning and safety (
- High-performance air - big tower heatsinks can be dressed up with a shroud or painted (careful with thermal tape and manufacturer warnings) and are the most reliable/low-maintenance option.
Managing radiators and clearances
- Radiator thickness & fan clearance - thicker rads need space - check your case’s tolerance for 45–60 mm radiators and fan mounting.
- GPU cooling - either rely on the GPU’s stock cooler, mount an AIO for the GPU, or integrate the GPU in a custom loop if you want visible coolant lines and a premium display.
Cable management: the backbone of a showcase build
A clean wiring job elevates a build from “styled” to “crafted.”
Fundamentals
- Modular PSU - use a fully modular power supply to eliminate unused cables.
- Custom-length cables - order pre-sleeved cables cut to length or make them yourself - avoid excess slack.
- Cable sleeving - high-quality paracord/nylon or PET sleeving in your chosen accent color creates clean visual lines.
Routing techniques
- Use the motherboard tray’s cable channels and grommets; route all major runs (24-pin, GPU 8-pin, CPU 8-pin) through dedicated openings.
- Behind the tray - stash long SATA or front-panel connectors, and use Velcro straps and zip-ties in measured doses.
- GPU riser - a vertical GPU mount with a riser cable showcases the card while keeping power runs neat; make sure PCIe slot airflow and GPU temperatures are acceptable.
Aesthetic tips for cables
- Cable combs - for visible runs (24-pin or GPU cables), combs make cables parallel and tidy.
- Color blocking - use two-tone sleeving (base + contrast color) sparingly to highlight key paths.
- Hidden anchors - anchor points (adhesive or screw-based) behind the tray keep cables flush.
Tools and consumables
Wire cutters, crimpers, heat shrink, cable combs, Velcro straps, and a stash of different-length screws and standoffs will save time. Consider a harness-style approach: group signals in braided channels so you can pre-run and then plug components into tidy bundles.
Step-by-step design & build plan
- Concept & moodboard - gather photos, color swatches, fonts, and materials.
- Parts list - pick motherboard form factor, PSU size, GPU, cooler type (AIO/custom/air), case, and lighting system.
- Mockup - sketch or use software (simple paint tools suffice) to plan placements of wood panels, badges, vents, and radiators.
- Purchase critical items - case, motherboard, PSU, and cooling hardware first to test fit.
- Preliminary test-fit - dry-assemble to verify cable lengths, radiator fit, and GPU clearance.
- Final assembly - manage cables as you install components rather than after - this prevents tight, contorted runs.
- Finishing touches - add badges, light diffusers, paint touch-ups, and dust filters.
Checklist (quick-reference)
- Concept defined - palette, archetype, materials
- Case & clearance verified
- PSU (modular) & cable lengths planned
- Cooling strategy finalized (AIO/custom/air)
- Fans selected (static pressure vs airflow)
- Dust filters & fan curves planned
- Riser / vertical GPU planned (if used)
- Badges, switches, and bezel mods prepared
Budgets and where to invest
- Minimalist homage (air-cooled, ATX, no custom sleeving) - $700–1,200.
- High-end retro showcase (custom loop, wood/metal mods, custom sleeving, vertical GPU) - $2,000–5,000+.
- The biggest ROI - spend on a quality PSU, quiet high-static-pressure fans, and a proper cooling solution - these affect longevity and the user experience most.
Photography and display
- Backdrop - matte neutral or period-appropriate textured backdrops (wood grain, vinyl grid) photograph best.
- Lighting - soft key light and a subtle rim light to show contours; avoid harsh reflections on acrylic or glass.
- Angles - low 3/4 angle shots show depth; top-down pictures highlight cable routing.
Maintenance & practical considerations
- Dust - retro builds with wooden or veneered surfaces often have less accessible vents. Use magnetic dust filters and schedule cleaning.
- Component upgrades - document your cable runs and keep as-built photos - they help when you upgrade in the future.
- Safety for mods - when drilling or painting, remove electronics from the case. Always follow PSU and component manufacturer safety notes.
Examples and micro-ideas you can copy
- Beige Classic with modern internals - spray the bezel in RAL 9001 (Cream) and fit amber status LEDs.
- Macintosh-style mini tower - curved faceplate, off-white paint, and small walnut inlay with a minimalist badge.
- Amiga/Commodore desk unit - wood veneer top, darker plastic tones, accent orange or teal stripes.
- Neo-80s neon - matte black case, teal neon strip behind plexiglass, cyan coolant in a custom loop.
Further reading and resources
- A complete guide to custom water cooling by EKWB: EKWB guide
- Cable management tips and PC building basics from Corsair: Corsair blog
- General how-to for building a PC (thermals, compatibility, steps): PC Gamer guide
- Airflow and case testing insights: Tom’s Hardware case airflow articles
Closing thoughts
A retro-inspired PC is a deliberate design exercise - you’re curating a look and making functional decisions that support it. Prioritize a cohesive palette, carefully chosen materials, and tidy internal engineering. The payoff is a build that not only turns heads but also runs cool and quiet. Embrace the period details, but let modern engineering carry the load.