· 6 min read
Reviving Classics: The Ultimate Guide to Building a Retro PC in 2023
A practical, hands-on guide to building a retro PC in 2023. Learn how to pick an era, source and restore vintage parts, combine old hardware with modern conveniences, and avoid common pitfalls so your retro rig runs reliably and looks great.
Why Build a Retro PC in 2023?
Building a retro PC is part restoration project, part engineering puzzle, and part nostalgia trip. Whether you want to play DOS-era games on original hardware, recreate the feel of a late 90s LAN machine, or preserve computing history, a retro build lets you experience software the way it was intended - with quirks, timings, and hardware limitations.
This guide walks through the decisions, components, compatibility traps, and practical tips for integrating vintage hardware with modern technology so your build is both authentic and usable.
Plan Your Goal: Authenticity vs Convenience
Start by deciding how “retro” you want to go. Your choices will determine parts, cost, and complexity.
- High authenticity - All original hardware, CRT display, period-accurate OS (DOS, Windows 95/98), original storage (IDE, SCSI). Most faithful but more maintenance and compatibility headaches.
- Hybrid - Original motherboard and CPU, but use modern storage (SSD via adapters) and USB input. Good balance of authenticity and convenience.
- Emulation-friendly modern host - Use a modern PC running emulators or virtualization for accuracy with minimal hardware hassle. Easiest but less tactile.
Knowing your target era (early 80s, 286/386, Pentium 1995–2002, Athlon XP era) helps narrow which standards and parts you need to source.
Choosing an Era and Typical Use Cases
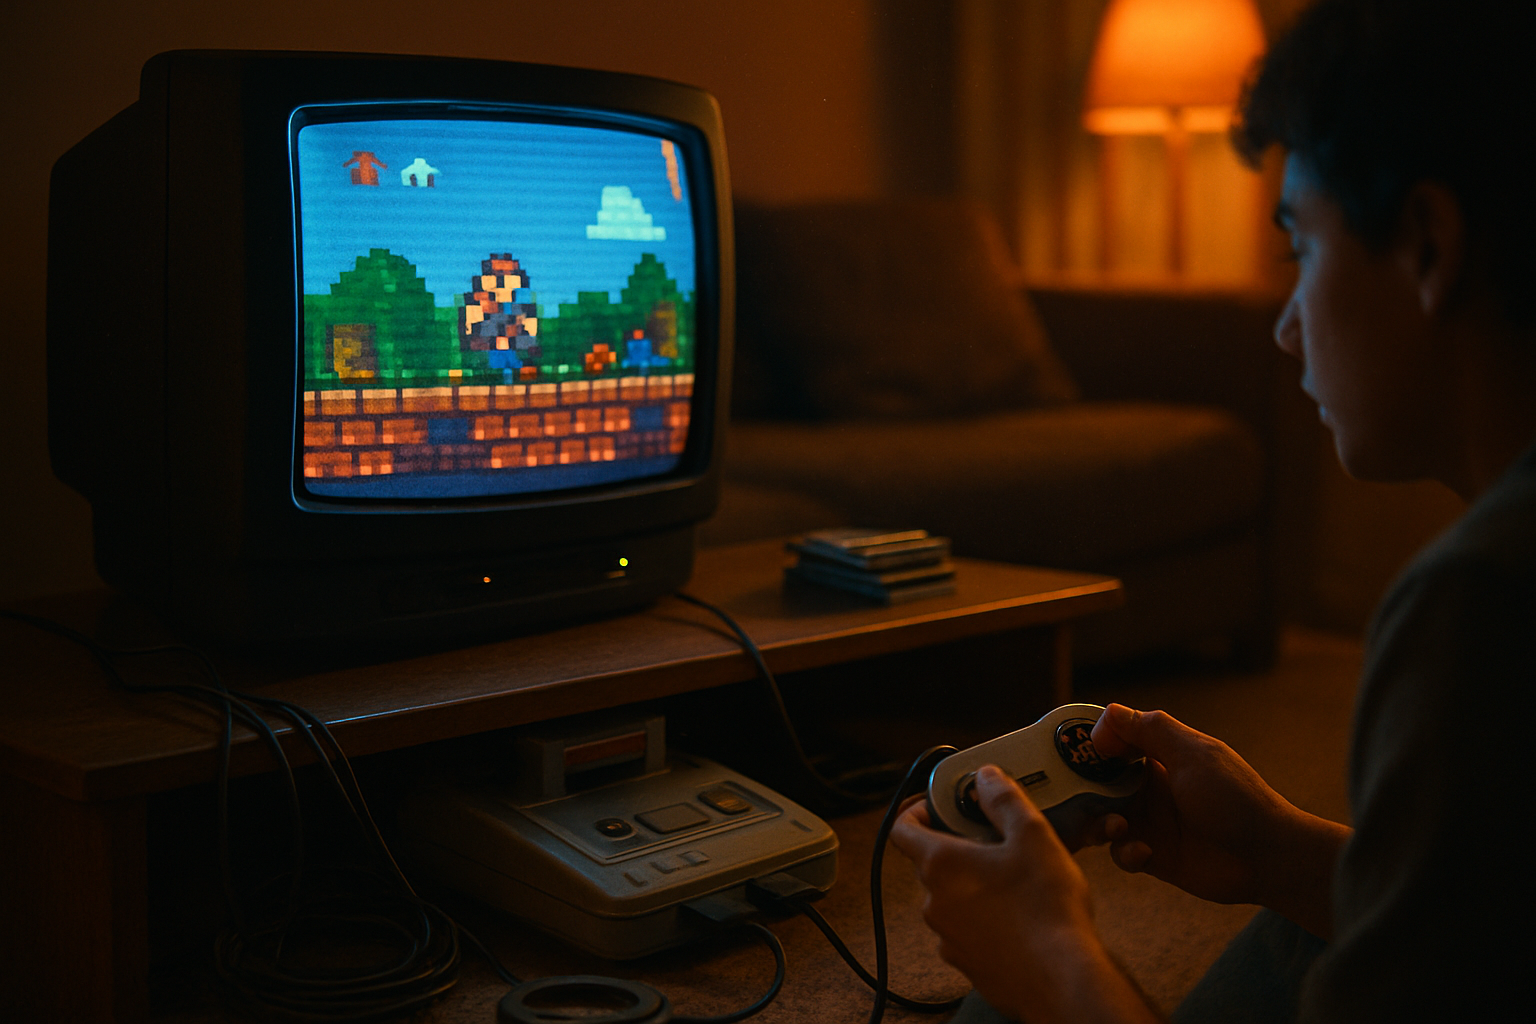
- 1980s / early PC compatibles - Great for text-mode computing, early DOS titles.
- 1990s (486, Pentium) - Best for DOS, early Windows 95/98, and classic 3D acceleration via early 3DFX/Matrox/ATI/NVIDIA cards.
- Early 2000s (Pentium 4, Athlon XP) - Good for Windows XP-era titles and early 3D engines.
Common retro goals:
- Authentic gaming (sound cards, real GPUs)
- Software preservation and testing
- Demonstration / museum pieces
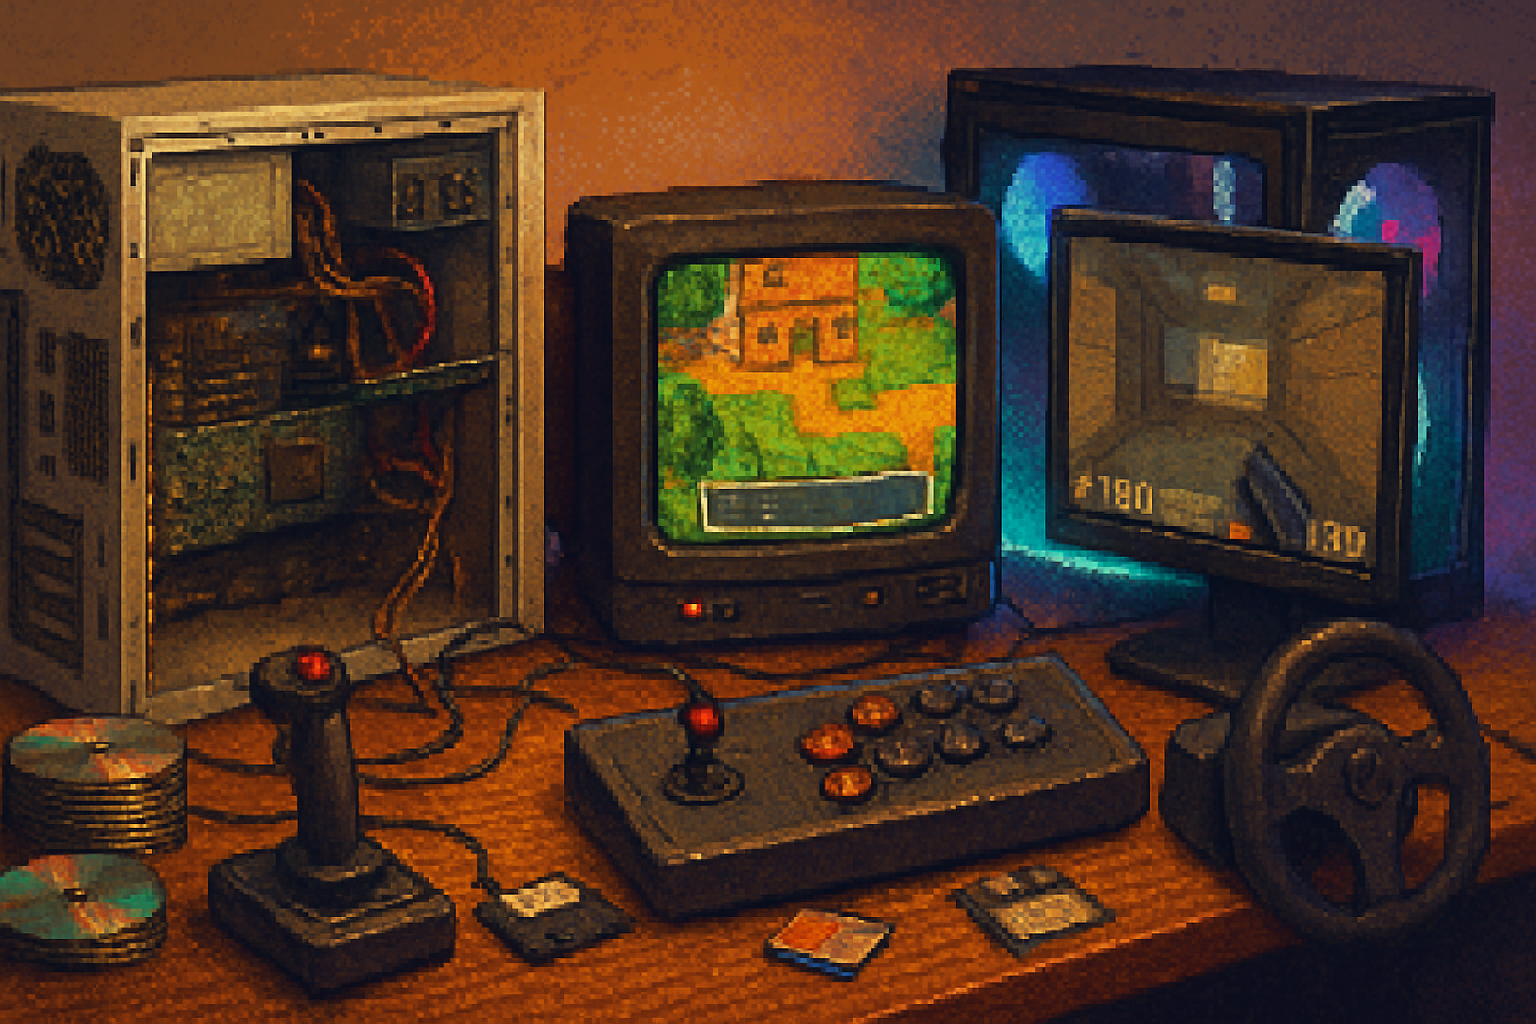
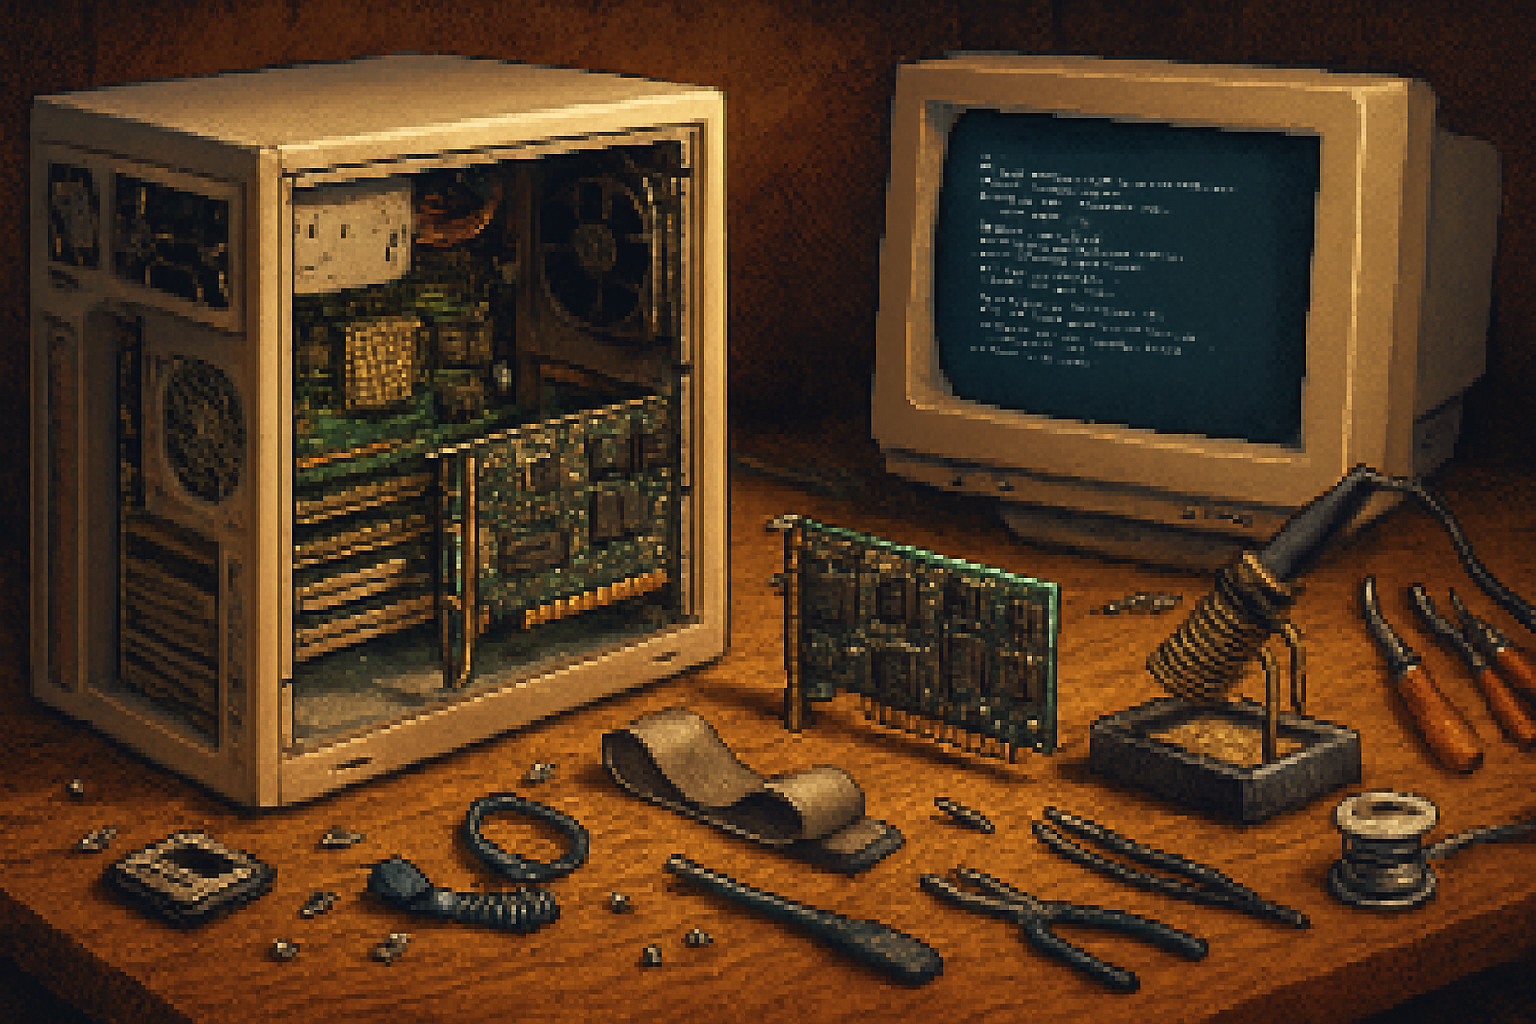
Essential Components and What to Look For
- Motherboard and CPU
- Verify socket type and chipset. For 486/Pentium builds, expect ISA/PCI and older BIOS interfaces.
- Check for leaky capacitors and bulging electrolytics.
- RAM
- Match the motherboard - SIMMs for 386/486, SDRAM for later Pentium. Speed and parity requirements matter.
- Graphics
- VHS-era VGA cards, early 3D accelerators, AGP vs PCI. For authentic visuals, use period GPUs (Voodoo 2/3, Riva TNT, GeForce 256).
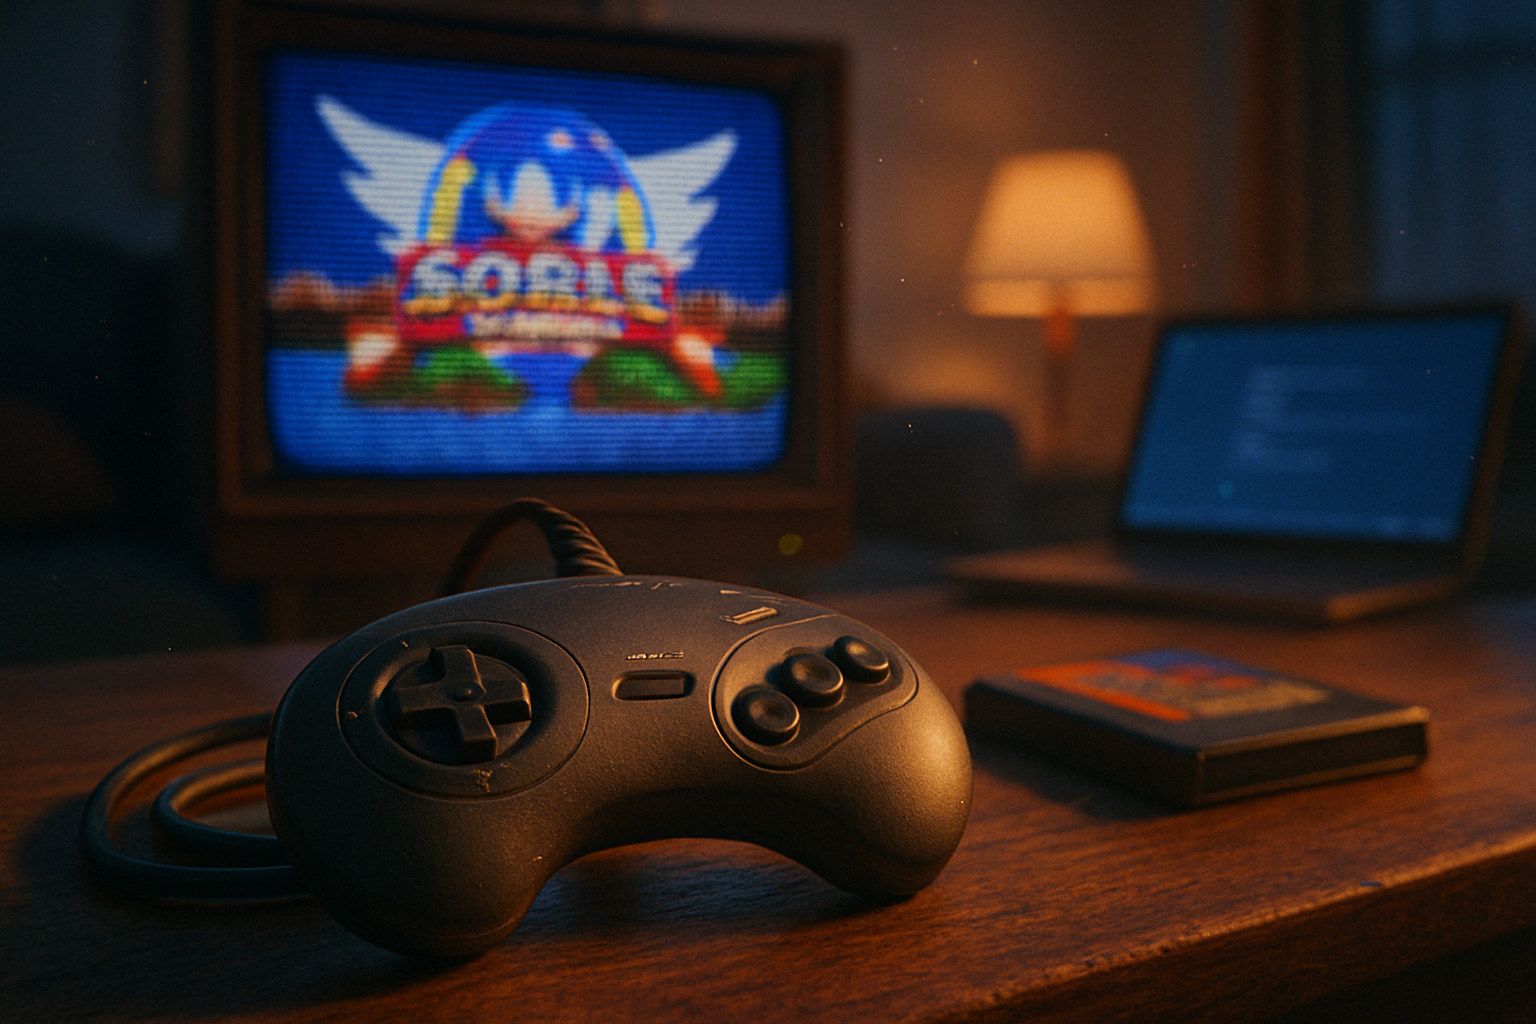
- Sound
- Sound Blaster compatibles are the retro standard. Check driver availability for your OS.
- Storage
- IDE and SCSI drives are common vintage options. Modern convenience - CF-to-IDE, mSATA-to-IDE adapters, or SATA/SSD via PCI controllers.
- Power Supply
- Many old systems use AT PSUs or early ATX. Avoid powering unknown vintage PSUs without testing - caps can be bad.
- Case, Fans, and Cooling
- Original cases are part of the look. Check for rust and replace fans if noisy. For CPUs, use period-appropriate coolers unless thermal load requires an upgrade.
- Peripherals
- Keyboards - AT/XT connectors vs PS/2. Mice: serial vs PS/2. Adapters exist but may not convert all functions.
Sourcing Parts
- Online marketplaces - eBay is a primary source. Use seller ratings and ask for photos of the capacitors and ports.
- Community resources: VOGONS, r/retrobattlestations, and the Vintage Computer Federation have classified ads, advice, and swaps.
- Local thrift stores and electronics recyclers can yield surprises.
Expect to pay a premium for rare video cards or pristine cases. Patience pays off.
Modern Adapters and Bridging Gaps
To mix vintage hardware with modern convenience, use adapters:
- CompactFlash or SD to IDE adapters - let you run an IDE-based OS from flash storage.
- mSATA or SATA-to-PCI controllers - add modern SSDs to older systems that lack SATA.
- USB-to-serial and PS/2-to-USB adapters - acceptable for basic input but beware of timing-sensitive devices.
- VGA-to-HDMI scalers and OSSC-like scalers - convert analog video for modern displays.
Useful resources: RetroRGB for display options and the OSSC scaler site for digital upscaling solutions.
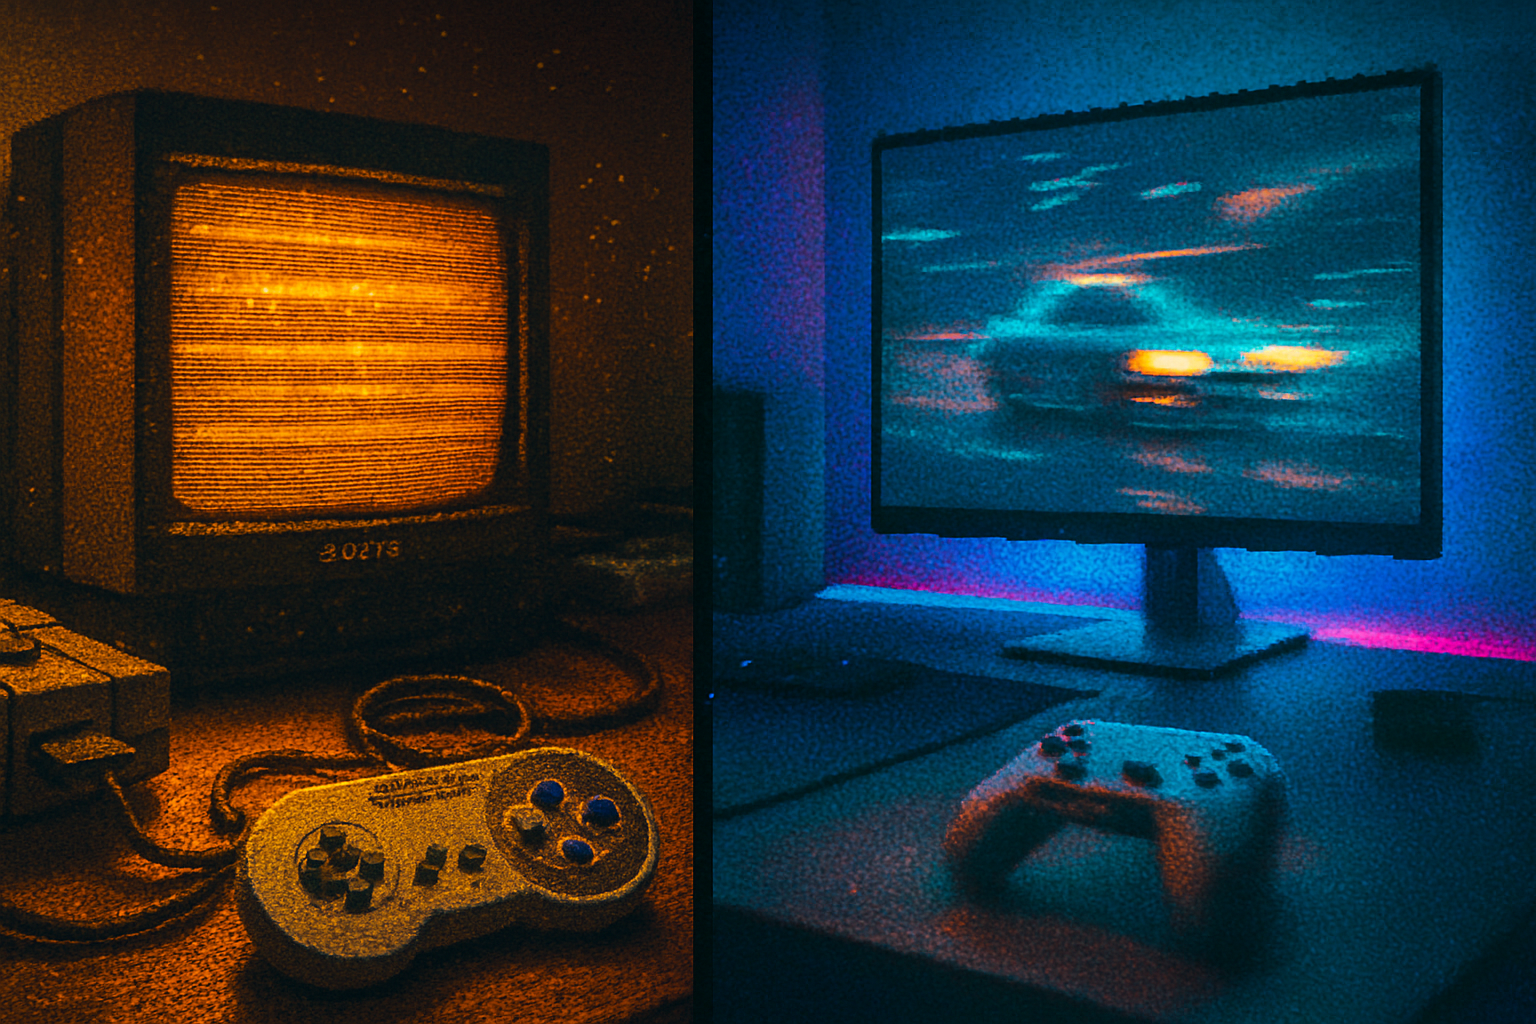
Displays: CRT vs LCD and Video Upscaling
- CRTs are the authentic choice - correct scanlines, analog timing, and no input lag for many retro consoles. But CRTs are bulky and require safety care (high voltages).
- Modern LCDs can work with VGA or via upscalers. Use a high-quality scaler (OSSC or XRGB-mini) for best results with low-res retro video.
If you plan to use a modern monitor, ensure your GPU supports the needed output (VGA/DVI) or use an active converter.
Operating Systems and Drivers
- DOS and early Windows - floppy images, CD installers, and driver hunting will be needed. Community driver archives at
- Windows 98 SE - common choice for late-90s builds. Some USB and SATA functionality will require third-party drivers.
- Linux - great for retro hobbyists who want networking or SSH without modern Windows baggage.
Keep backups of driver sets and create image backups of working installs.
Restoration and Common Repairs
- Cap replacement (recapping) - electrolytic capacitors frequently fail on older boards and PSUs. If you are comfortable soldering, recap kits and guides from the community can restore boards. If not, seek a specialist.
- Clean connectors with isopropyl alcohol and a soft brush. Re-seat all cards and RAM.
- Replace CMOS battery with the correct voltage - old batteries can leak and corrode sockets.
Helpful discussion and tutorials are available on RetroComputing Stack Exchange and electronics forums like EEVblog.
Safety Notes
- CRTs contain lethal voltages even unplugged; only trained people should service them.
- Exercise ESD precautions when handling boards and chips.
- When powering vintage PSUs, consider using a variac or bench PSU initially and a power supply tester.
Troubleshooting Checklist
- Visual inspection for damaged components and corrosion.
- Remove all nonessential cards; boot minimal configuration.
- Test POST codes or speaker beeps; consult motherboard manual if available.
- Swap known-good RAM sticks and power supplies.
- Confirm CPU seating and socket contacts.
- If storage device is not recognized, try another adapter or use floppy/CD to load diagnostics.
Sample Builds (Ideas to Get Started)
- “Starter Retro” (DOS and early Windows)
- 486 motherboard
- 66 MHz 486 CPU
- 8–16 MB SIMM RAM
- CF-to-IDE adapter + CompactFlash card
- Sound Blaster-compatible ISA card
- VGA card with TV-out optional
- ”90s Gamer” (Windows 95/98 era)
- Socket 7 or early Slot 1 motherboard
- Pentium II/III class CPU
- 64–512 MB SDRAM
- Voodoo 2 + 3DFX pass-through or TNT2 GPU
- CRT monitor or OSSC scaler for LCD
- “Late Classic” (XP-era authenticity)
- Socket A Athlon XP or Pentium 4 board
- 512 MB–2 GB DDR RAM
- AGP GPU from GeForce 4 era
- SATA SSD via PCI SATA controller for responsiveness
Documentation and Presentation
Document your build: take photos at each stage, keep a parts list with BIOS settings, and note driver versions. If you plan to display your build online or in a showcase, a clean cable job, labeled cards, and a short blurb about the machine’s history enhance its appeal.
Community and Learning Resources
- VOGONS - community for old hardware, drivers, and guides.
- RetroRGB - display and video conversion tutorials.
- OSSC scaler info: https://www.ossc.com/
- Reddit r/retrobattlestations - photo inspiration and advice.
- Vintage Computer Federation for events and preservation projects. https://www.vintage.org
Final Tips for Success
- Start small and learn. Rebuilding an antique motherboard is a deeper skill than swapping modern components.
- Prioritize safety - ESD protection and cautious power testing will save components.
- Keep a parts bin - connectors, jumpers, old screws, and edge-card cleaners become precious.
- Be patient on sourcing - the right GPU or case shows up when you least expect it.
Building a retro PC is equal parts scavenger hunt and electronics workshop. With planning, community resources, and a few modern conveniences, you can revive classic machines that look, sound, and behave like the originals - while being reliable enough to enjoy daily.
References
- VOGONS community and driver archives: https://www.vogons.org
- RetroRGB display and scaler guides: https://www.retrorgb.com
- OSSC scaler information: https://www.ossc.com/
- Reddit r/retrobattlestations community: https://www.reddit.com/r/retrobattlestations/
- Vintage Computer Federation: https://www.vintage.org