· 6 min read
Overclocking Vintage: Is Pushing Retro Hardware to Its Limits Worth It?
A practical, balanced look at the rewards and risks of overclocking vintage components. Learn how to overclock more safely, what to avoid, alternatives that preserve value, and a step-by-step checklist for enthusiasts who want speed without wrecking a collectible.

Introduction
There’s a magnetic appeal to squeezing more performance out of a machine that shaped your early computing memories. Overclocking vintage computers-486s, early Pentiums, classic consoles and even old arcade boards-can bring smoother gameplay, shorter load times and the thrill of a successful tweak. But vintage hardware isn’t new silicon: it’s decades-old components that age, fail for different reasons than modern parts, and can lose value if altered irreversibly.
This article weighs the rewards and risks, gives practical guidelines if you decide to experiment, and suggests safer alternatives when preservation matters.
Why enthusiasts overclock vintage hardware
- Real, tangible speed gains in era-appropriate software and games (e.g., faster DOS apps, snappier Windows 95, higher framerates in old 3D titles).
- Technical challenge and learning - working with older voltage rails, discrete clock generators, and DIP chips is educational and enjoyable for many hobbyists.
- Enabling tasks the stock hardware struggles with, like running later software builds or emulation-host duties.
- Bragging rights and community recognition in retro scenes.
The rewards can be satisfying-but every gain has tradeoffs.
The risks (why you should be cautious)
- Permanent damage - higher voltages and temperatures can kill CPUs, GPUs, or glue logic. Older ICs are less tolerant of stress than newer silicon.
- Component aging - electrolytic capacitors dry out and lose capacitance; overvoltage or extra heat shortens their life or causes catastrophic failure. See how electrolytic capacitors age:
- Value loss - collectors typically prefer original, unmodified condition. Soldered voltage mods, cut traces, or replaced chips lower market value.
- Ancillary failures - power supply stress, flaky DRAM, flaky crystal oscillators, or board delamination from excessive heat.
- Unstable timing - many vintage systems depend on synchronous buses; changing one clock can destabilize memory or video subsystems.
Technical considerations before you start
- Architecture matters - some chips are easier to overclock (socketed CPUs with unlocked multipliers or accessible clock generators). Soldered or surface-mounted devices are riskier.
- FSB vs. multiplier - older PCs often have front-side/bus speed relationships. Increasing the bus may overdrive RAM, the chipset, sound or video chips.
- Voltage changes (vmod) - increasing Vcore helps stability at higher clocks but increases heat and electromigration. Adjust in small steps and monitor temperatures.
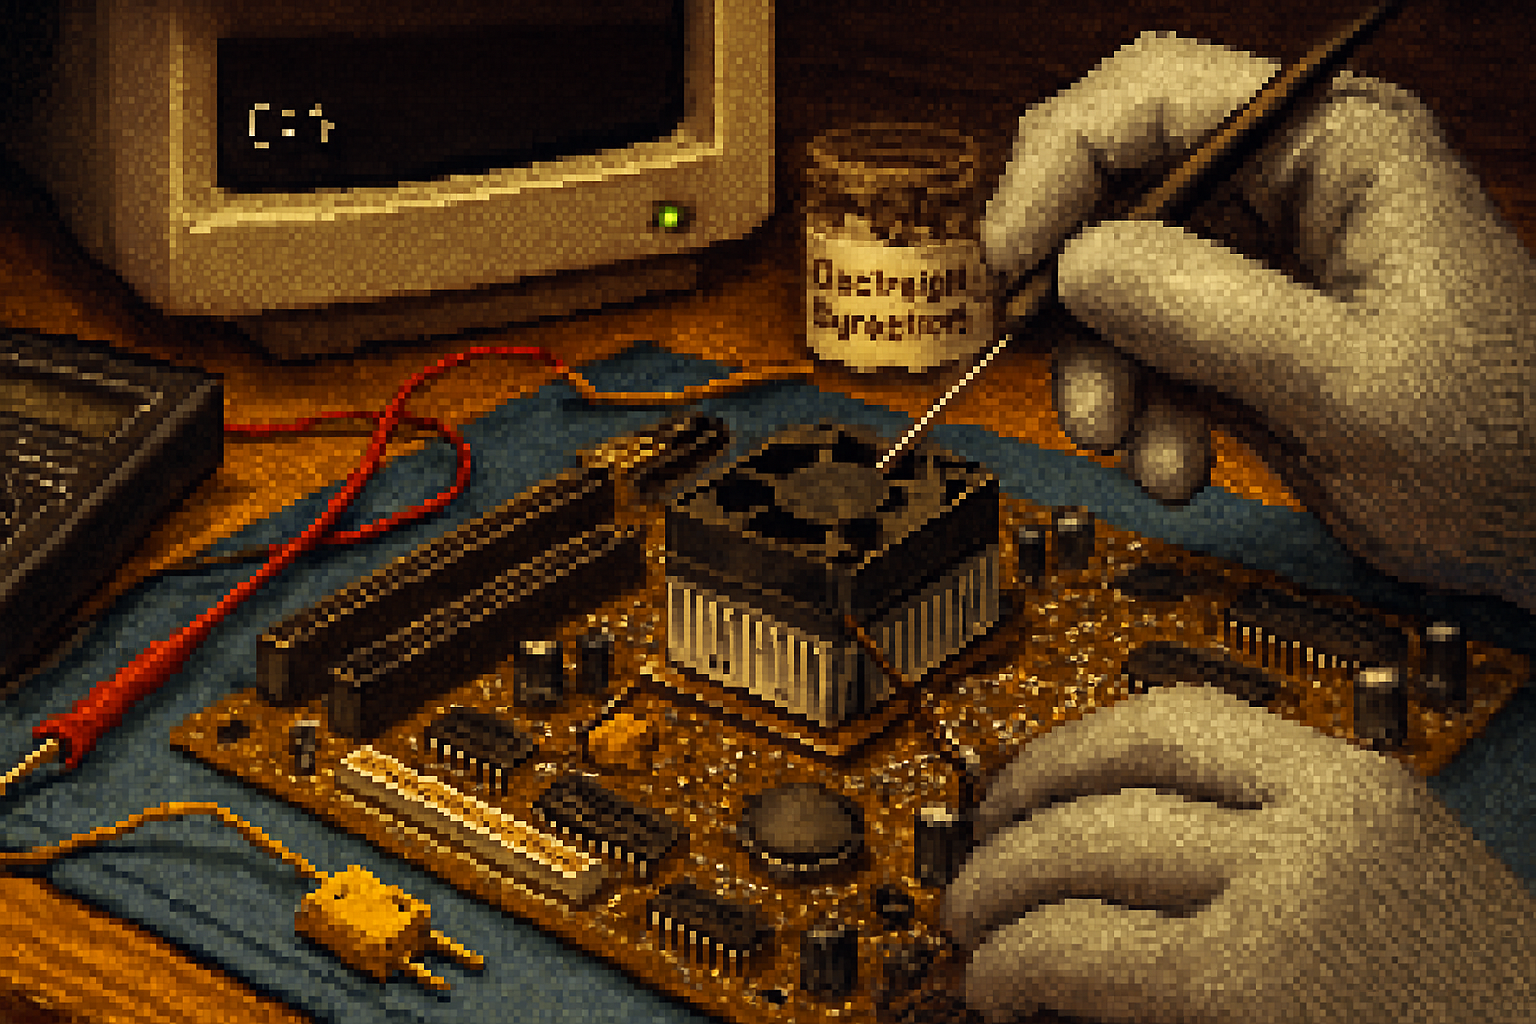
- Cooling - stock passive sinks that were adequate 25+ years ago may be insufficient now. Fans, improved heatsinks, or modern thermal compound help but take care not to physical-damage fragile dies or packages.
- Power delivery - vintage PSUs may not supply clean or stable power under increased load. Consider a modern bench supply when testing.
- Capacitors and power regulation - replace aging electrolytics before pushing a board hard. A recap is often a prerequisite to any serious vintage overclocking.
Tools and techniques
- Measurement - multimeter, clamp meter (for current draw), IR thermometer or thermocouples for accurate die/board temp readings, and optionally an oscilloscope to check clock integrity.
- Cooling - fans, modern low-profile heatsinks, and high-quality thermal paste. For enthusiasts experienced with extreme cooling, dry ice or phase-change cooling can be used on non-collector machines-but these methods accelerate thermal cycling damage and are not recommended for irreplaceable hardware.
- Power - a variable bench power supply or a modern, well-regulated PSU during tests reduces risk versus relying on an aging stock supply.
- Software - use era-appropriate stress tests and benchmarks-WinBench/Quake/Doom frame counters, SysBench-style utilities, or
- Non-invasive mods - external clock generators (crystal/oscillator swap in a socket where possible) or socketed CPU upgrades are reversible. Avoid cutting traces or unsoldered voltage mods unless you accept permanent alteration.
A conservative, step-by-step overclocking checklist (for hobbyists who accept the risks)
- Research
- Find documented experiences for your exact board/CPU model; what others achieved and what failed. Communities like Vintage Computer Federation and archived threads on Overclockers are valuable.
- Inspect & refresh
- Visual inspection - bulging caps, corroded traces, cracked sockets.
- Replace electrolytic capacitors on critical power rails if you plan to push the board.
- Test baseline
- Run baseline benchmarks and stability tests; record temps, voltages and performance numbers.
- Improve cooling and power
- Fit a better fan/heatsink, fresh thermal paste, and use a reliable PSU or bench supply.
- Make reversible changes first
- Use socketed chips, external oscillator modules, or BIOS options when available.
- Increment in small steps
- Increase clock (or voltage) by small increments, test stability and temps after each step.
- If adjusting voltage, do so conservatively-monitor temps as Vcore rises.
- Stress and validate
- Use real-world loads and stress tests of the period; run long tests to detect marginal instability.
- Log everything
- Record voltages, temps, clock rates and time stable at each setting.
- Know the stop point
- If instability appears under your real workload, revert to the last stable setting and leave margin.
- Consider a sacrificial board
- If you care about a particular machine’s originality, do your experiments on a donor board or clone instead.
Preservation vs. play: how overclocking affects value
- Collectors often prize “factory original” condition, including stock heatsinks, untouched solder joints and original voltage regulators.
- Irreversible modifications (solder cuts, glued-on heat sinks, replaced ROM labels) reduce collectible value, sometimes dramatically.
- Reversible mods (socketed replacements, external clock modules, improved but removable cooling) preserve value better.
If the machine is a rare, museum-quality piece, overclocking for the sake of speed is usually the wrong tradeoff. If it’s a working hobby machine meant to be used and enjoyed, the balance tips toward cautious experimentation.
Alternatives to overclocking that preserve the experience
- Emulation - DOSBox, PCem and other tools can reproduce the experience at higher host speeds without touching the original hardware.
- FPGA recreations - projects like MiSTer or other FPGA cores recreate classic systems at higher (and often more accurate) speeds while preserving the original boards. See the MiSTer project:
- Drop-in accelerators - For some platforms (e.g., Amiga, Atari), there are plug-in accelerator cards that provide speed without altering the original CPU.
- Socketed modern substitutes - use a cloned or socketed faster CPU on a donor board, leaving the original preserved.
Examples and community wisdom (high-level)
- 486/Pentium era - Enthusiasts often increased bus speeds to gain measurable improvements in DOS and early Windows. The danger came from overdriving RAM and PC chips dependent on the bus clock.
- Consoles and handhelds - Simple frequency increases can make games run too fast (music tempo and timers change). For those systems, precise timing is often more important than raw clock.
- Arcade boards - Rare boards are especially risky to modify since replacement parts are scarce; many hobbyists prefer emulation/FPGA here.
Community resources
- Vintage Computer Federation: https://www.vcfed.org/
- Overclocking discussions: https://www.overclock.net/
- General overclocking and troubleshooting: https://www.techpowerup.com/
- Electrolytic capacitor info: https://en.wikipedia.org/wiki/Electrolytic_capacitor
Final verdict: is it worth it?
It depends on your priorities.
- If you prize originality and collector value - don’t overclock. Document, preserve, and enjoy as-is-or pursue reversible, non-invasive upgrades.
- If you’re a tinkerer who wants to learn, experiment, and is willing to risk a donor board - overclocking can be very rewarding. Take precautions: recap aged caps, use good cooling and power, make reversible mods when possible, and increment slowly.
Treat vintage overclocking as a hobby within a hobby. The best approach for most collectors is to separate “museum pieces” from “play machines.” If you decide to push a piece of history harder, proceed carefully, document everything and keep expectations realistic: you may gain speed, but you may also shorten the lifespan or reduce the value of the hardware.
References
- Vintage Computer Federation: https://www.vcfed.org/
- Overclock.net community archives: https://www.overclock.net/
- MiSTer FPGA project: https://github.com/MiSTer-devel/Main_MiSTer
- Electrolytic capacitor aging and failure modes: https://en.wikipedia.org/wiki/Electrolytic_capacitor


