· retrotech · 7 min read
Gaming Nostalgia: Creating New Games for the TI-99/4A
A step-by-step guide to building new games for the TI-99/4A - understand the hardware, pick tools, design within strict limits, and ship a tiny, glorious cartridge of nostalgia.
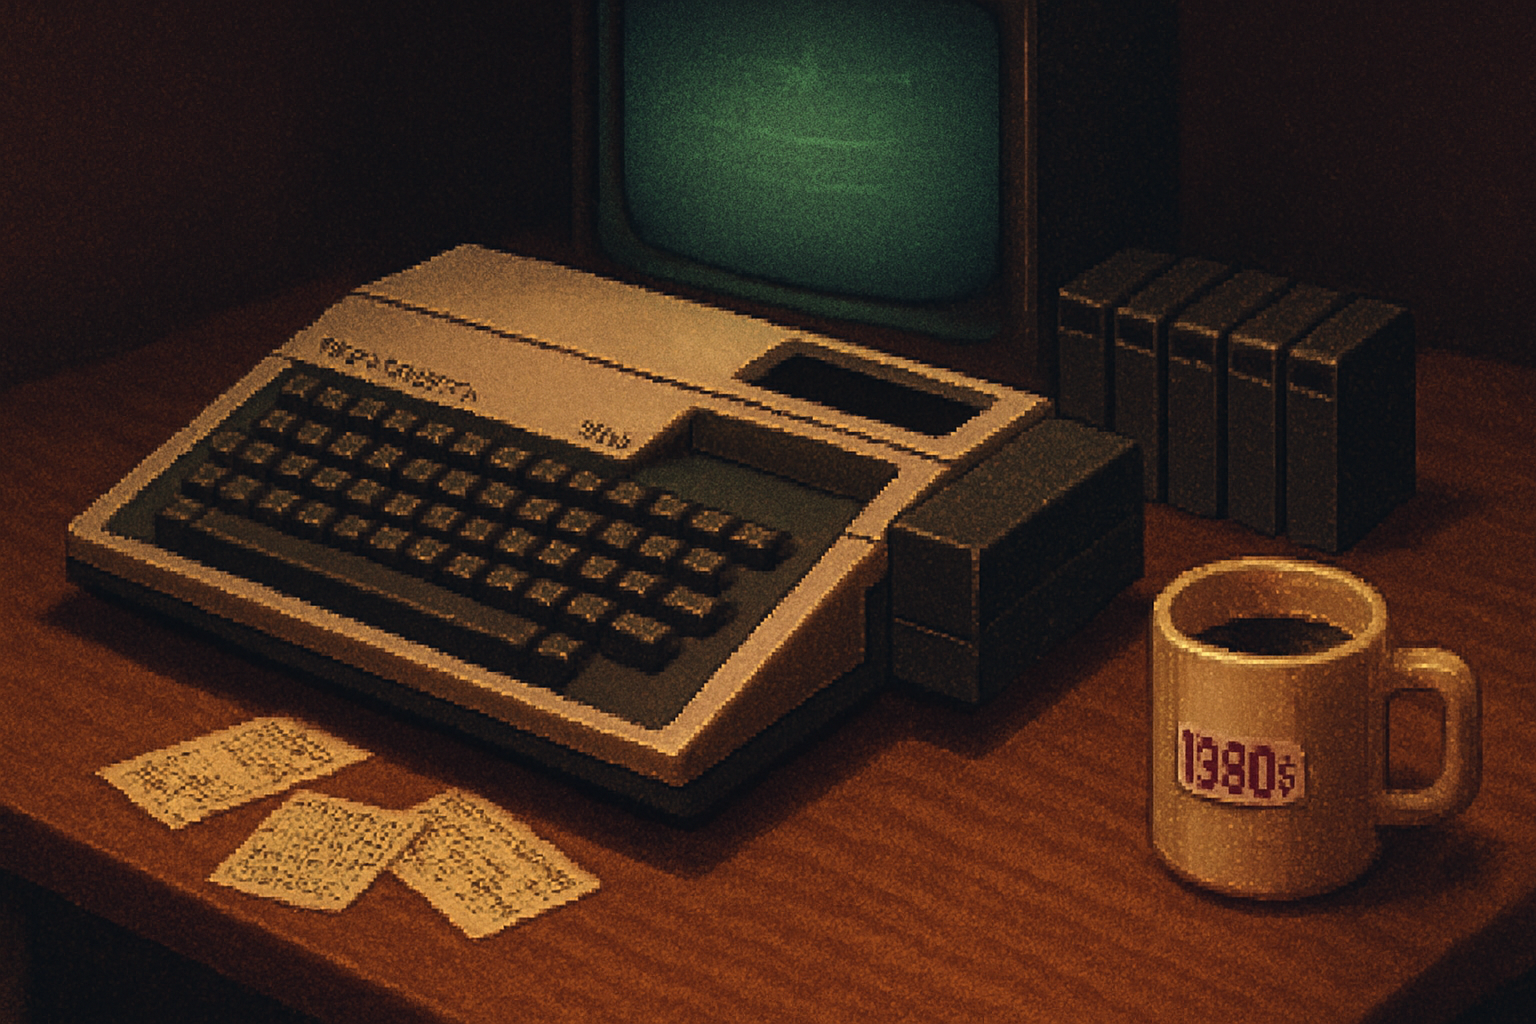
The cartridge that keeps whispering
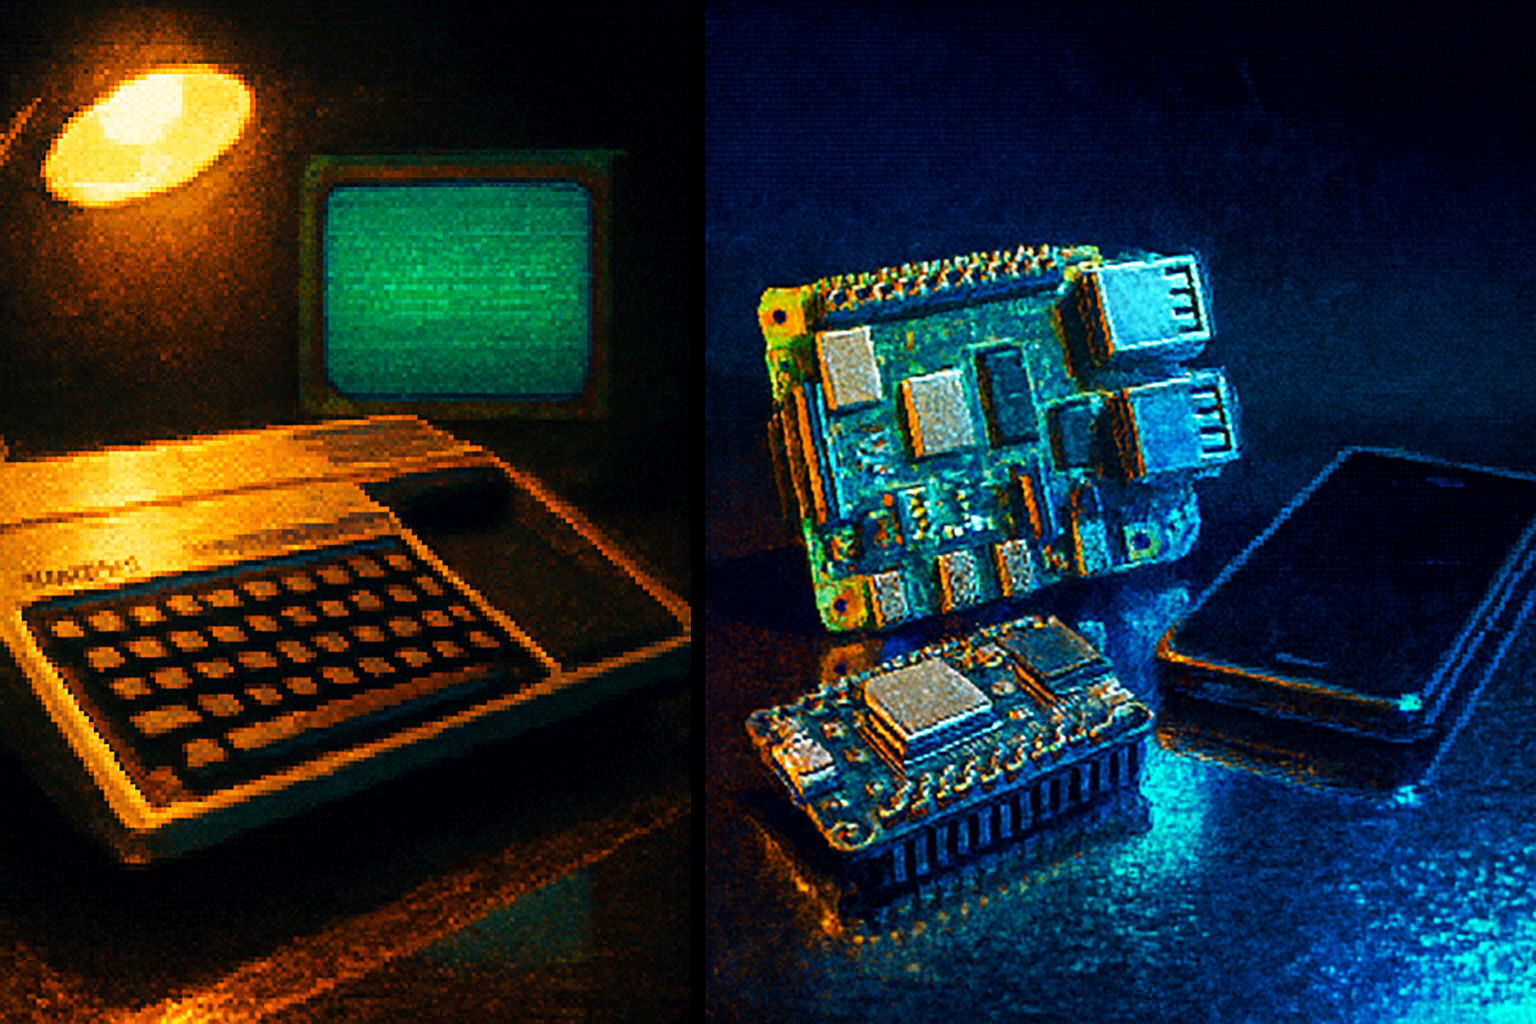
When I first turned on a TI-99/4A as a kid, a green cursor blinked on a TV, and for a few cheap pixels I believed in miracles. Years later I turned it on again - not to relive childhood but to learn a discipline that modern engines politely hide: scarcity.
Scarcity sharpens creativity. Give a machine 16 colors and four sprites per scanline and it will force you to design better sprites, smarter levels, and cleaner code. This guide is for modern developers who want to do the deliberate work of making new games for the TI-99/4A - not as cosplay, but as a real exercise in constraint-driven craft.
Why bother? Why the TI-99/4A?
- It’s weirdly modern - a 16-bit CPU (the TMS9900) driving a graphic chip (TMS9918) and a PSG (SN76489). Not inherently powerful, but elegant.
- The constraints teach transferable skills - tight memory management, tile-based graphics, and economy of audio.
- The community is small, opinionated, and helpful - ideal for tasteful vanity releases.
For hardware/architecture reading, start with the canonical pages on the machine and the chips: the TI-99/4A, the TMS9918 VDP, and the SN76489 PSG TI-99/4A on Wikipedia, TMS9918 VDP, SN76489 PSG.
A high-level road map (so you don’t wander into the weeds)
- Choose your route - TI BASIC (fast + toy) or Assembly (slow + glorious).
- Set up a modern toolchain and emulator (Classic99, V9t9, MAME are good starting points).
- Learn the VDP and PSG constraints (tiles, sprites, palette, audio channels).
- Prototype - make a single-screen game or demo.
- Iterate - profile memory, optimize, and polish art/sfx.
- Build a cartridge or disk image for distribution and testing on real hardware or FPGA.
Route choice: BASIC vs Assembly (or a hybrid)
- TI Extended BASIC - fast to prototype. Use for arcade-likes and proofs of concept. But it’s slow and limited for performance-sensitive games.
- Assembly (TMS9900) - required for smooth scrolling, many sprites, tight timing, and any serious action game.
- Hybrid - put heavy lifting in assembly subroutines and call them from BASIC. This was a common, pragmatic approach.
If you like hair-pulling and speed, learn assembly. If you hate hair-pulling, start in BASIC and plan to rewrite hot paths later.
Tools to get started (practical and modern)
- Emulators with debugging - Classic99 (Windows) and V9t9 are maintained and give cycle-accurate environments and debugger hooks.
- Text editor / IDE - Visual Studio Code, Notepad++, or your medieval emacs setup.
- Pixel art - Aseprite, Pyxel Edit, or any pixel tool you prefer. Export as 8×8 tiles.
- Version control - Git. Treat your 8 KB sprite sheet like any other asset.
Note: modern cross-assemblers and community-built toolchains exist; search the TI-99 dev forums and the Classic99 community for current assembler recommendations and integration tips.
The hardware you must respect (short & brutal)
- CPU - TMS9900 - a 16-bit CPU with register-window-style workspace pointer; programming model differs from x86/ARM. Expect odd calling conventions and a need for careful stack/workspace management.
- VDP (TMS9918 family) - tile-based VRAM, separate from main RAM. Important constraints:
- 8×8 tiles (patterns). Use a name table to place them on screen.
- 16 colors (limited palette). Learn which color indices are brightest; contrast matters.
- Hardware sprites - 32 max, but only 4 sprites visible per horizontal scanline (this is the killer limitation).
- Sound - SN76489 PSG - three square tone channels and one noise channel. It is surprisingly musical if you accept simplicity.
Additional reading: TMS9918 documentation and SN76489 datasheet - study the registers and example timings.
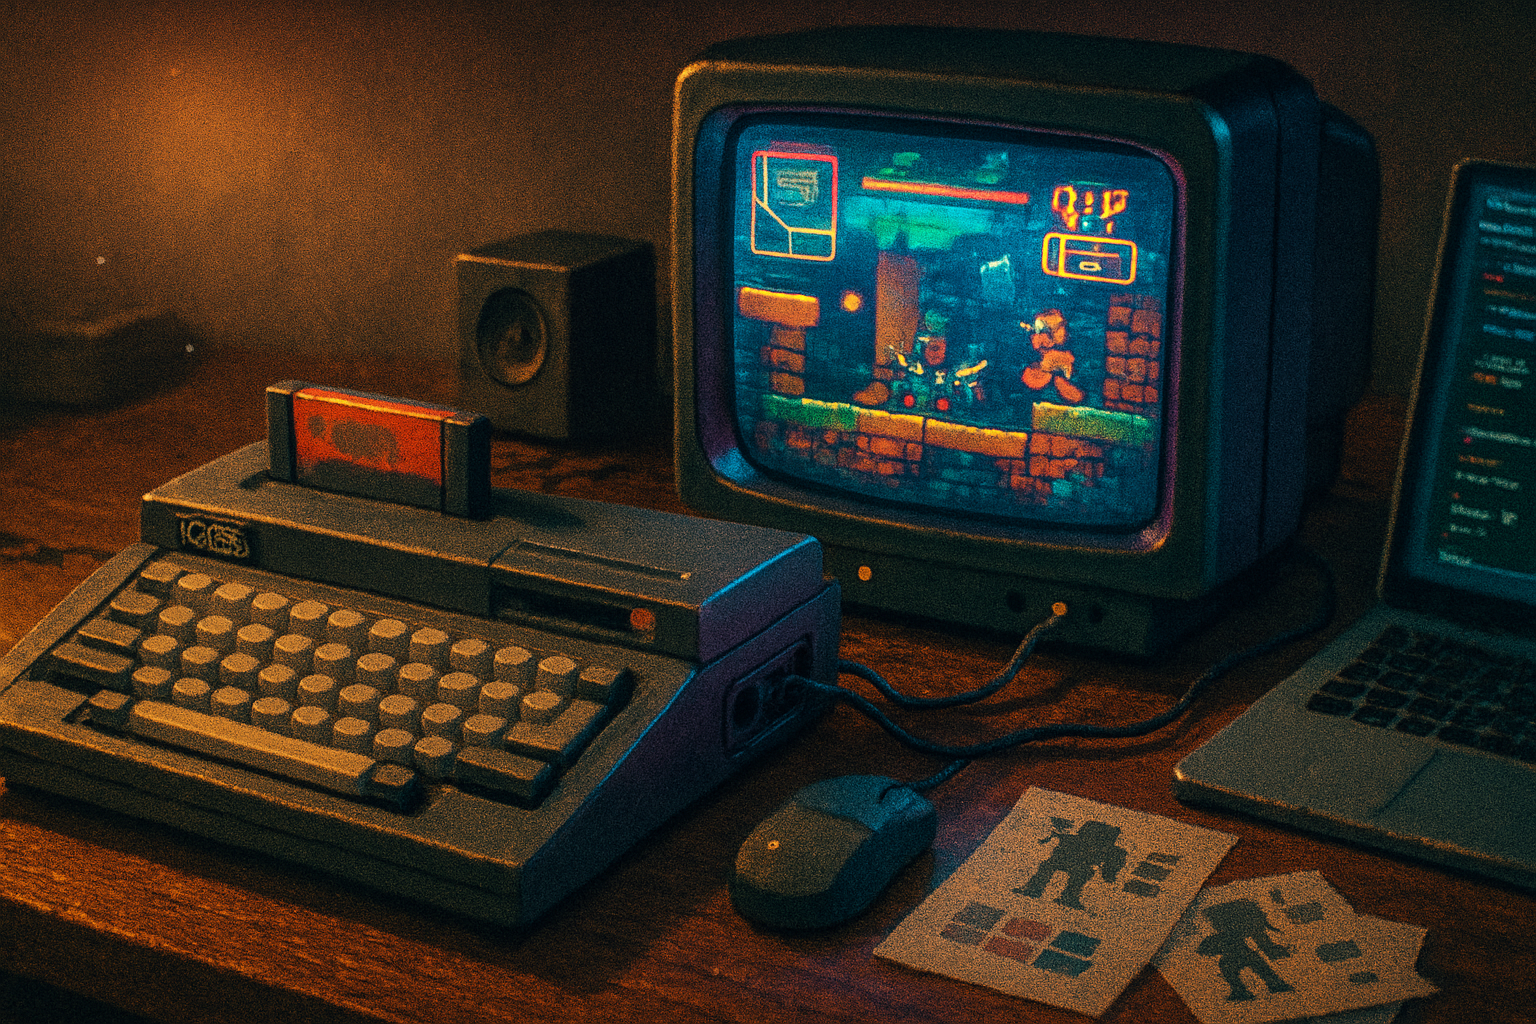
Graphics: tiles, sprites, and tricks
- Tile maps are your friend. Build levels from 8×8 tiles and keep a small pattern table.
- Sprite budget - design characters to reuse tiles and animate economically. Use multiplexing tricks (move sprites off-screen and change attributes between frames) to fake more sprites - but remember the 4-sprites-per-line limit.
- Palette management - choose high-contrast colors for gameplay-critical elements (players, hazards). The limited palette rewards silhouette clarity.
- Parallax and depth - fake parallax with tile layers and clever tile reuse rather than smooth pixel scrolling (true pixel scrolling is possible but costly).
Practical tip: design a single 32×24 tilescreen to start, get it rendering, then add HUD elements in spare sprite slots.
Sound: the art of three squares and one noise channel
- Voice economy - use one channel for bass, one for melody, one for arpeggio/fx, and the noise channel for percussion.
- Rely on short, memorable hooks. Because you have only three tonal channels, layering must be intentional.
Memory and asset budgeting
- Count everything - code, tile patterns (VRAM), sprite attribute tables, sound data, and any workspace RAM.
- Be conservative. A simple one-screen arcade game can comfortably fit in a small bank. A multi-level game will need bank-switching.
- Bank swapping - many cartridges implement banking to extend ROM. If you plan a cartridge, study existing homebrew bank schemes before inventing one.
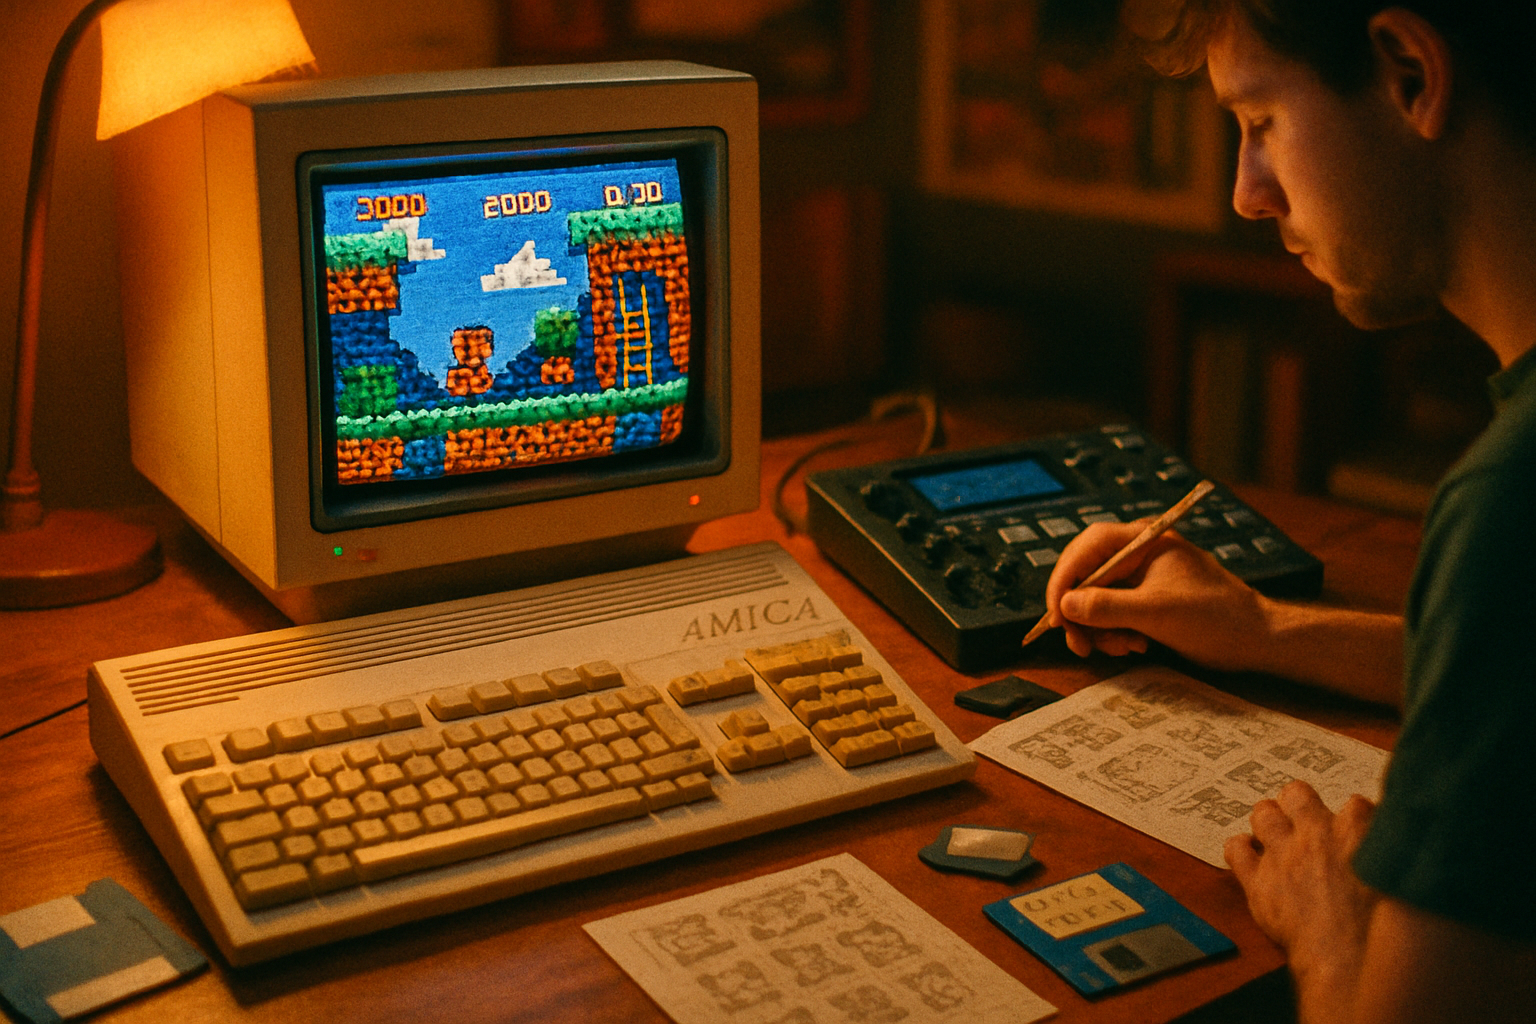
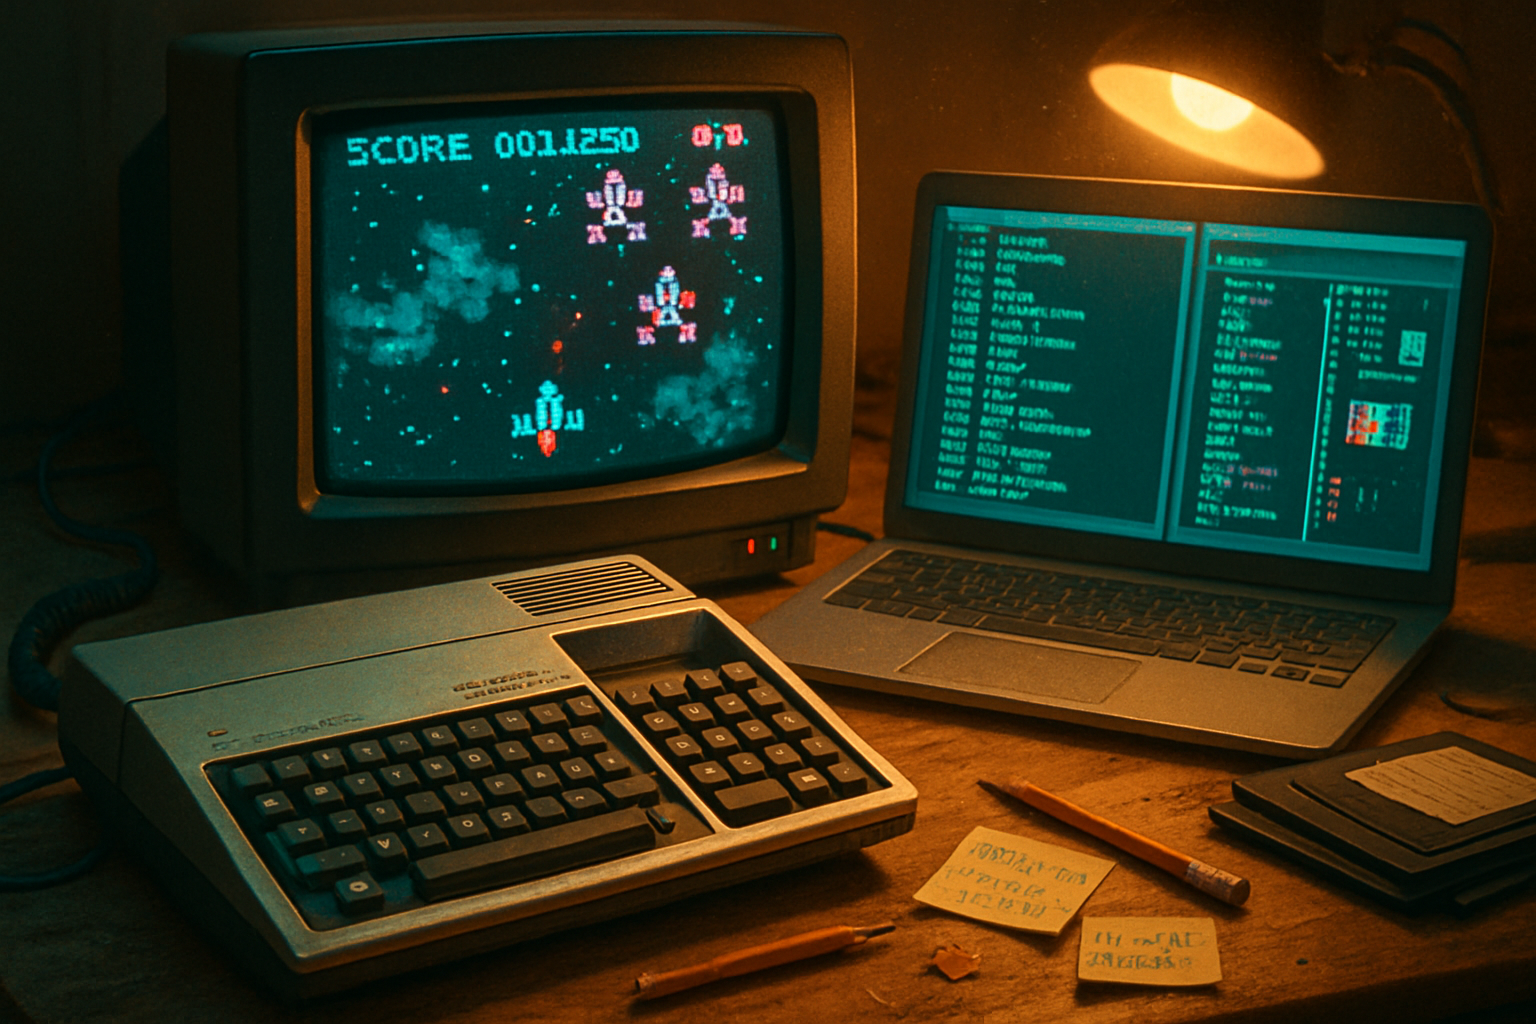
A step-by-step example project: “Micro Blaster” (single-screen shooter)
- Goal - a 256×192 playfield (32×24 tiles), single player sprite, 6 enemy types, simple HUD, music loop.
- Asset budget:
- Pattern table - 256 tiles (8 KB VRAM for patterns/nametables - keep small)
- Sprite usage - player uses 2 sprites (16×16), enemies mostly 1 sprite.
- Development loop:
- Create tiles in Aseprite at 8×8. Export to raw binary with an export script that converts 8×8 1-bit planes into TMS9918 pattern bytes. (If you don’t have a converter, write a small Python script.)
- Write a tiny assembly boot that initializes VDP tables and copies pattern data into VRAM.
- Render a static screen. Get a tile to appear where you expect it. If it doesn’t, check VRAM vs name table offsets - most bugs here are off-by-one or wrong address writes.
- Add player input and sprite attributes. Move the sprite and draw bullets.
- Implement simple enemy AI with fixed paths or tiny state machines.
- Add music using PSG data; put the music player in an interrupt or timed loop.
- Polish and profile - find hot loops, optimize them in assembly, and reduce memory churn.
Code sketch (pseudo-assembly to set up a VDP transfer)
Note: below is illustrative pseudo-assembly to show the flow, not copy-paste ready. Study your assembler’s syntax and the emulator’s documentation.
; pseudo: prepare VDP for VRAM write
; set VDP address (name table/pattern table address)
LOAD   R0, #VDP_ADDRESS_HIGH_LOW ; compute address bytes
OUT    VDP_CONTROL_PORT, R0      ; write address
; now write pattern data to VDP data port in a loop
MOVE   R1, #PATTERN_DATA_PTR
LOOP:  OUT  VDP_DATA_PORT, @R1+
       DEC  COUNT
       JNE  LOOP
The real TMS9918 requires two writes to the control port to set VRAM address and a subsequent write/read to the data port to push bytes into VRAM. Consult emulator docs and the VDP datasheet for exact sequences.
Testing on real hardware vs emulator
- Emulators are fast and provide invaluable debugging (memory viewers, breakpoints, logging). Start here.
- If you plan to run on actual 4A hardware, get a cartridge-burning workflow early. This could be small EPROM cartridges, flash carts, or SD-card expansion hardware depending on the community options.
- Beware - what looks fine in emulator may reveal timing or bank mapping quirks on real hardware.
Distribution and community
- Packaging - distribute as disk images or cartridge ROMs. Include a README describing how to load in Classic99/V9t9.
- Community - post on TI-99 homebrew forums, GitHub, or retro-dev Discords. Expect two reactions: boundless nostalgia and pedantic hardware corrections. Both are useful.
Common gotchas and how to survive them
- “It draws nothing” - VDP table addresses are wrong. Re-read the VDP manual and inspect the name table in the debugger.
- “Sprites flicker badly” - you’re hitting the 4-sprites-per-line limitation. Redesign enemy placement or multiplex carefully.
- “Music stomps gameplay” - PSG channels are scarce. Use short sfx that temporarily steal a channel only when necessary.
- “My assembler errors” - ensure you use an assembler with TMS9900 support. If the community toolchain is messy, wrap it in scripts.
Design advice, borrowed from cruelty and kindness
- Embrace silhouette contrast. On a 16-color machine, the shape of a character matters more than texture.
- Favor patterns over unique tiles. Repetition is not laziness; it’s memory hygiene.
- Keep mechanics small. Give players a single, well-crafted interaction. Complexity will break under hardware pressure.
Where to learn more (select, essential links)
- TI-99/4A overview: https://en.wikipedia.org/wiki/TI-99/4A
- TMS9918 VDP details and programming: https://en.wikipedia.org/wiki/TMS9918
- SN76489 PSG: https://en.wikipedia.org/wiki/SN76489
- Emulators and tools - Classic99 (
Final act: make a tiny promise and keep it
You don’t need to remake arcade history. You need to make something that fits inside a handful of kilobytes and still surprises. Start with a one-screen game. Ship it. The limit will teach you more about design than a hundred Unity tutorials.
If you start, the machine will thank you. It will do so in beeps, crude sprites, and the modest triumph of code that finally fits.