· retrotech · 5 min read
Reviving the TI-99/4A: Modern Uses of Vintage Technology
A deep dive into how the TI-99/4A - Texas Instruments’ classic home computer - can be repurposed today for retro gaming, teaching programming fundamentals, art installations, and maker projects using modern peripherals and emulation tools.
Why the TI-99/4A still matters
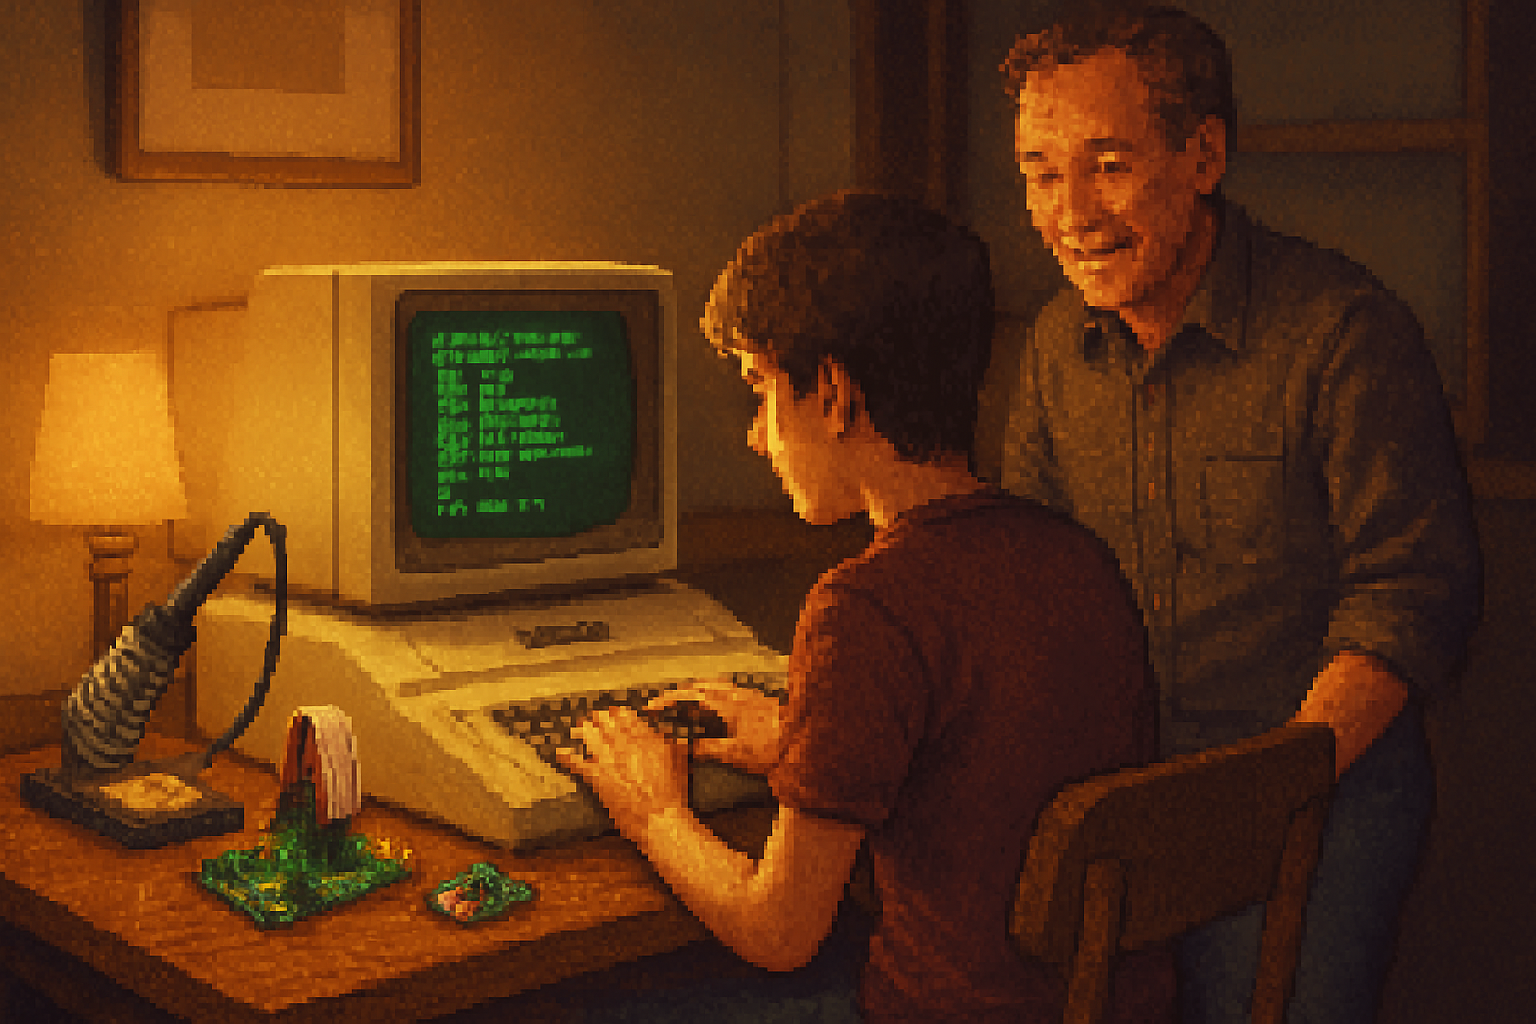
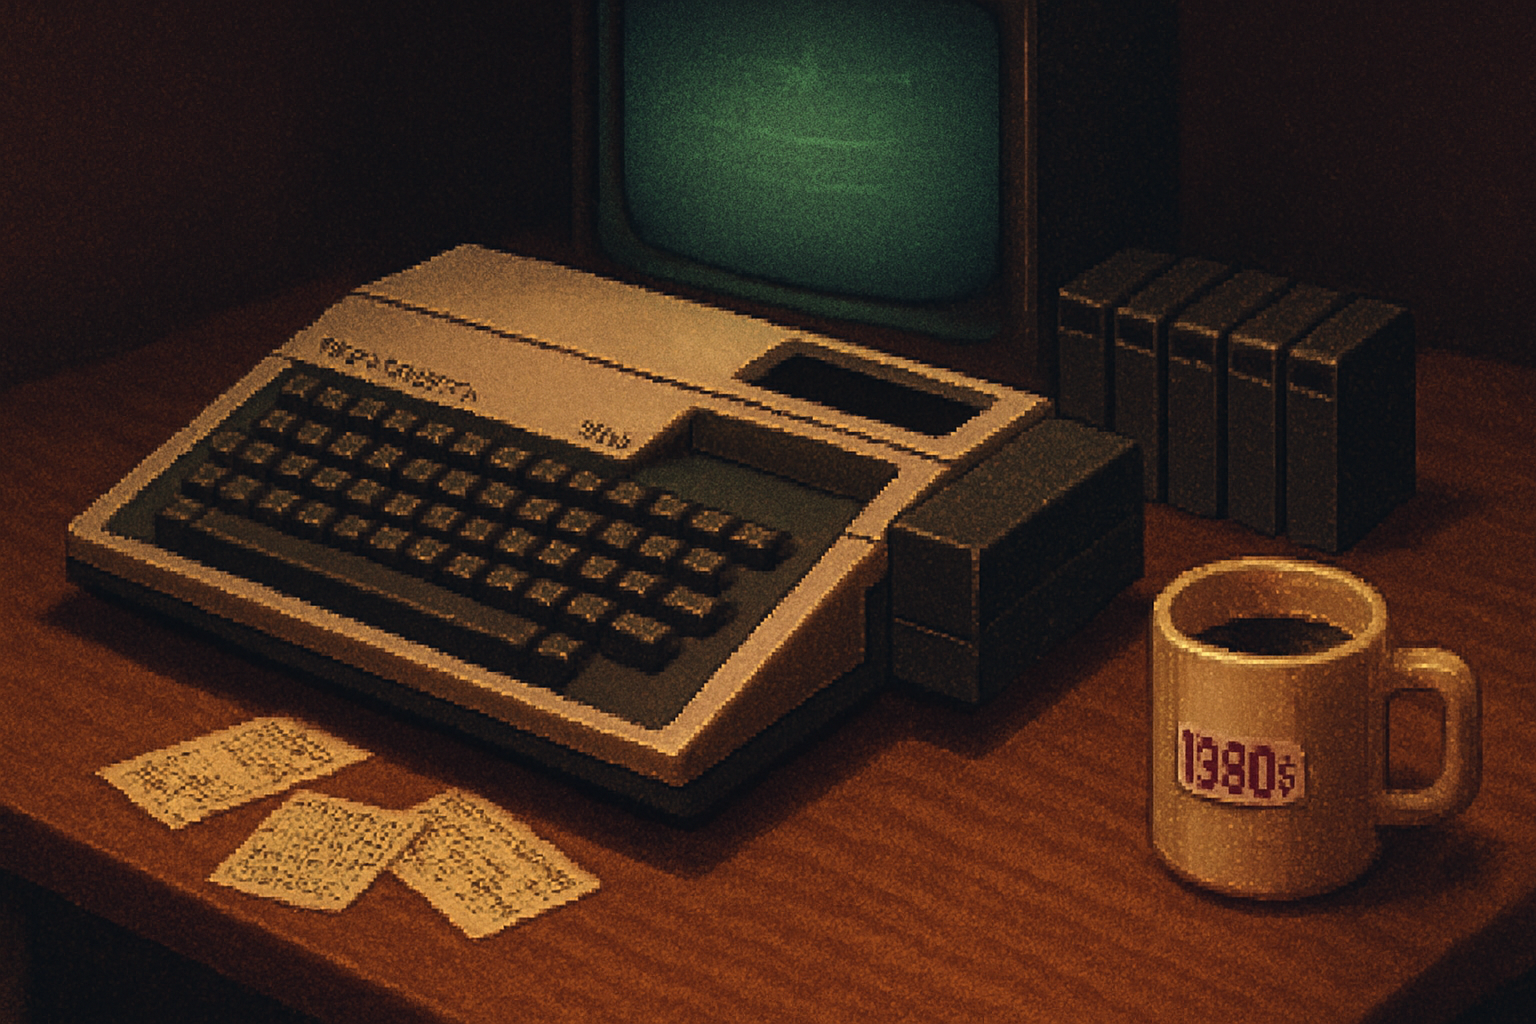
The TI-99/4A is nearly 45 years old but remains one of the most beloved classics of early home computing. Its 16-bit CPU (the TMS9900), distinctive sound and video hardware, and a passionate community of hobbyists make it an excellent candidate for modern repurposing. Beyond nostalgia, the TI-99/4A provides a compact, constrained platform perfect for teaching computing fundamentals, exploring low-level programming, and building creative hardware projects.
For a short technical history and specifications, see the TI-99/4A overview on Wikipedia: https://en.wikipedia.org/wiki/TI-99/4A.
Modern motivations for reviving vintage machines
- Educational value - constrained hardware helps learners focus on algorithms, memory management, and hardware/software interfaces.
- Low-cost entry for hardware hacking - many TI systems are inexpensive and abundant in the secondhand market.
- Unique creative outputs - the quirks of old video/sound chips produce aesthetics not easily replicated with modern gear.
- Preservation and archival - keeping hardware alive preserves the tactile and experiential side of computing history.
Practical modern uses for the TI-99/4A
1) Retro gaming and emulation hub
The TI-99/4A has a great library of classic titles. Two practical paths:
- Use an emulator for development, testing and convenience. Classic99 is a modern, actively-developed TI-99/4A emulator: http://harmlesslion.com/software/classic99/.
- Run original binaries on real hardware after testing, or use modern I/O bridges to serve disk/cartridge images to the machine.
Modern upgrades (see Hardware Mods below) make playing and distributing ROMs and disk images far easier, and allow integrating the TI into a retro gaming shelf alongside consoles.
2) Teaching programming and computer architecture
The TI-99/4A supports TI BASIC, Enhanced BASIC, and - for those who want to go deeper - assembly programming on the TMS9900. Its limited RAM and simple I/O make it ideal to demonstrate:
- Memory constraints and optimization
- Low-level I/O and interrupts
- Graphics algorithms on limited VDP hardware
A short TI BASIC example to demonstrate loops and text output:
10 REM HELLO LOOP
20 FOR I=1 TO 5
30 PRINT "HELLO TI-99/4A"; I
40 CALL SOUND(1,1000,20)
50 FOR T=1 TO 500:NEXT T
60 NEXT I
Running small programs like this reflects how early programmers learned algorithmic thinking in a resource-conscious environment.
3) Maker projects and IoT-style integrations
With microcontrollers and single-board computers, you can give a TI-99/4A modern interfaces:
- Serial or SPI bridges to connect an Arduino or ESP32 for network connectivity, sensor inputs, or remote control.
- Use a Raspberry Pi to present storage (disk or cartridge images) and web-based UI to manage programs.
- Add modern audio/visual output via video-upgrade boards or FPGA-based VDP replacements.
These integrations let the TI act as the UI and program platform while the modern board handles networking and storage.
4) Creative installations and digital art
The distinct video and sound characteristics of the TI-99/4A make it appealing to artists. Use it as:
- A generative graphics engine feeding larger displays (captured and scaled by a modern framebuffer solution).
- A live-performance instrument via MIDI/serial bridges to external synths.
- An interactive kiosk using modern peripherals (touch sensors, networked inputs) with TI programs as the interaction layer.
5) Preservation, museums, and community shows
Restored TI-99/4A units are excellent hands-on exhibits. They let visitors experience early computing in a way emulators cannot fully replicate - the real keyboard, cartridges, and influence of display hardware.
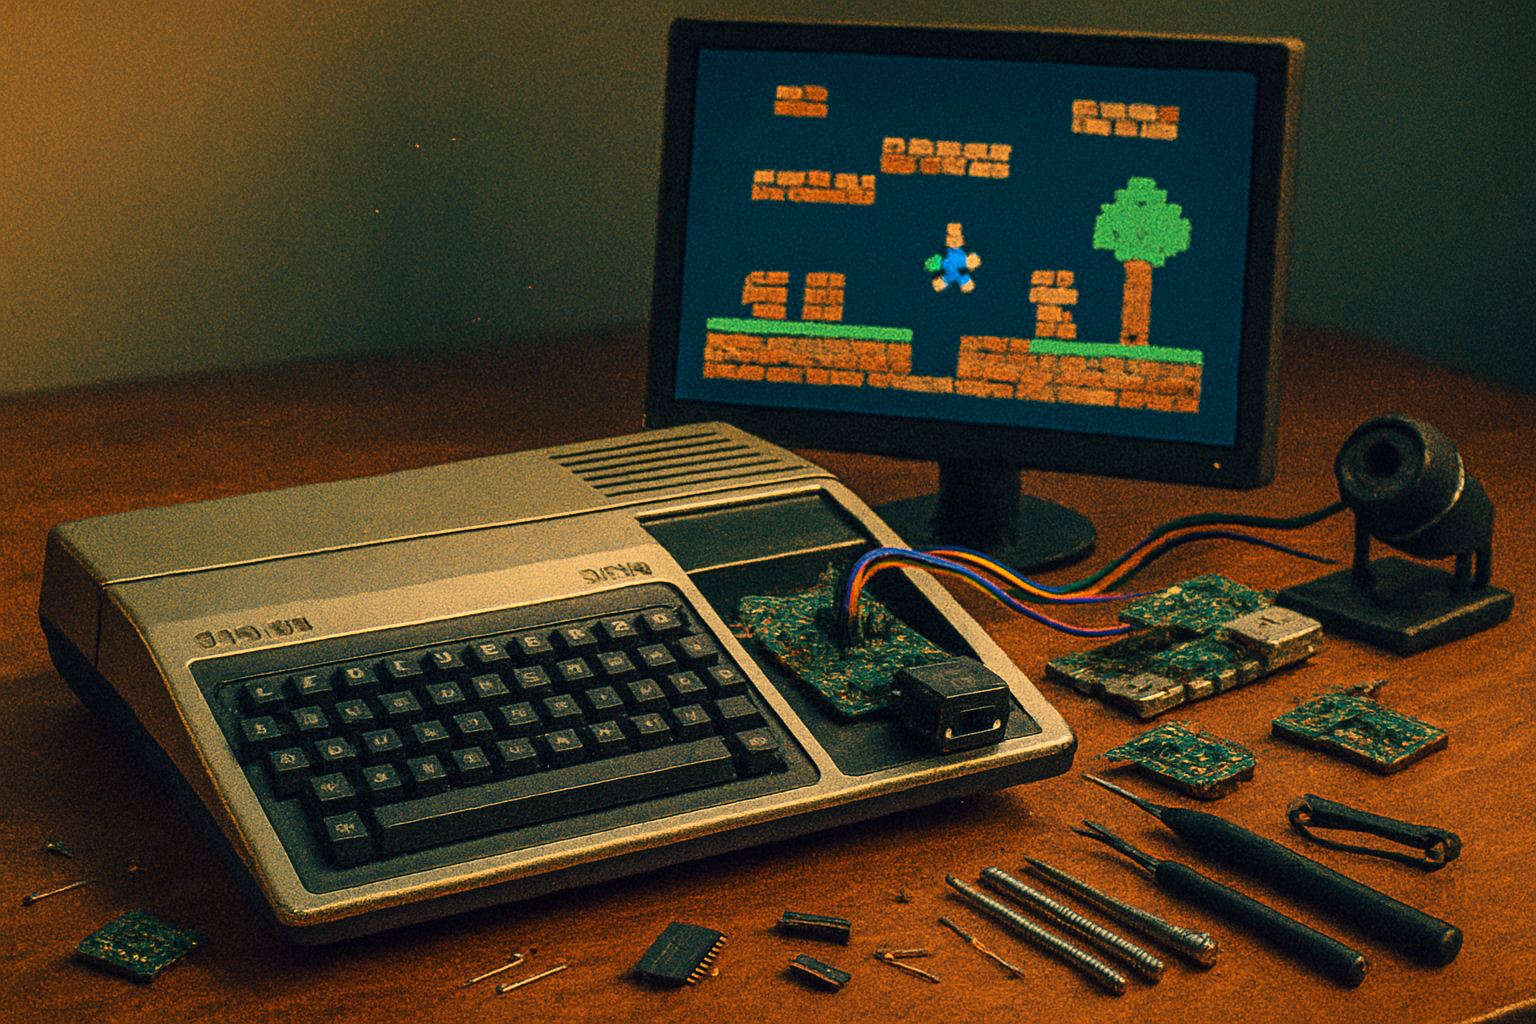
Hardware upgrades and add-ons (what hobbyists actually do)
Revival projects typically center on a few repeatable upgrades:
- Video upgrades - modern VDP replacements or FPGA recreations (often labelled as F18A or FPGA-based projects) produce sharper video, modern resolutions, and composite/HDMI outputs.
- Mass storage - SD-card-based interfaces or network-attached storage emulators replace tape/cassette or floppy workflows and speed up development.
- Cartridge/ROM expansion - custom cartridges let you load homebrew code quickly.
- Serial/network bridges - ESP32/Raspberry Pi gateways provide access to web-based repositories, FTP, or HTTP servers to fetch programs.
Many of these projects have community documentation and commercial boards. Community hubs such as the 99er forum are invaluable: https://www.99er.net/.
Example projects (beginner → advanced)
Beginner: Emulation-first workflow with Classic99
- Install Classic99 on your PC to learn how TI programs behave without risking hardware.
- Use the emulator’s debugger to step through BASIC or assembly routines.
- When ready, transfer stable binaries to your TI via a cartridge dumper or a disk image server.
Resources: Classic99 emulator: http://harmlesslion.com/software/classic99/.
Intermediate: SD-based storage bridge
- Build or buy an SD-card interface that emulates disk or cartridge storage. This eliminates tapes and speeds testing.
- Use a Raspberry Pi to host a simple NAS or web UI that serves TI disk images/ROMs. The TI connects via the SD interface and loads images as if they were physical media.
Workflow: edit code in the emulator → test on physical TI by copying image to SD bridge → run and debug.
Advanced: FPGA-based VDP and peripheral bridge
- Replace or augment the video chip with an FPGA recreation to get HDMI output and better timing.
- Implement custom peripherals on the FPGA for modern pixel operations, or even create hybrid software where the TI handles logic while FPGA handles graphics.
- Add network stacks and file servers on separate microcontrollers or on the FPGA/SoC.
This path is hardware-intensive but unlocks dramatic improvements in usability and display quality for installations and performance work.
Software and community resources
- Classic99 emulator: http://harmlesslion.com/software/classic99/
- 99er community: https://www.99er.net/ - active forums, project writeups and classified ads for parts
- TI-99/4A overview: https://en.wikipedia.org/wiki/TI-99/4A
Community-curated code archives, cartridge projects and hardware mods are frequently posted on hobbyist sites and GitHub. Search the 99er archives and GitHub for “TI-99/4A” to find current projects.
Practical tips for getting started
- Start with emulation. Save wear on hardware and speed up development cycles.
- Inspect and clean any secondhand hardware; electrolytic capacitors and connectors often need attention.
- Prioritize non-destructive mods (external bridges) until you’re comfortable with the platform.
- Document everything - firmware images, wiring and ROM dumps - and share with the community.
- Backup ROMs and disk images in multiple formats; preservation is a community responsibility.
The value of constraint
The main intellectual reward of working with a TI-99/4A today is the constraint: limited RAM, a quirky VDP, and a different assembly model teach efficiency and hardware-awareness that modern high-level environments often hide. Whether you’re a teacher, maker, artist or preservationist, the TI-99/4A offers an accessible, fascinating sandbox for modern projects.
Where to go next
- Join the 99er forums to ask questions and share progress: https://www.99er.net/.
- Try Classic99 for a modern development loop: http://harmlesslion.com/software/classic99/.
- If you want hardware mods, read community build logs first and consider starting with external gateway projects.