· retrogaming · 7 min read
Emulating the Watara Supervision: A Guide for Retro Enthusiasts
A practical, no-nonsense walkthrough for playing Watara Supervision games today: which emulators to pick, how to configure them for authenticity and low latency, and troubleshooting tips to make those tiny cartridges sing.

It started with a tiny, dented handheld on a thrift-store shelf - gray plastic, a screen like a postage stamp, and the faint smell of old batteries. The label said “Supervision.” I bought it for five dollars and, two hours later, realized I had rescued one of the oddest relics of the late 1980s: the Watara Supervision. It’s small. It’s weird. And it deserves better than to languish in a box.
If you’re the kind of person who rescues old hardware, or someone who simply wants to relive obscure handheld oddities without the static and dead pixels, this guide is for you. I’ll walk you through the practical, battle-tested ways to emulate the Watara Supervision - the software to use, the configurations that matter, and the small tweaks that turn a laggy mess into something that feels alive.
A quick primer: what is the Watara Supervision?
The Watara Supervision was Watara’s answer to the Game Boy - a low-cost handheld released in 1992 (with various regional rebrands) that attempted to undercut Nintendo by being cheaper and uglier. It’s a curiosity: paltry specs, a handful of notable licensed titles, and a cult of collectors today. For a concise overview see the Watara Supervision page on Wikipedia.
- Reference: Watara Supervision - Wikipedia
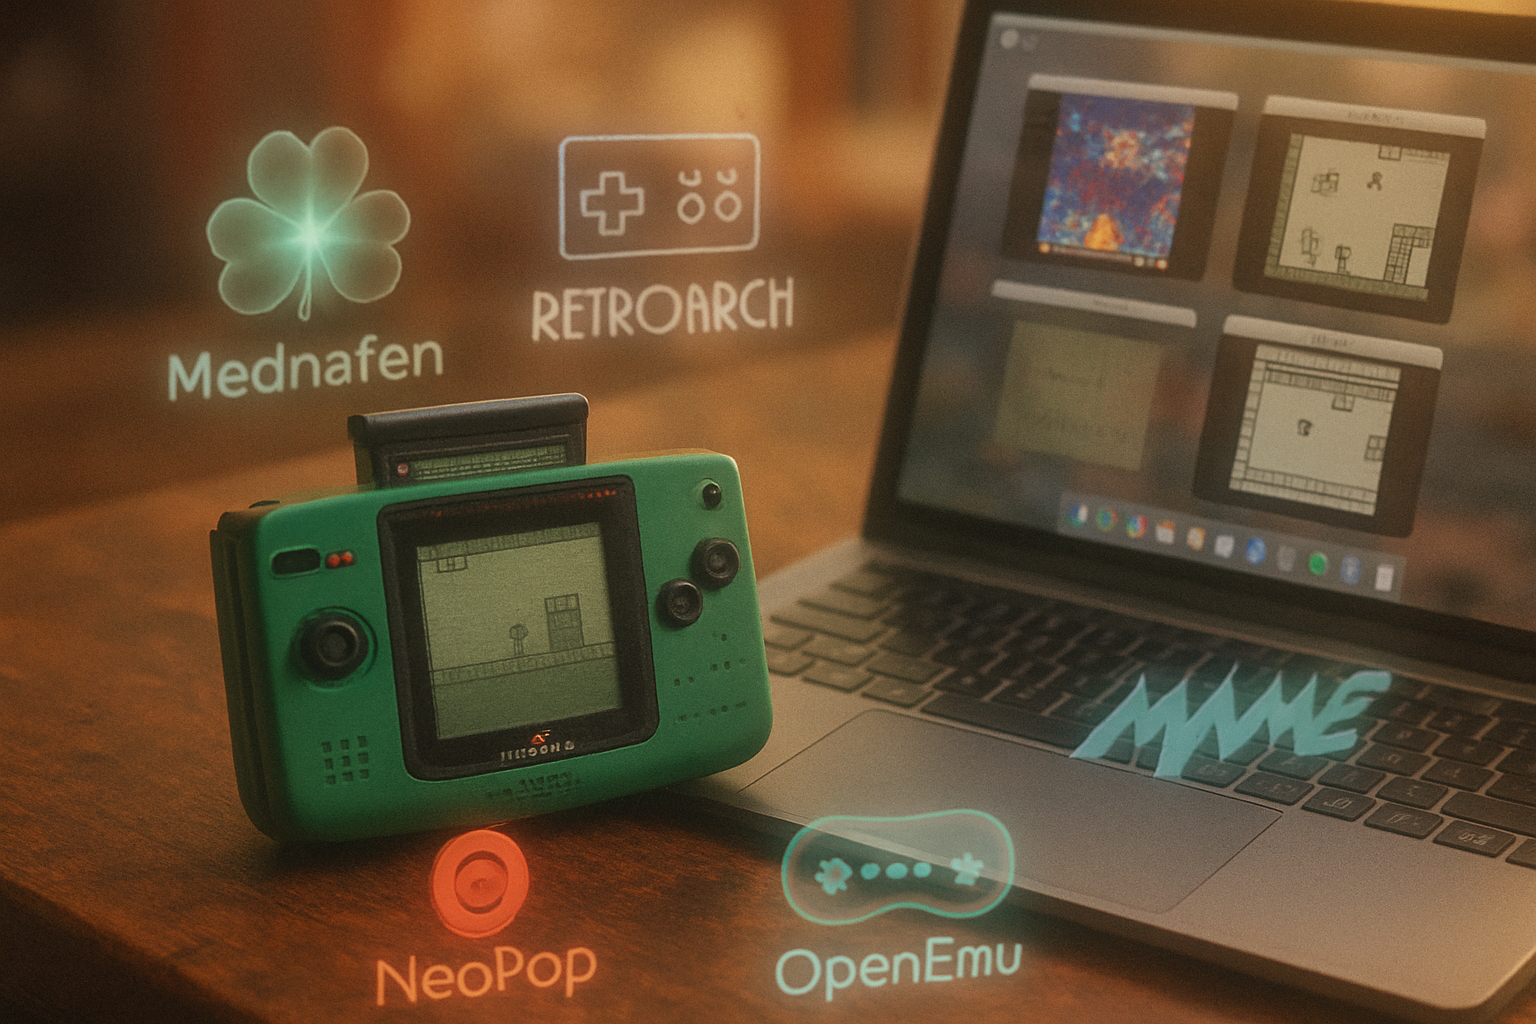
Which emulator should you use? (Short answer: MAME or RetroArch)
There are three practical approaches depending on your priorities:
- Accuracy-first - Use the official MAME (Multi-Arcade Machine Emulator) builds. MAME tends to be the most accurate and is where support for obscure systems like the Supervision is maintained.
- Convenience-first - Use RetroArch with a libretro MAME core if you want a polished frontend, uniform controllers, shaders, and easy save-states.
- Quick-and-dirty - Browser-based emulators and small standalone ports exist for demoing games quickly; they’re fine for curiosity, but expect immature feature sets.
Download/installation sources:
- MAME official: https://www.mamedev.org/
- RetroArch: https://www.retroarch.com/
- Libretro MAME/core docs: https://docs.libretro.com/library/mame/
Legality (short, because you already know this):
Only use ROMs you own or that are in the public domain. Emulation is legal; distribution of copyrighted ROMs typically is not.
Setting up MAME (accuracy and compatibility)
Why MAME: it’s the canonical place for obscure machines, and its devs continuously improve device drivers and timing. If you want the game to behave the way hardware did, start here.
- Download MAME for your platform from mamedev.org and extract/install it.
- Create a
romsfolder next to themamebinary (or set a custom rompath in mame.ini). - Put the Supervision game ZIPs in that folder. (MAME expects ROM sets packaged as ZIPs - do not unzip them.)
- Run a game from the command line or GUI. Example (general form):
- Windows - open a terminal in the folder and run
- On GUI frontends, select the system or game and press Launch.
Tips and noteworthy MAME behaviors:
- MAME versions matter. If a ROM set was dumped to match an older MAME release, newer MAME may flag it as a different set. Keep MAME and your ROMs in sync.
- MAME outputs verbose logs - use them to debug missing files or incorrect ROM names.
Useful MAME documentation: MAME Documentation
Setting up RetroArch (convenience + polish)
RetroArch wraps cores (like MAME cores) in a common interface. If you want shaders, Run-Ahead, input remapping, and an attractive UI - this is it.
- Install RetroArch for your OS from retroarch.com.
- Open RetroArch → Online Updater → Core Updater → find and install the MAME or MAME-based core you prefer.
- Place your Supervision ROMs in a folder you’ll remember.
- In RetroArch - Load Content → Navigate to the ROM and choose the appropriate core when prompted.
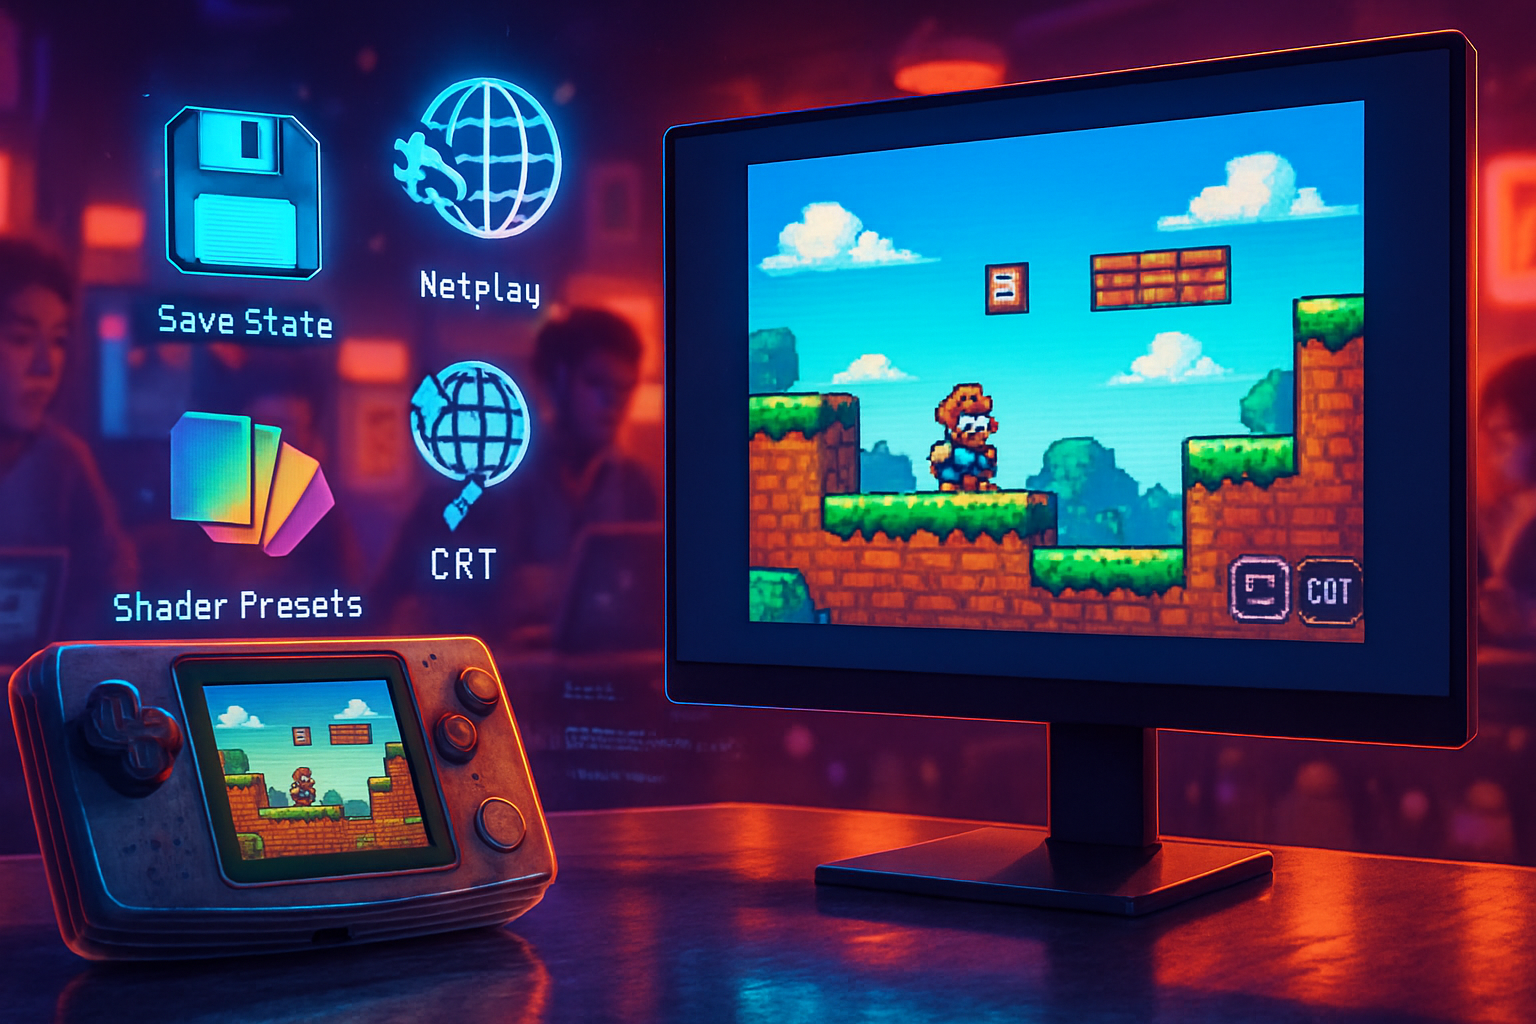
Recommended RetroArch options for handheld systems and low latency:
- Latency / Input
- Run-Ahead - enable for reduced input latency (requires extra CPU; start with 1 frame run-ahead)
- Hard GPU Sync - ON (if supported) and set Hard GPU Sync Frames = 0 or 1
- Frame Delay - 0–2 (depending on system)
- Video
- Aspect Ratio - Keep Aspect (don’t stretch) or set to 1:1 integer scaling for pixel-perfect output
- Integer Scale - ON (preserves pixel shapes on modern displays)
- Shader - Use a light CRT or scanline shader for authenticity (see shader list in RetroArch)
- Audio
- Audio Driver - Pick the system-native low-latency driver (ALSA or JACK on Linux, WASAPI or DirectSound on Windows)
- Sample Rate - 48000 (default) - lower sample rates can reduce CPU usage but may degrade fidelity
RetroArch docs and run-ahead guide: Libretro Run-Ahead Guide
Configuration checklist that actually matters
- Use integer scaling and preserve aspect ratio for authentic pixel geometry.
- Enable Run-Ahead (RetroArch) or equivalent frame-reduction tech if you want console-like responsiveness.
- Use a CRT/scanline shader sparingly; heavy shaders add GPU cost and introduce input lag on some devices.
- Keep your emulator and ROM set versions aligned - mismatches cause mysterious failures.
- Save states are fantastic for homebrew and testing; do not rely on them if you’re chasing authentic hardware timing.
Controller mapping and ergonomics
- Map a keyboard or controller to the Supervision’s directional pad and two buttons (A/B) - keep it simple.
- If you’re on a Steam Deck or similar, use the device’s configurator to create a “tuck-in” layout - D-pad on physical pad, face buttons mapped to A/B, and the touchscreen or back buttons for hotkeys.
- Bind quick-save/quick-load to comfortable shoulder buttons for comfortable playtesting.
Visual fidelity: shaders, filters, and aspect
Think of graphics like paper stock: the same drawing looks different on newsprint vs. glossy stock. A scanline shader will make a Supervision game feel like it lived on a tiny, low-contrast LCD; integer scaling will keep pixels honest.
Practical shader tips:
- Start with “CRT Royale” or a gentle scanline shader and dial down the blur.
- If you’re playing on a modern UHD screen, use integer scaling + layout padding to avoid stretched pixels.
- Turn off bilinear/trilinear filtering for crisp sprites.
Performance tuning for low-power devices (Raspberry Pi, Steam Deck, handhelds)
- Use RetroArch with a lightweight MAME core (older cores like mame2003-plus are easier on CPUs but less accurate).
- Disable heavy shaders; use simple scanlines if you must.
- Use Vulkan or the best hardware-backed renderer available for your device.
- Reduce internal audio latency in RetroArch and choose the best audio backend.
- If using MAME directly, try launch options like
-videoor driver flags that force OpenGL/Vulkan depending on your platform. Monitor CPU/GPU usage and adjust accordingly.
Common problems and how to fix them
- Game won’t start / MAME says ROM file missing - Check ROM filename matches the expected set and that the ZIP is intact (do not unzip). Ensure your rompath is correct.
- Horrible input lag - Enable run-ahead (RetroArch), make sure V-sync settings harmonize between emulator and OS, and prefer a wired controller.
- Graphics artifacts - Try switching video driver (OpenGL vs Direct3D vs Vulkan) or disable shaders. Update GPU drivers.
- Audio stuttering - Lower audio buffer size, switch audio driver, or reduce sample rate.
Advanced: building from source and picking the right ROM sets
If you need the very latest driver fixes for obscure dumps, you may have to build MAME from source. This matters most if you’re chasing rare homebrew or a newly dumped cartridge.
- Source builds - Clone mamedev from their official repo and follow build instructions on mamedev.org.
- ROM management - Tools such as ClrMAMEPro exist for precision collectors who need clean ROM sets; casual users don’t need them.
Example: Minimal RetroArch settings that work well on most modern PCs
- Core - libretro MAME core (latest)
- Latency → Hard GPU Sync - ON
- Latency → Hard GPU Sync Frames - 1
- Latency → Frames Throttle (Run-Ahead) - 1 or 2
- Video → Aspect Ratio - Core provided / Keep Aspect
- Video → Integer Scale - ON
- Shader - CRT with minimal bloom, or a scanline shader at 15–30% intensity
- Audio Driver - WASAPI (Windows) / ALSA (Linux) / CoreAudio (macOS)
Parting observations (and a small moral)
The Watara Supervision is a lesson in ambition without polish: a machine that aspired to be affordable and almost succeeded. Emulation lets us listen to its odd cadence without hunting partial battery compartments and brittle ribbon cables. Use MAME if you want documentary accuracy; use RetroArch if you want playability and polish. Respect the ROMs - and when you get a game running exactly how the hardware felt, take a screenshot and savor it.
Further reading and resources
- MAME official site and documentation: https://www.mamedev.org/
- RetroArch main site and download center: https://www.retroarch.com/
- Watara Supervision (history and specs): https://en.wikipedia.org/wiki/Watara_Supervision