· guides · 2 min read
Using Command Line to Create a Bootable USB Drive
This guide walks advanced users through the process of creating bootable USB drives using command line tools across various operating systems.
Using Command Line to Create a Bootable USB Drive
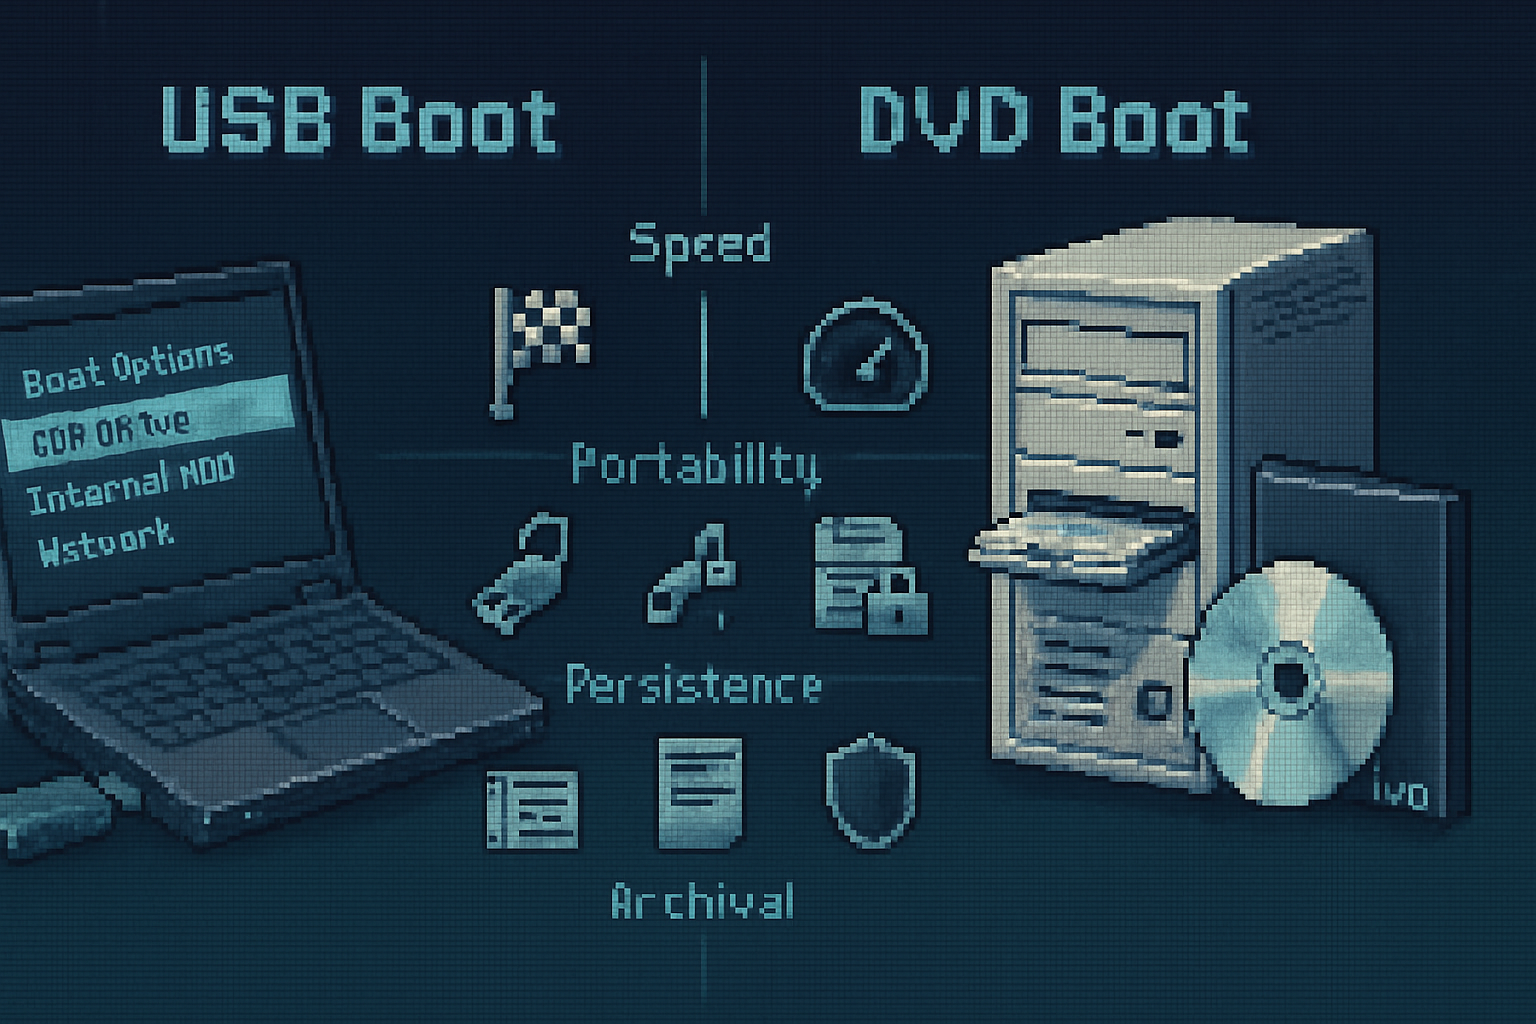
Creating a bootable USB drive using command line tools is a powerful skill for advanced users. Whether you’re installing an operating system or running a recovery disk, using the command line can provide a more granular approach compared to graphical interfaces. In this guide, we’ll explore the steps for Windows, macOS, and Linux.
Prerequisites
- USB Drive: At least 8GB of storage.
- Operating System Image: This could be an ISO file of the operating system you wish to install.
- Backup Your Data: Creating a bootable USB drive will erase all data on the USB drive.

Windows
Using Diskpart
- Insert your USB Drive and open Command Prompt as Administrator.
- Type the following commands:
diskpart list disk select disk X # Replace X with the number of your USB drive clean create partition primary select partition 1 active format fs=ntfs quick assign exit - Copy the ISO Files: Mount your ISO file and copy its contents to the USB drive:
xcopy I:\*.* M:\ /E /F /H # Replace I: with your ISO drive letter and M: with your USB drive letter
Using Rufus (Optional)
For those who prefer a graphical interface, Rufus can also be used effectively. Simply select your USB drive and the ISO file, and click Start.

macOS
Using Terminal
- Insert Your USB Drive and open Terminal.
- Use the
diskutilcommand to find your drive:diskutil list - Unmount the USB drive:
diskutil unmountDisk /dev/diskX # Replace X with your USB drive number - Use the
ddcommand to create a bootable drive:sudo dd if=/path/to/your.iso of=/dev/diskN bs=1m # Replace N with your disk number - After the process is complete, eject the drive:
diskutil eject /dev/diskX
Linux
Using dd Command
- Insert Your USB Drive and open Terminal.
- Identify your USB drive:
lsblk - Use the
ddcommand:sudo dd if=/path/to/image.iso of=/dev/sdX bs=4M && sync # Replace sdX with your USB device identifier (like sdb) - Once the process is complete, safely remove the USB:
sudo eject /dev/sdX
Alternative: UNetbootin
For those who prefer a GUI application, UNetbootin is a great alternative for creating bootable USB drives on Linux.
Conclusion
Using command line tools to create a bootable USB drive can be an efficient way of ensuring that your installations go smoothly. With a little practice, you’ll find that the command line offers powerful functionality that can be handy in various technical scenarios.
For more details on each platform, check out the corresponding documentation:

Feel free to share your experiences or any additional tips in the comments below!