· guides · 3 min read
Creating Bootable USB Drives for Linux Distributions
Learn how to create bootable USB drives for popular Linux distributions such as Ubuntu and Fedora with this comprehensive guide.
Creating bootable USB drives is essential for installing and running various Linux distributions like Ubuntu, Fedora, and others. This tutorial will guide you through the steps necessary to create your own bootable USB drive.
Why Use Bootable USB Drives?
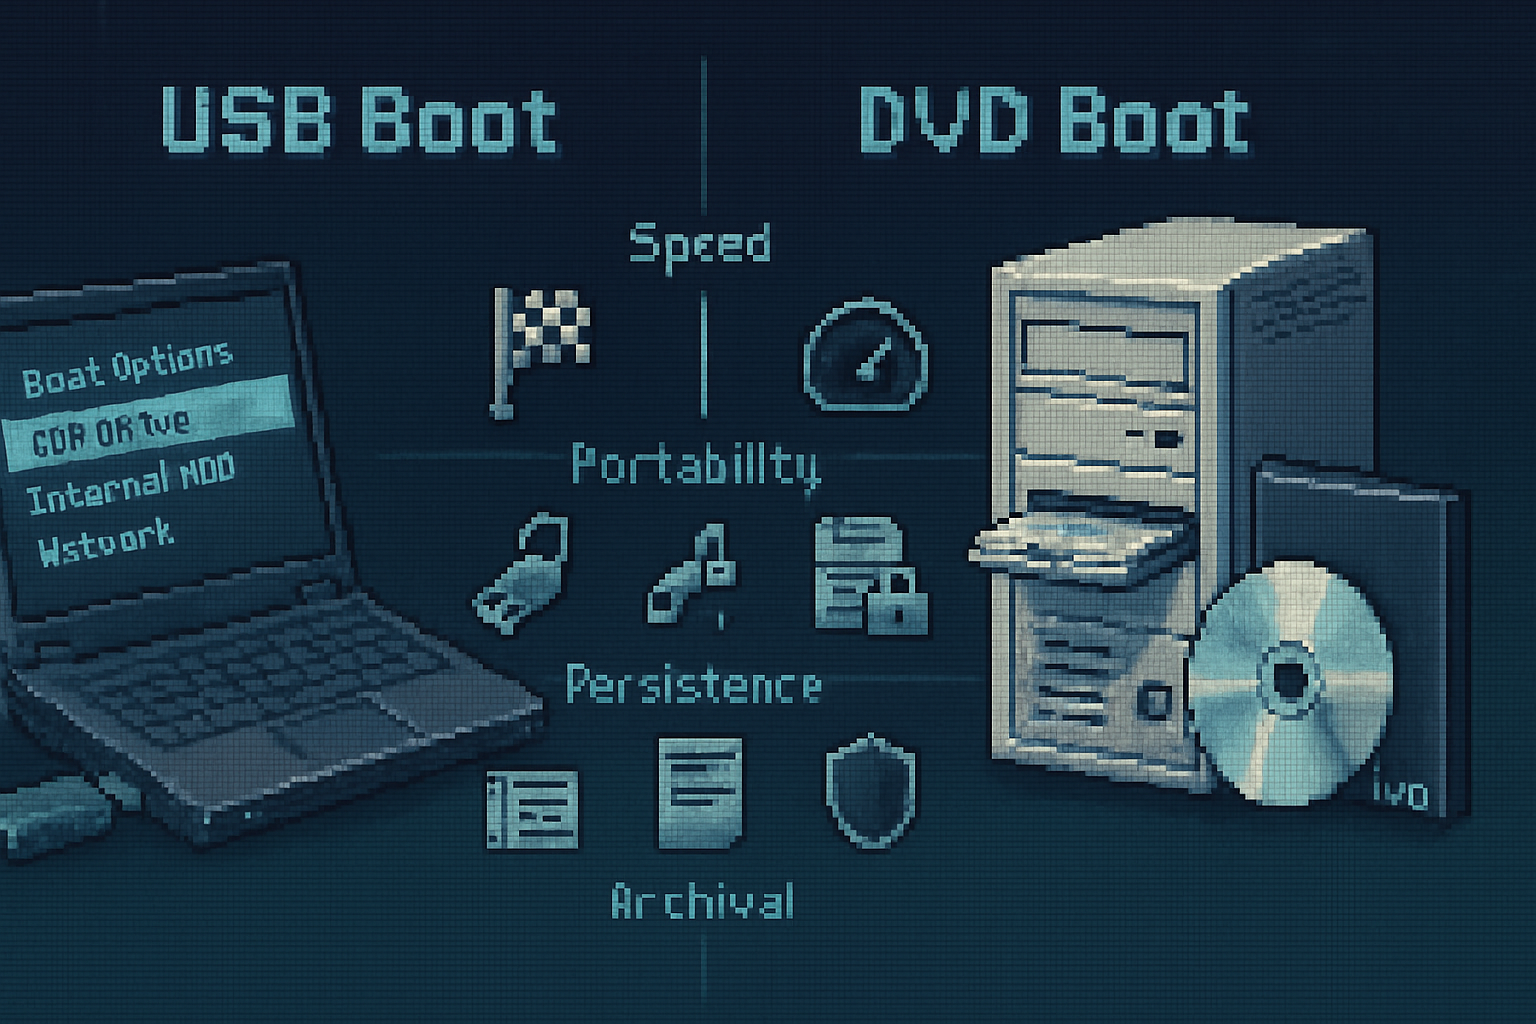
Bootable USB drives are portable, easy to use, and significantly faster than traditional DVDs. They allow you to carry your Linux distribution wherever you go and easily install it on different machines. Plus, many modern laptops do not include optical drives, making USB drives a practical choice.
Prerequisites
Before you start creating your bootable USB drive, you’ll need:
- A USB drive with at least 4GB of space.
- A computer with internet access.
- A Linux ISO file, such as the ones from Ubuntu or Fedora.
You can download the ISO files from their respective websites:
Steps to Create a Bootable USB Drive
Step 1: Install Required Software
Depending on your operating system, you’ll want to choose suitable software to create the bootable USB drive.
- For Windows, you can use Rufus.
- For macOS, utilize Balena Etcher.
- For Linux, use the
ddcommand or GNOME Disks.
Step 2: Insert Your USB Drive
Plug your USB drive into the computer. Make sure to back up any important data from the USB drive, as this process will erase everything on it.
Step 3: Open Your Chosen Software
Launch your chosen software. Here’s a quick overview based on your OS:
- Rufus (Windows): Select your USB drive and ISO file, then click ‘Start.’
- Balena Etcher (macOS): Drag and drop your ISO into the app, select the USB drive, and click ‘Flash.’
- Using
ddon Linux: Open the terminal and run:
Replacesudo dd if=/path/to/your.iso of=/dev/sdX bs=4M sync/path/to/your.isowith the path to your ISO file, and/dev/sdXwith your actual USB device (be careful to select the correct one!).
Step 4: Wait for the Process to Complete
The software will now create your bootable USB drive. This can take several minutes, so be patient.
Step 5: Boot from USB Drive
After the process is complete, safely eject your USB drive. To boot from it:
- Insert the USB drive into the computer you want to install Linux on.
- Restart the computer and enter the BIOS/UEFI setup (usually by pressing F2, DEL, or ESC right after powering on).
- Set your boot order to prioritize USB devices.
- Save changes and exit.

Step 6: Install the Linux Distribution (Optional)
Follow the on-screen installation instructions specific to the Linux distribution you have chosen. It’s usually straightforward - just select your language, partition if necessary, and start the installation.
Conclusion
Creating a bootable USB drive for a Linux distribution is a simple and effective way to explore new operating systems or to troubleshoot computers. Now you’re ready to install your favorite Linux OS!
Happy exploring!
For further reading, check out these resources: