· retrogaming · 7 min read
Game Boy DIY: Custom Mods and Game Enhancements You Can Try at Home
A hands-on, creative guide to modding Game Boys at home: screen upgrades (IPS/backlight + bivert), battery and charging improvements, audio and speaker mods, and aesthetic upgrades that boost playability and nostalgia - with tools, difficulty levels, safety tips and resources to get you started.
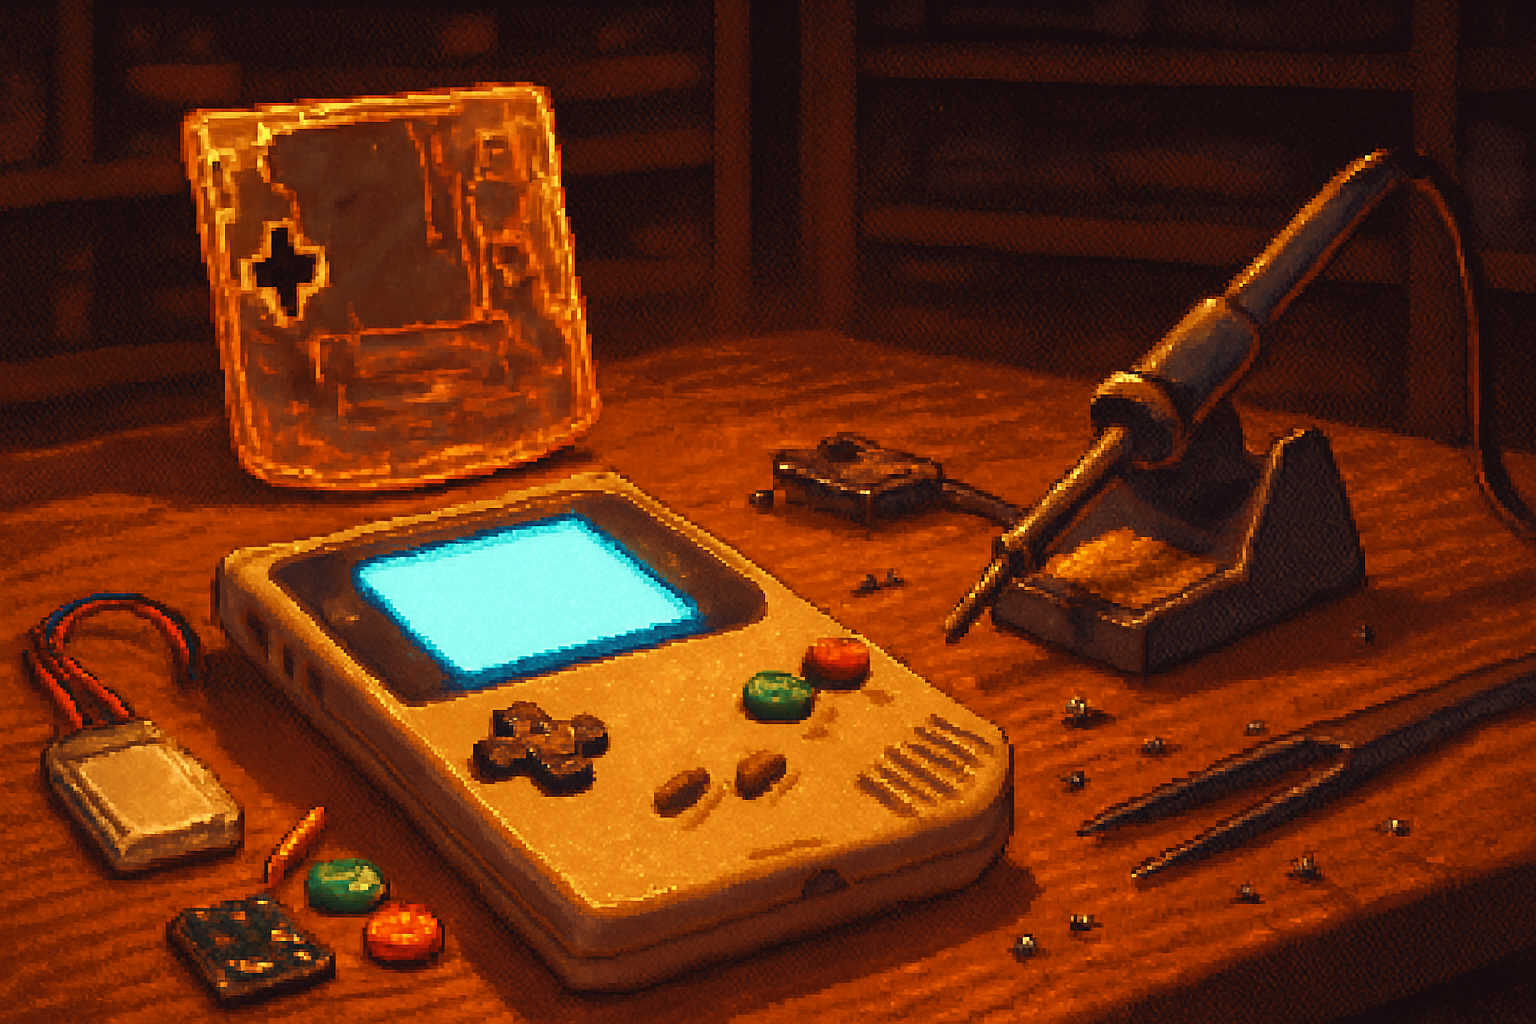
Intro
If you grew up with a Game Boy and still feel a twinge of nostalgia when you hear that boot-up chime, modding your handheld is one of the best ways to bring classic hardware into the present. Whether you want brighter screens, rechargeable power, crisper audio, or a shell that actually matches your personality, there are many achievable DIY projects that increase playability and keep that old cartridge library alive.
This guide covers practical mods for the DMG-01 (original Game Boy), Game Boy Pocket, Game Boy Color, and Game Boy Advance. Each section gives what you need, the difficulty, and links to deeper resources.
Important safety & legal notes
- Always work in a well-ventilated, static-free space and use ESD prevention when handling PCBs.
- Use a proper soldering iron, eye protection, and gloves when necessary.
- Lithium batteries can be dangerous if shorted or punctured - follow charger manufacturer instructions and never leave charging batteries unattended.
- Tampering may void warranties and alter collectible value.
Tools & basic supplies
- Precision screwdriver set (including Tri-wing Y00 and Philips sizes used by Nintendo)
- Soldering iron (temperature-controlled, 25–40W recommended) and lead-free solder
- Flux, desoldering braid or pump, small hobby knife, tweezers
- Multimeter
- Spudger and plastic prying tools
- Small clamps or PCB holders
- Cleaning isopropyl alcohol and cotton swabs
Reference guides and parts suppliers
- iFixit Game Boy repair guides - excellent for disassembly and teardown photos: https://www.ifixit.com/Device/Game_Boy
- RetroRGB - comprehensive articles on Game Boy display mods and visual tech: https://www.retrorgb.com/
- Handheld Legend - popular source for IPS kits, spare shells and parts: https://handheldlegend.com/
- Adafruit - guides and safe hardware for LiPo batteries and USB charging solutions: https://learn.adafruit.com/
- Community help and project inspiration - /r/Gameboy (Reddit) and GBATemp forums:
Mod 1 - Screen upgrades: IPS panels, backlights, and bivert chips
Why do it?
Original DMG-01 screens are dim, greenish, and low-contrast. Upgrading the display dramatically improves visibility and breathes new life into games.
Options
- IPS/LCD kits (modern replacement displays) - These replace the stock LCD with a higher-resolution, full-color IPS panel for vibrant colors and wide viewing angles. They often include a new glass/plastic lens and mounting hardware. Difficulty: moderate.
- Backlight + bivert (classic choice for DMG) - A backlight adds illumination; a bivert chip re-inverts the LCD’s contrast to produce very sharp black pixels (many purists favor this look). Difficulty: moderate to advanced (bivert requires careful soldering).
What you need
- IPS kit or backlight kit for your model (Pocket/GBC/GBA/DMG kits differ)
- Replacement lens if the kit doesn’t include one
- Fine soldering gear and steady hands for bivert installs
High-level steps (IPS example)
- Disassemble console (follow an iFixit guide for your model).
- Remove original LCD and polarizer layers (careful - polarizers can be fragile).
- Mount the IPS panel and route the connector/cables, add foam spacers as recommended.
- Reassemble and test before buttoning the shell closed.
Resources: RetroRGB’s Game Boy articles explain the visual tradeoffs between IPS, backlight, and bivert approaches: https://www.retrorgb.com/gameboymods.html
Mod 2 - Battery & power improvements: Li-ion packs, USB-C charging, and long-life options
Why do it?
Old Game Boys use AA cells or aging coin cells. Lithium upgrades reduce weight, provide a long runtime, and enable onboard charging.
Options
- Li-Ion/LiPo internal pack with charger board (TP4056-based modules or integrated USB-C charger boards).
- External rechargeable AA adapters (less invasive).
- Replace/upgrade coin backup batteries in cartridges (for save preservation) - CR1616/CR2025 swaps on some cartridges.
What you need
- Lithium battery of correct size and voltage (nominally 3.7V).
- Protection/charging module (TP4056, USB-C charger breakout with CC resistors for safe charging).
- Step-up converter (boost) for DMG/GBC if you want to run at original voltage levels (Game Boy expects ~4.5V from 3×AA - many installs include a boost circuit).
High-level options and tips
- Simple route - use a battery holder and rechargeable NiMH AAs - minimal risk and reversible.
- Advanced route - install a LiPo with a charging board and step-up regulator to deliver stable voltage. Confirm polarity, protect the battery with an in-line fuse, and secure with foam.
- USB-C chargers are convenient, but choose modules designed for single-cell LiPo and follow proper wiring. Adafruit’s LiPo charging guides are a good place to understand safe charging: https://learn.adafruit.com/
Safety tip: Never directly connect a Li-ion cell to the Game Boy without a proper protection and charging circuit.
Mod 3 - Audio & speaker improvements
Why do it?
Raw Game Boy audio is charming, but small stock speakers and mono output limit immersion. Upgrading the speaker and adding a small amplifier or headphone mod enhances clarity and volume.
Options
- Replace the speaker with a higher-quality 8Ω speaker.
- Install a tiny mono amplifier (e.g., PAM8403 or similar low-voltage amp with gain control).
- Stereo mods and headphone jack installs (requires tapping the mixing signals and often re-routing).
What you need
- Replacement speaker sized to fit the cavity.
- Small amplifier board, wiring, and a volume pot (if desired).
High-level steps
- Remove old speaker and clean contacts.
- Test-fit replacement speaker and solder to amplifier output.
- Place amplifier in the shell where it won’t short, secure with double-sided foam, test audio before final assembly.
Mod 4 - Aesthetic upgrades: shells, buttons, lenses, and LEDs
Why do it?
Playability is part feel. Fresh buttons, a clear lens, or a custom shell makes the device feel new and showcases your style.
Common tweaks
- Replacement shells and translucent or custom-molded cases (many sellers provide pre-drilled shells for IPS kits).
- New silicone button membranes and high-quality button caps for improved tactility.
- Polycarbonate lens or glass lens replacement (reduce scratches and increase clarity).
- LED power indicators or backlight status LEDs.
Tips
- Buy a shell and buttons made for your model to avoid fitment headaches.
- Painting shells - disassemble fully, sand, prime, paint with plastic-friendly paints, and clear-coat; use masking for multi-color designs.
Mod 5 - Cartridge & save enhancements
- Replace dying save batteries in cartridges (many older games use a CR2025/CR1616 - identify the correct type first).
- Use flash carts (EverDrive / EZ-Flash) for convenience and archival of ROMs you legally own. Krikzz’s EverDrive line is widely used: http://krikzz.com/
Mod 6 - Advanced electronics and convenience mods
- Link cable passthrough or wireless link mods for multiplayer without cables.
- Clock/RTC mods (for games that depend on internal clocks).
- Power switch rebuilds or replacements for flaky switches.
Difficulty & estimated time/cost
- Beginner (1–3 hours, $10–$40) - new buttons, shell swap, speaker replacement, AA rechargeable packs.
- Intermediate (2–6 hours, $30–$100) - IPS install, backlight + bivert, Li-ion battery with USB charging.
- Advanced (4–12+ hours, $50–$200+) - stereo audio mods, complex power regulation, custom PCBs, wireless link mods.
Troubleshooting quick-guide
- If the unit won’t power on after a battery mod - check polarity, solder joints, and fuses; measure voltages with a multimeter.
- If the new screen is blank - confirm ribbon cable seating, check for torn traces, and verify grounding.
- If audio is distorted - check amplifier ground, signal routing, and that the speaker impedance matches the amp.
Where to learn more and buy parts
- Handheld Legend - IPS kits, shells, and mod parts: https://handheldlegend.com/
- RetroRGB - technical deep-dives on visuals and mod philosophy: https://www.retrorgb.com/
- iFixit - device teardowns and screw guides: https://www.ifixit.com/Device/Game_Boy
- Adafruit - safe LiPo charging and electronics tutorials: https://learn.adafruit.com/
- Community forums and inspiration: https://www.reddit.com/r/Gameboy/ and https://gbatemp.net/
Project ideas to try in order
- Clean and replace buttons + lens (beginner)
- Install rechargeable AA cells or NiMH pack (easy, reversible)
- Replace speaker and add a small amp (intermediate)
- Install IPS/backlight + bivert for the ultimate visual upgrade (intermediate–advanced)
- Full LiPo + USB-C charging and custom shell (advanced)
Final thoughts
Modding a Game Boy is as much about personal expression as it is about technical upgrades. Start with a simple cosmetic or battery swap to build confidence, then move on to screen and audio upgrades once you’re comfortable with tiny screws and solder joints. The community is active and generous - if you hit a roadblock, screenshots and forum posts often get helpful answers quickly.
Remember to document your work (photos at each step) so you - or anyone who inherits the device - can revert or maintain it later.
Happy modding, and may your pixels be bold and your batteries long-lasting!
